
How to install and use a beta macOS in a virtual machine
A Parallels Desktop virtual machine (VM) is an ideal environment for using a beta release of an operating system. By its very nature, a beta OS will contain bugs, unfinished features, and other ‘gotchas’ that might play havoc with your documents or your work. A VM isolates those issues in a sandbox-like environment so that any such issue will not damage anything. I have been using VMs like this for years, and I have written up bugs in beta OSes released both for Apple and for Microsoft so that the final OS release will be free of these issues.
I have previously written about using beta macOS releases in VMs here and here. Apple has now significantly changed the installation process for Sierra beta macOS releases, and in this blog, I will show you the new process as I install and use macOS 10.12.4 (Sierra) beta 2.
Step 1: Install the customer release of macOS Sierra in a VM
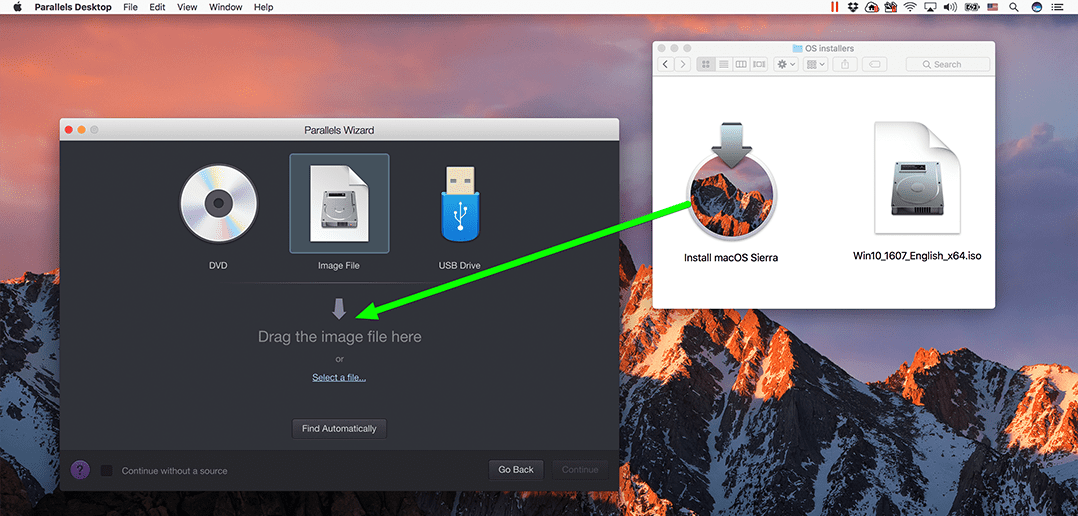
In the new installation process for Sierra beta macOS releases, you first need the customer release of Sierra installed in a VM—you cannot just start with a new, blank VM. Installing the customer release of Sierra in a VM is easy: just drag and drop the “Install macOS Sierra.app” to the New VM Wizard in Parallels Desktop, and then follow the prompts. See Figure 1.
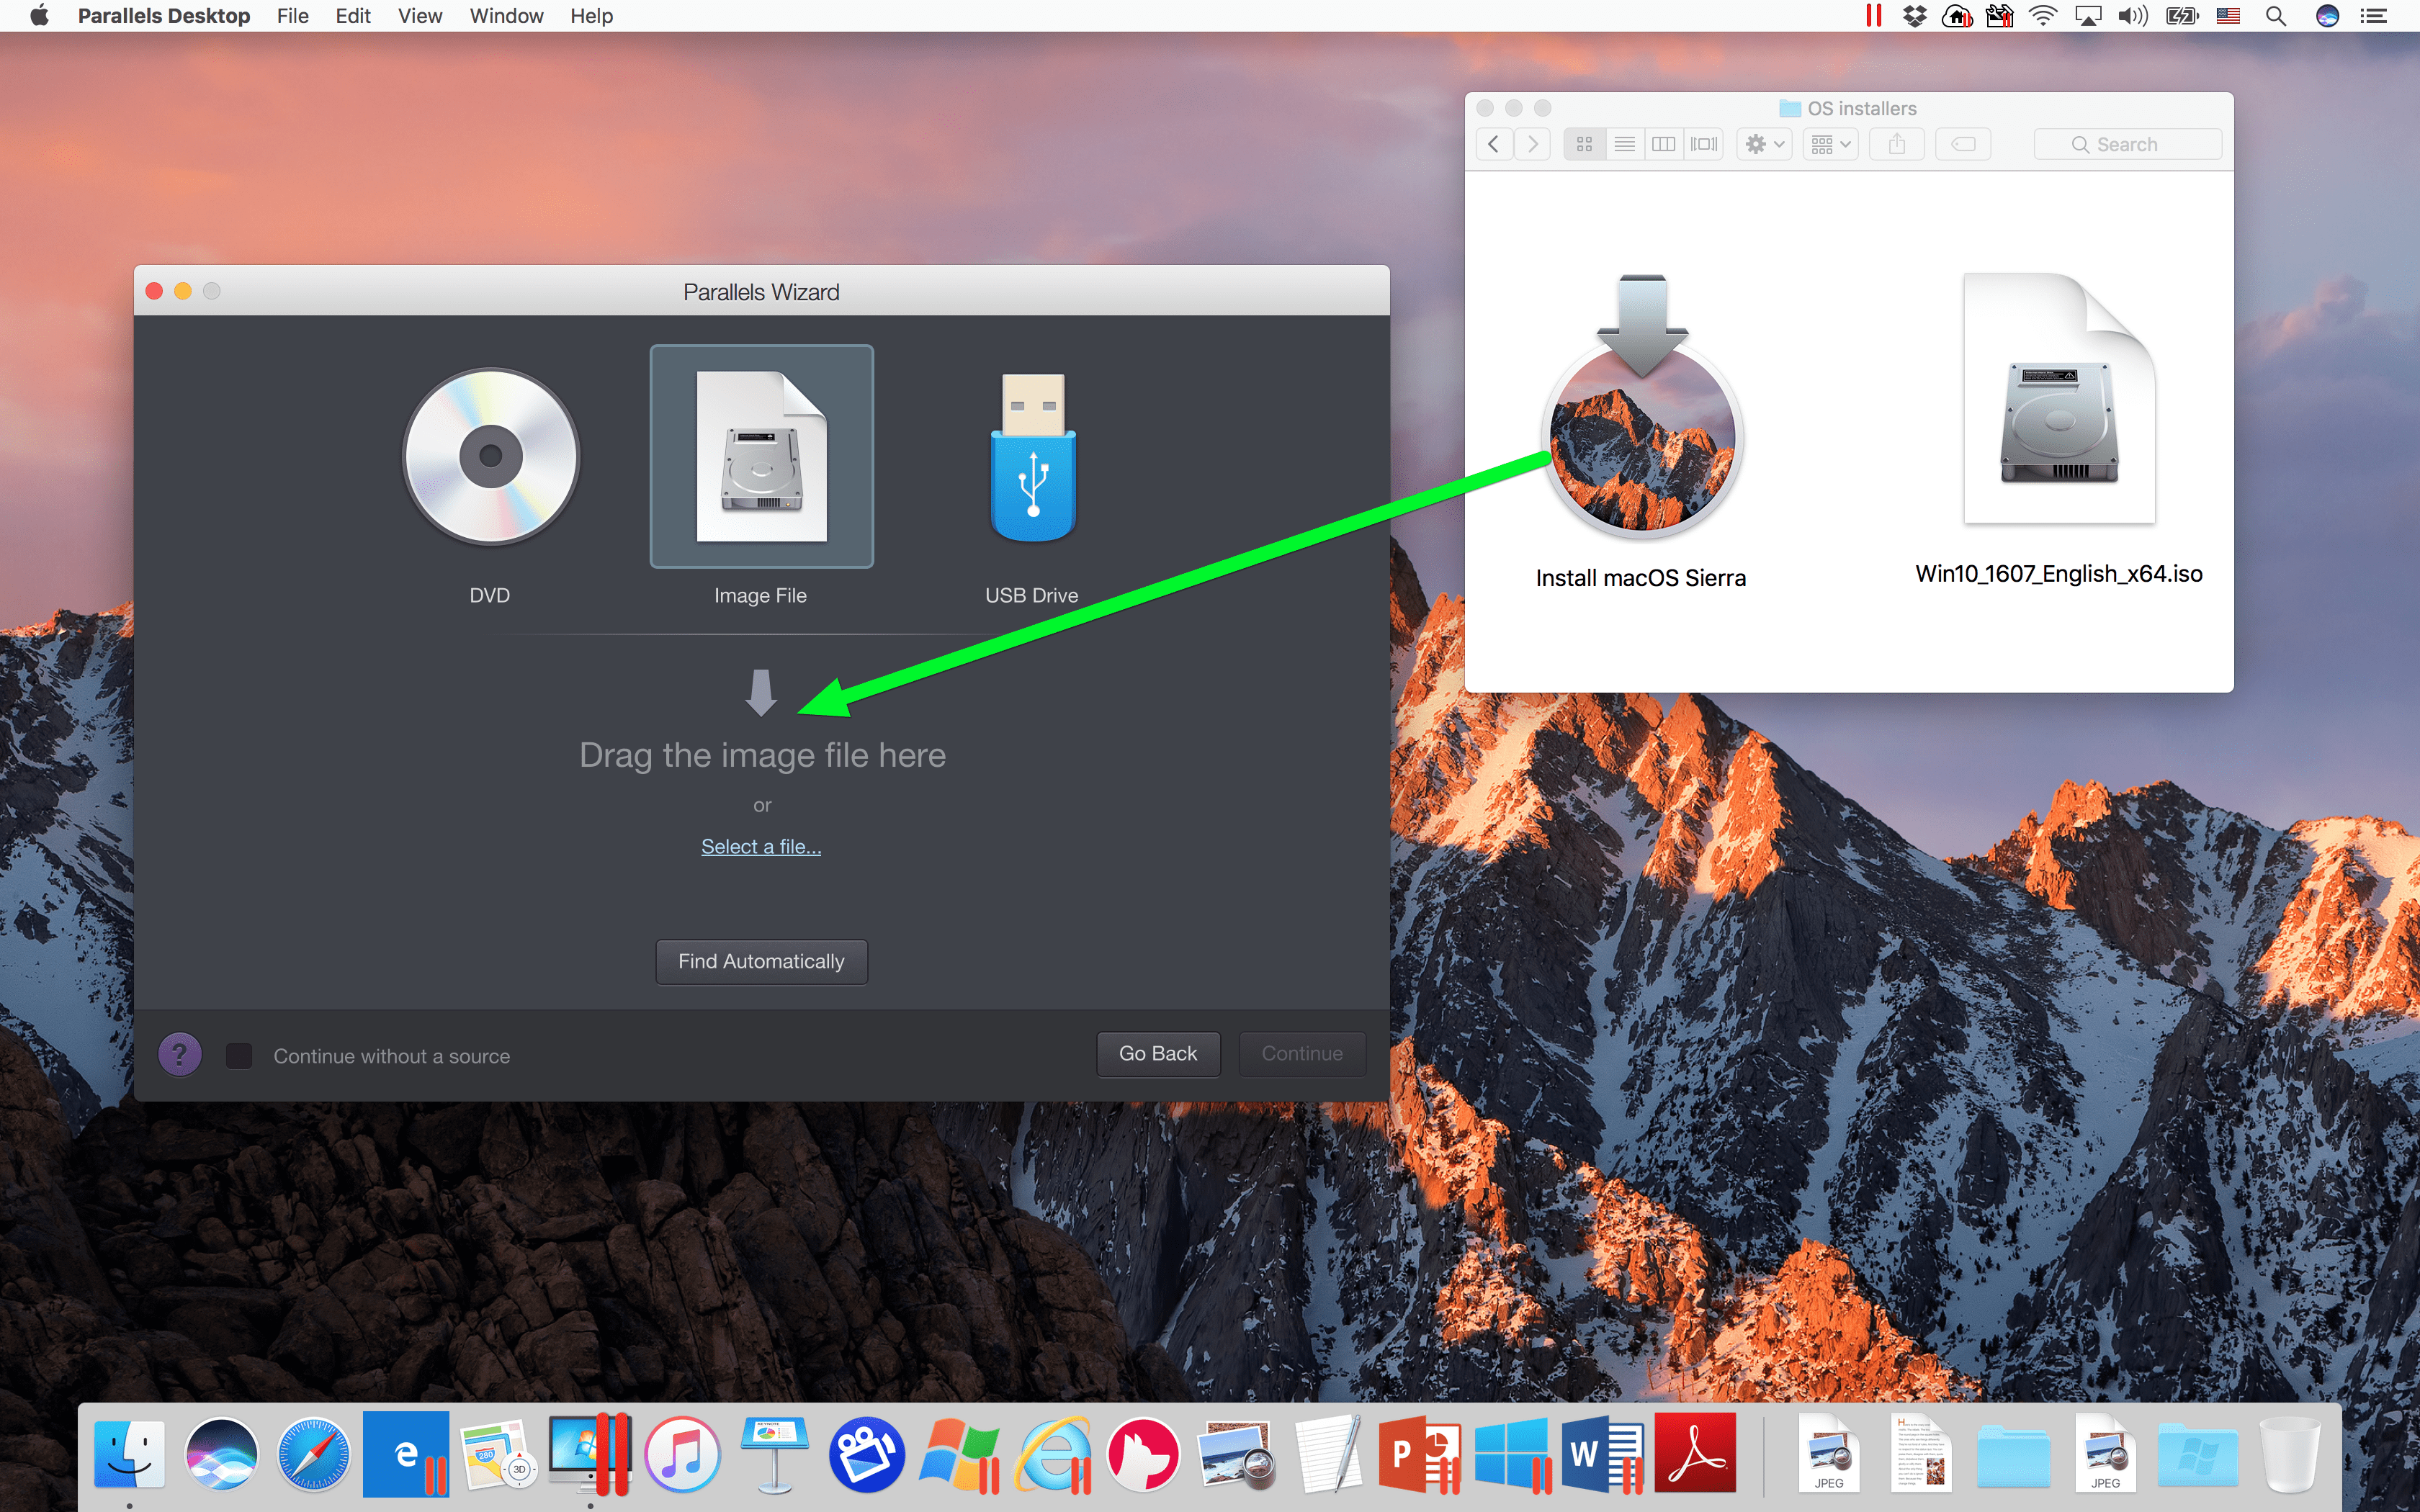
Figure 1_Install Sierra customer release in a VM
After the customer release of Sierra is installed, download and install any Sierra updates.
Step 2 will modify this VM in such a way that you cannot go back to the customer release. So, it is a good idea to make a copy of this VM. Find the VM’s .pvm file—it will probably be named “macOS Sierra.pvm” and will be about 10 GB. Make a copy of that file.
Step 2: Download and install the new “macOS Sierra Beta Access Utility”
You need to install a new utility to download a beta macOS. How you do this depends on whether you are an ordinary user or a developer.
Case 1: Ordinary user
Start at Apple’s Guide for Public Betas, enroll your Mac, and then download and install the “macOS Sierra Public Beta Access Utility”.
Case 2: Apple Developer
Download and install the new “macOS Sierra Developer Beta Access Utility” from Apple’s Developer website. (You will need to be a registered Apple developer to do this.)
This utility adds a new option to the App Store pane of the System Preferences window. See Figure 2. Ensure that this new option is “set to received beta software updates.”
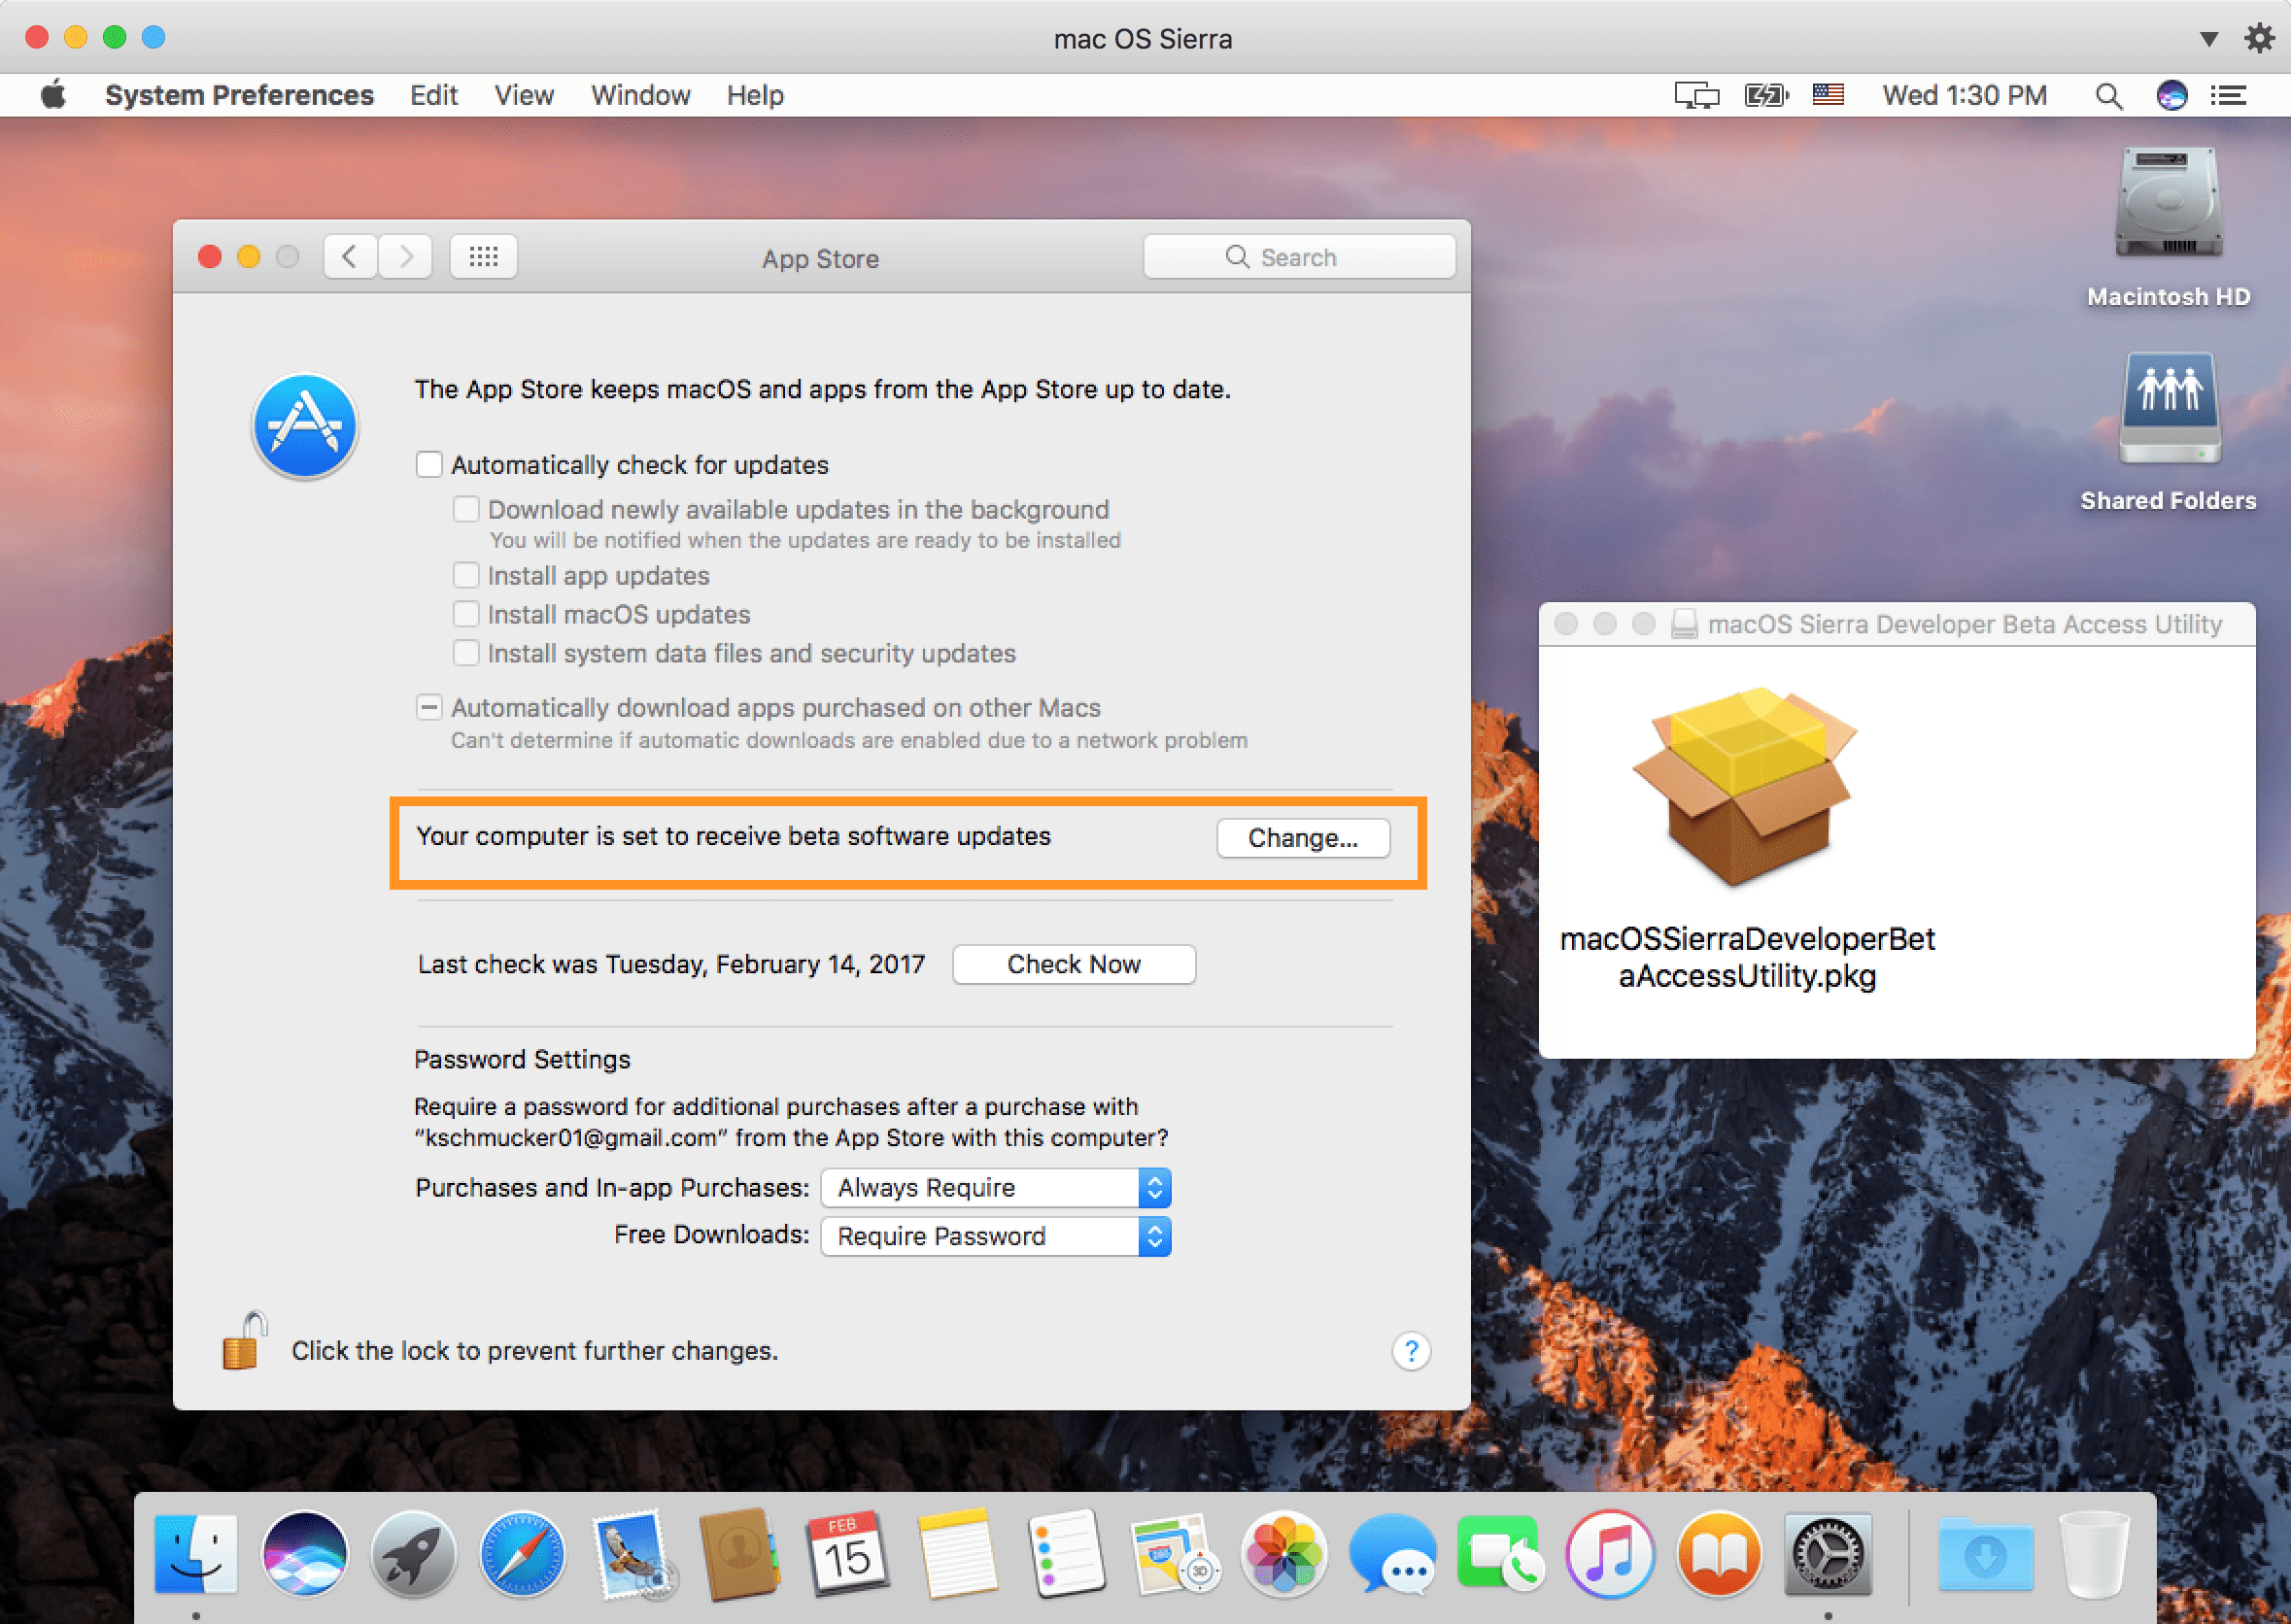
Figure 2_ New preference in the App Store pane installed with the macOS Sierra Developer Beta Access Utility
Step 3: Check for updates in the App Store, and install them
Launch the App Store app, and check for updates. It will find the update for macOS 10.12.4 (Sierra) beta 2. Download and install this update, which will require a restart of the VM. You are done: you now have a VM running macOS 10.12.4 (Sierra) beta 2.
In the gif below, I show macOS 10.12.4 (Sierra) beta 2 in use in the VM:
Have you installed a beta in a VM yet? Share your experience with us in a comment, or reach out to us on Facebook or Twitter.
Try Parallels Desktop for free for 14 days!