Running the High Sierra Developer Beta in a Parallels Desktop virtual machine
Apple® announced the next version of the macOS®, High Sierra, on the first day of the Worldwide Developers Conference 2017. They made a beta version available later that day to developers.
While beta releases of operating systems are not officially supported by Parallels Desktop® 12 for Mac, they will often more or less work. I have installed dozens of beta releases in Parallels Desktop, and I consider this to be the best method for experiencing an early version of a new OS. Beta releases of operating systems usually have a variety of “issues.” Even if you encounter one of these issues, any ramifications will be limited to only the virtual machine (VM), so this is a safe and easy way to check out a new operating system.
Here is what I did and how it worked for me in creating a High Sierra VM:
- I made a clone of an existing macOS Sierra VM. (See step-by-step instructions of how to make a clone of a Parallels Desktop virtual machine.)
- An OS upgrade is a sizable task in a VM, so I set the amount of RAM for the VM to 4 GB in the Hardware pane of its Configuration Dialog.
- I booted the VM and then installed the macOS Developer Beta Access Utility. This utility enabled me to download the High Sierra installer from the App Store. See figures 1 and 2. This took about half an hour (and times may vary depending on your internet connection speed.)
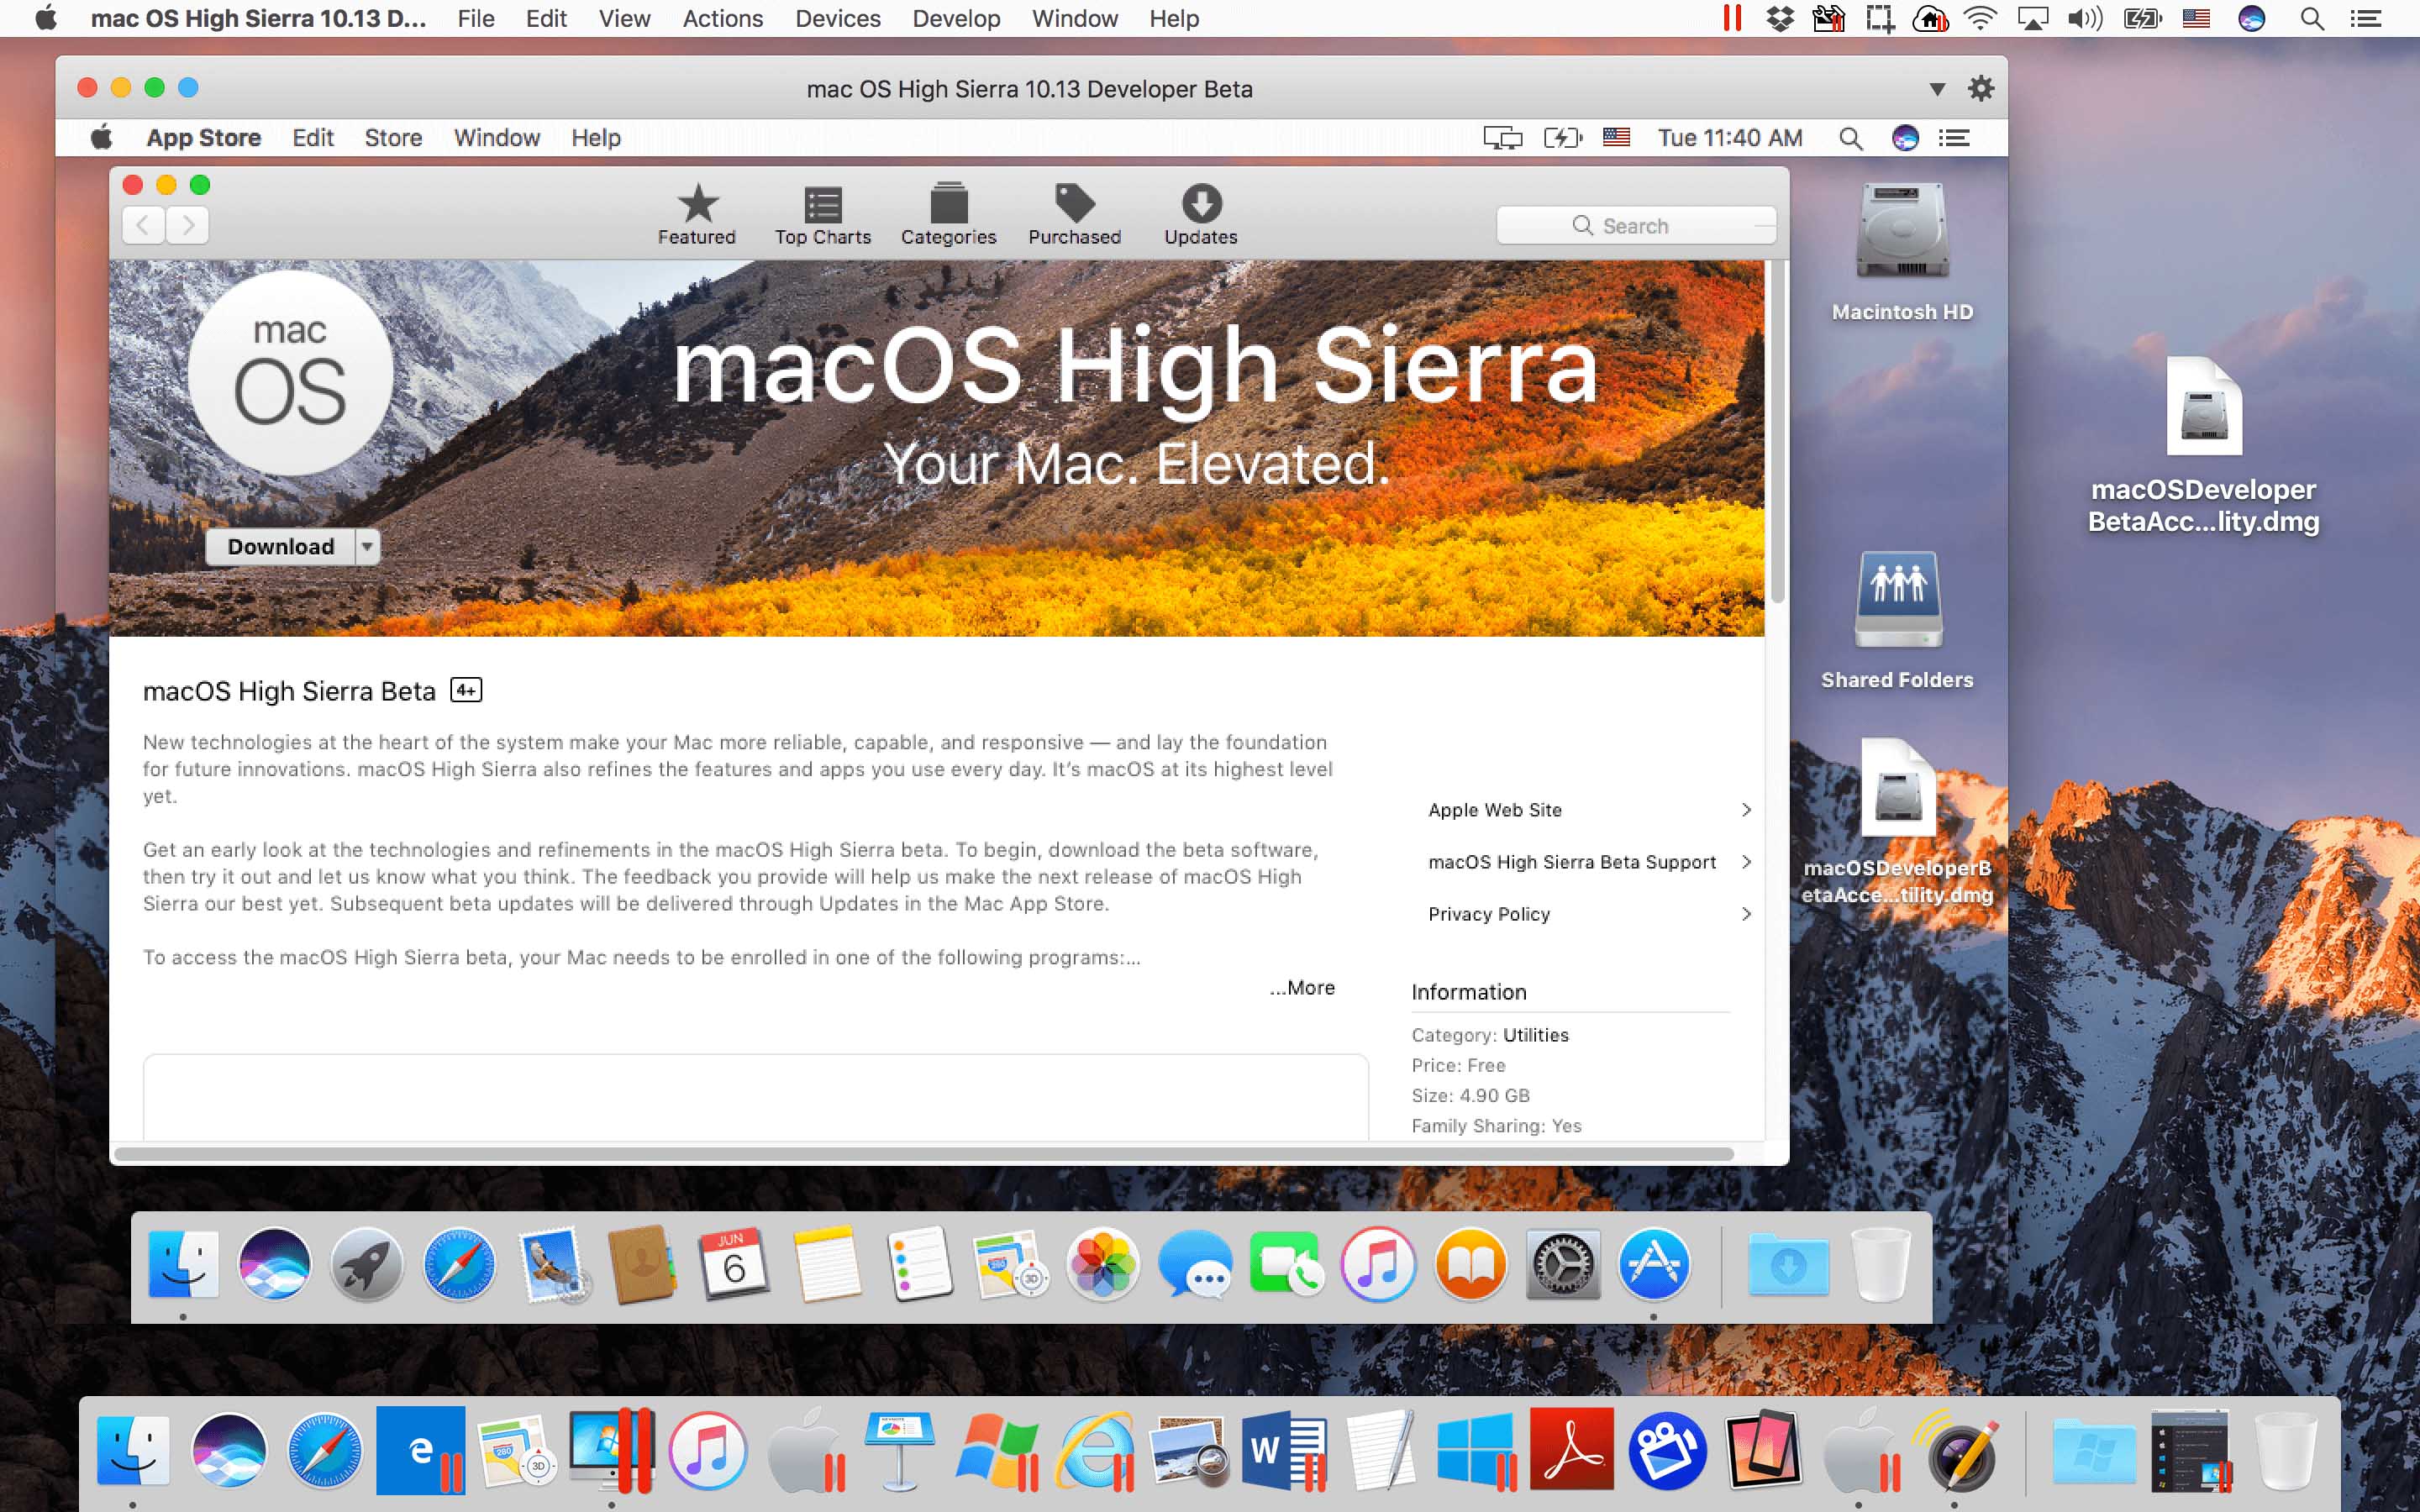
Figure 1_Downloading the High Sierra installer from the App Store
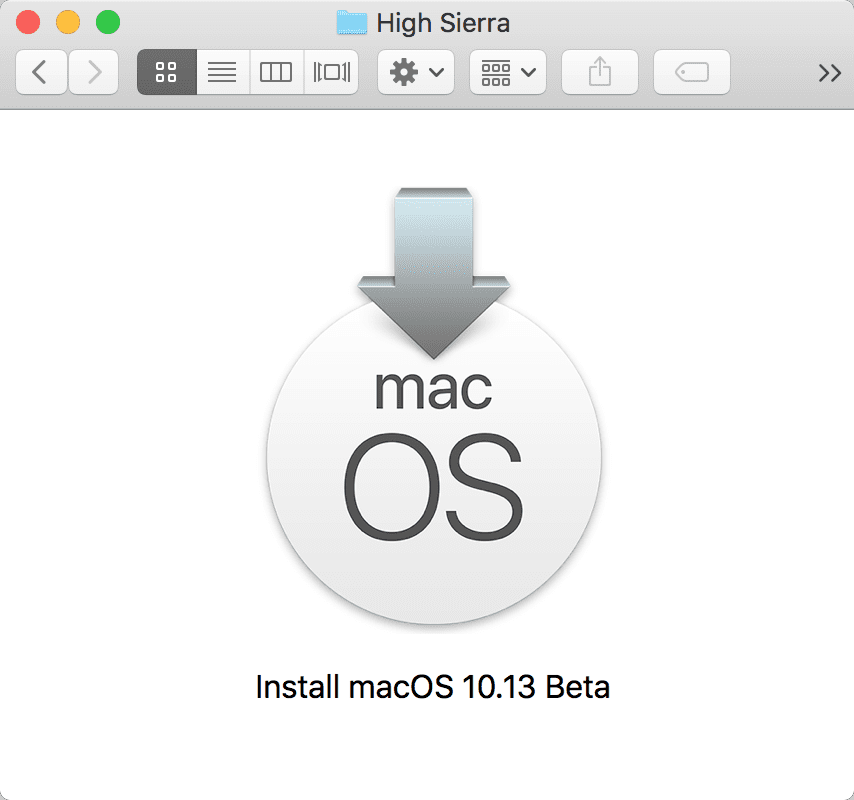
Figure 2_The installation app for the High Sierra Developer beta
- I ran the High Sierra installer. See figure 3. In total, this took about three hours.
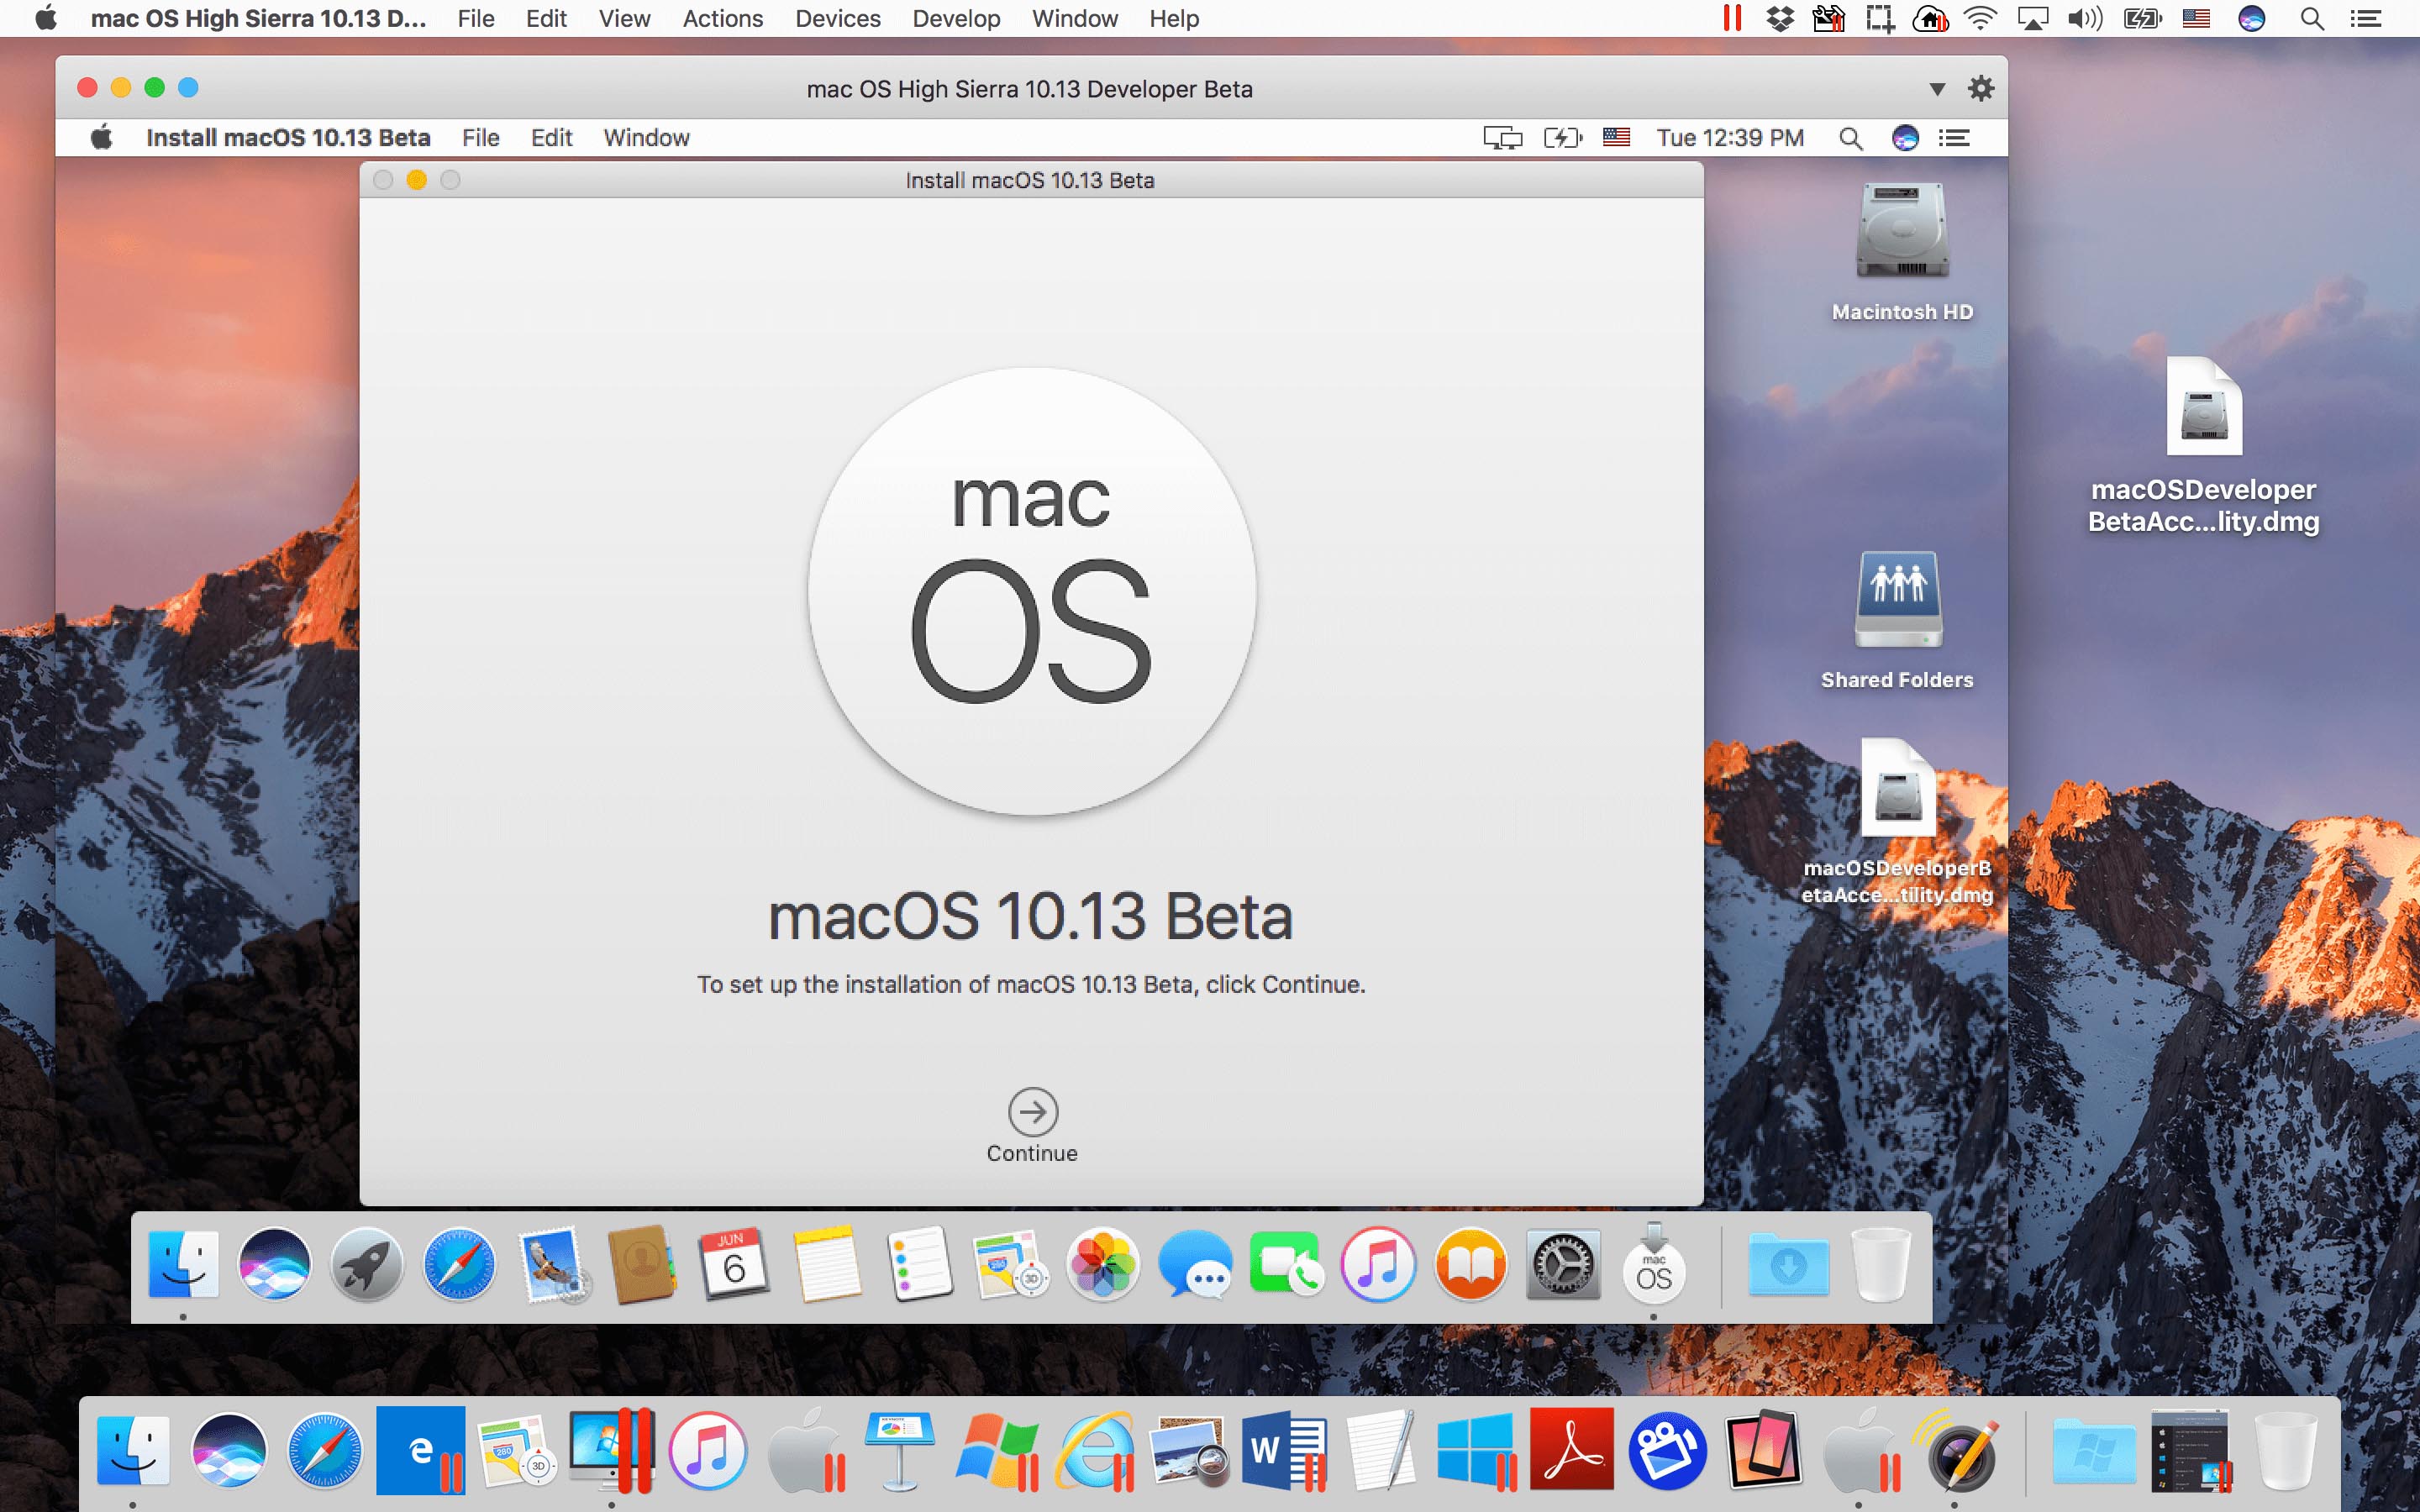
Figure 3_Running the High Sierra installer. Notice that there are two instances of Sierra shown in this figure_ the OS Sierra host and the OS Sierra guest which will be upgraded to High Sierra
- When the High Sierra installer asked about upgrading the file system to APFS (Apple’s new file system), I unchecked the box. If you don’t do this, the High Sierra VM will not boot. See figure 4. The Parallels Desktop engineers are working now to support APFS in a VM. Stay tuned for news on their efforts.
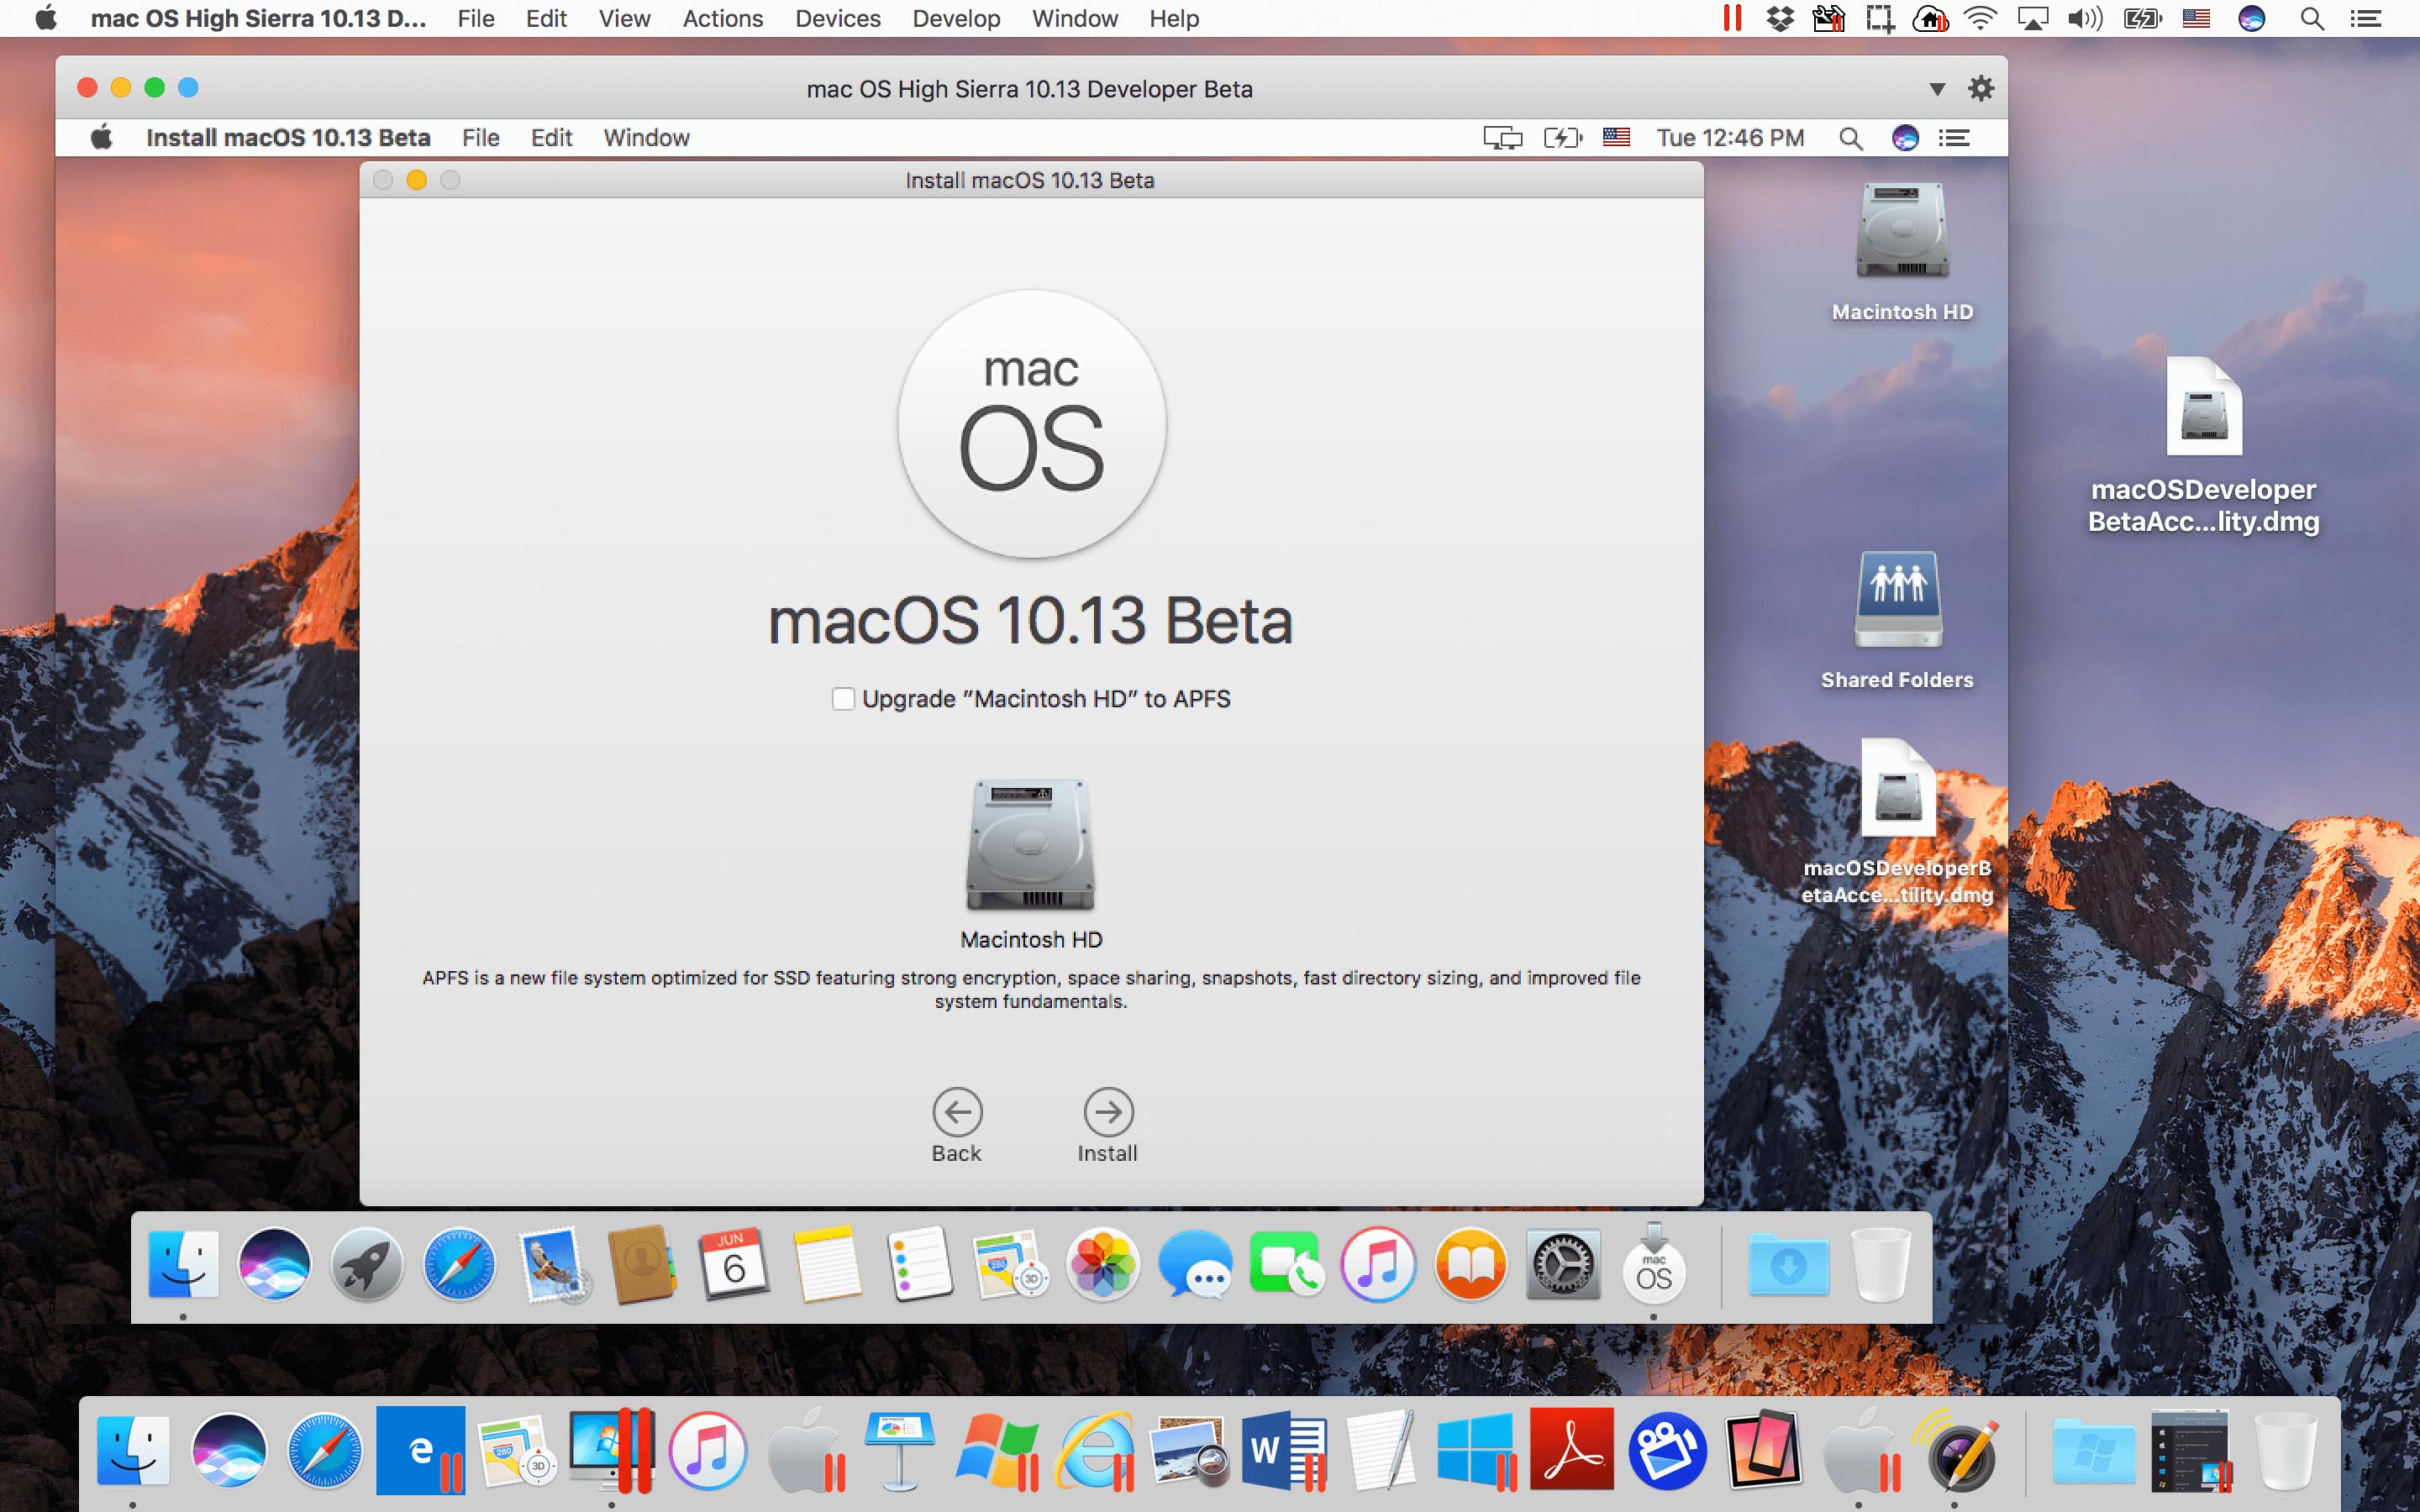
Figure 4_Don’t upgrade the VM’s file system to APFS
- I let the installation process continue to completion. See figure 5.
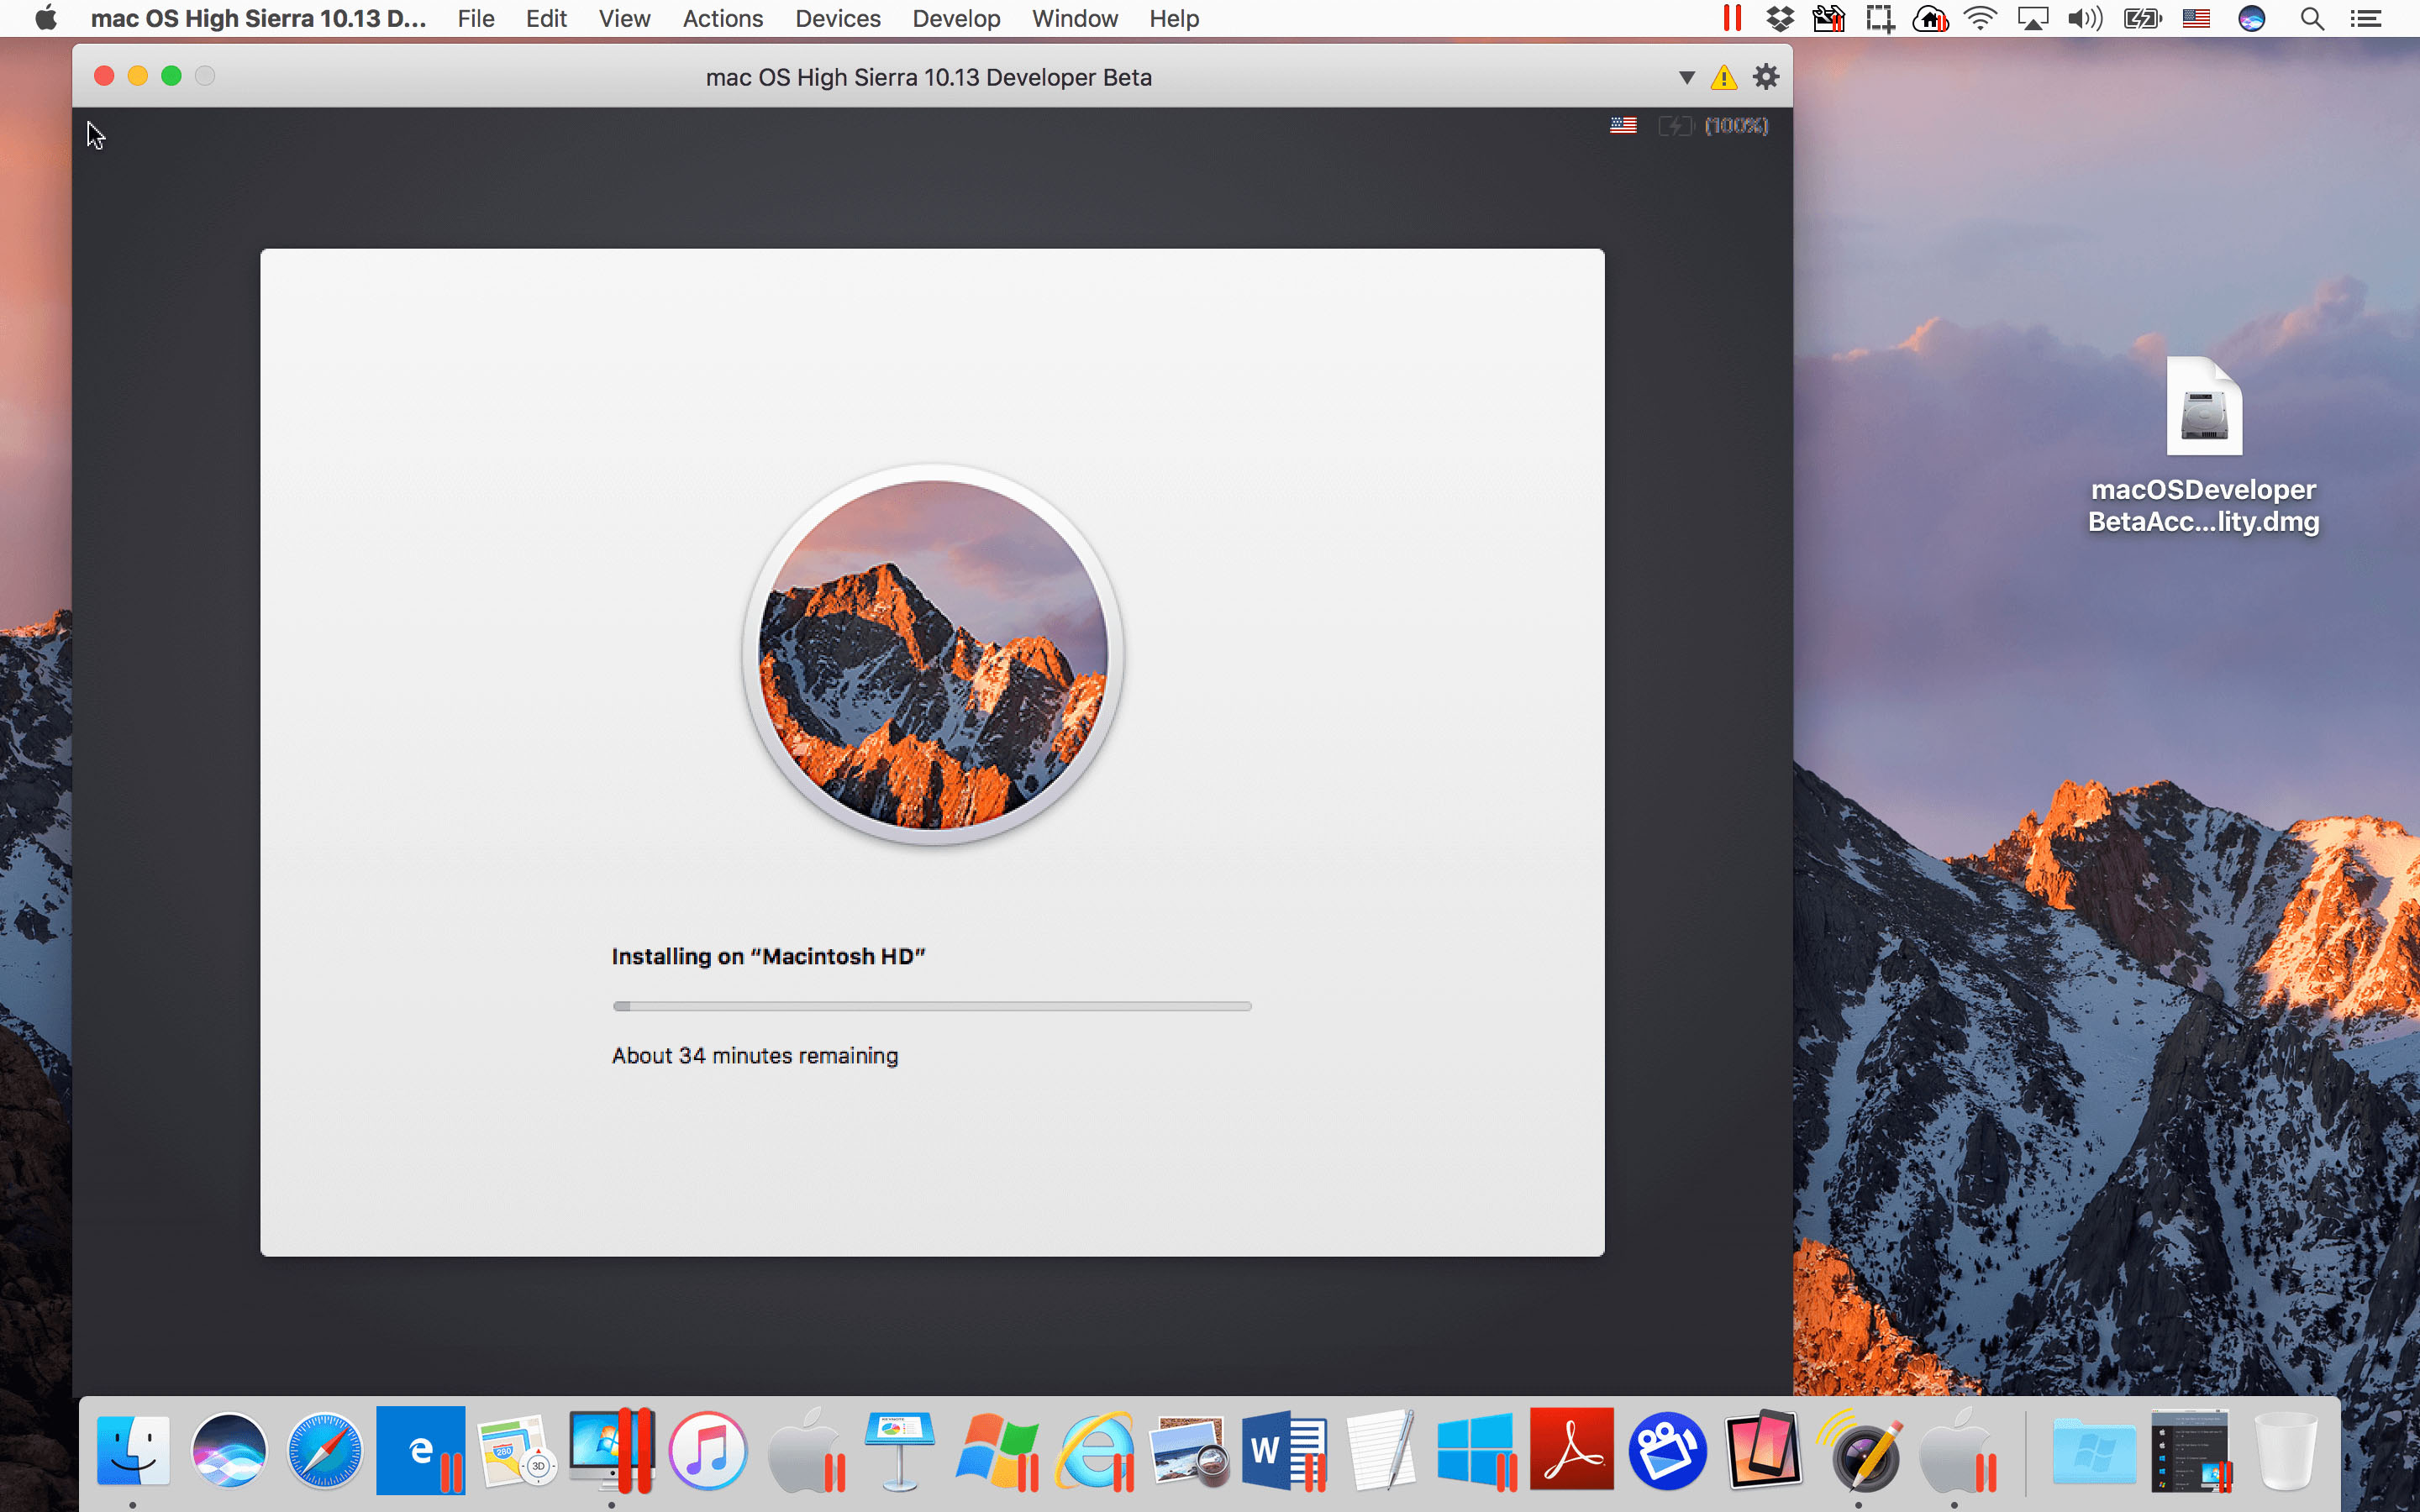
Figure 5_The upgrade is proceeding
- The newly upgraded VM rebooted, and I had macOS High Sierra running in a Parallels Desktop virtual machine. See figure 6.
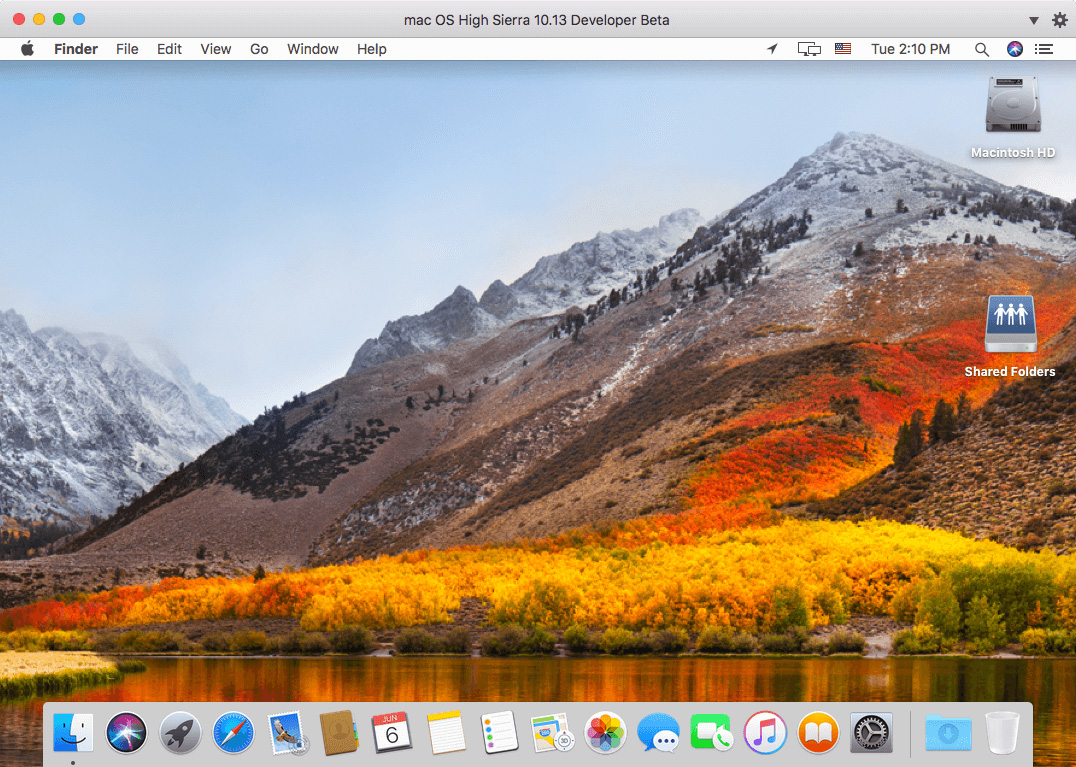
Figure 6_macOS High Sierra running in a Parallels Desktop 12 virtual machine
Of course, there might be other ways to get High Sierra running in VM, but the above steps worked for me.
However, remember that Parallels doesn’t officially support the Developer Preview of High Sierra. If you do create a High Sierra VM, we would like to hear about any issues you experience. If you used different steps than I used, please also tell us what worked and what didn’t work for you. You can comment below or reach out to our social community via Facebook or Twitter (@ParallelsMac). Beta software is beta software, so make sure to backup, don’t use the beta VM for any real work, and be ready for bugs.
Note that I haven’t yet tackled the opposite task: running Parallels Desktop on High Sierra. To do this, I have to find a spare Mac® on which I can install High Sierra, and then run Windows and other OSes on this High Sierra Mac. Of course, I will also want to see if the High Sierra VM will run in Parallels Desktop on High Sierra. This will be like figure 3, but instead of two instances of Sierra, there will be two instances of High Sierra. I am looking forward to telling you of my efforts in a future blog post.
Try Parallels Desktop for free for 14 days!