

For home ![Home icon]()
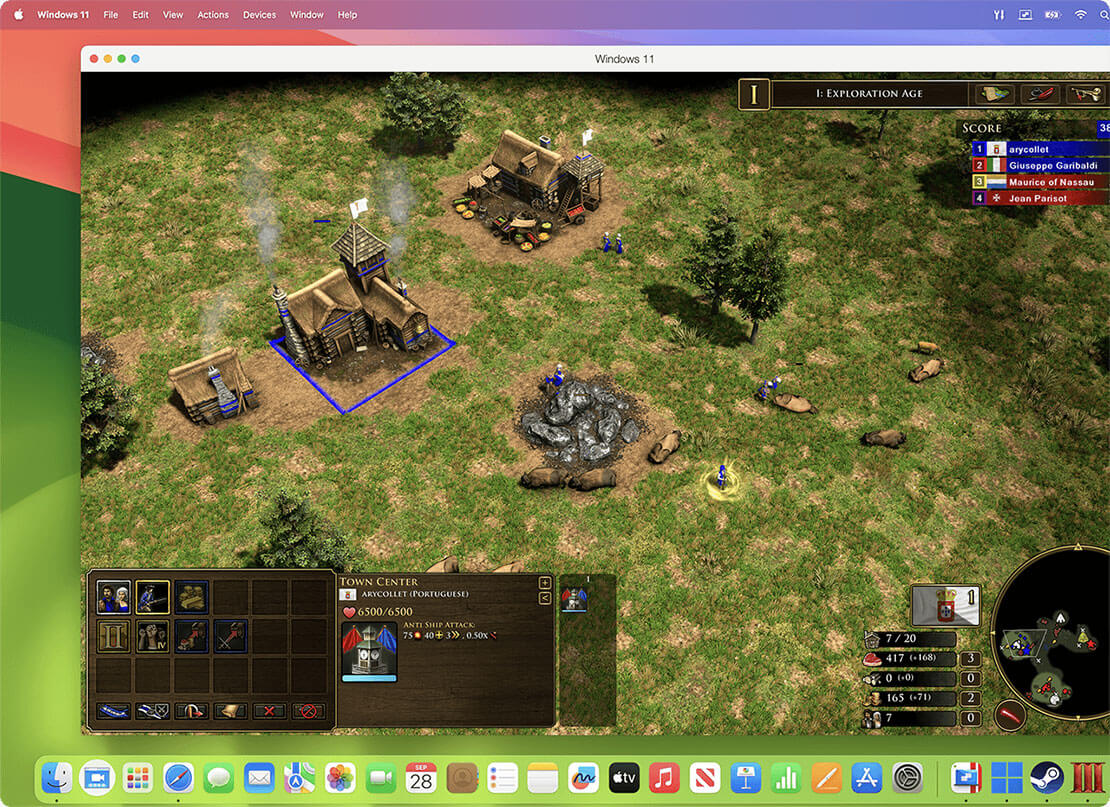
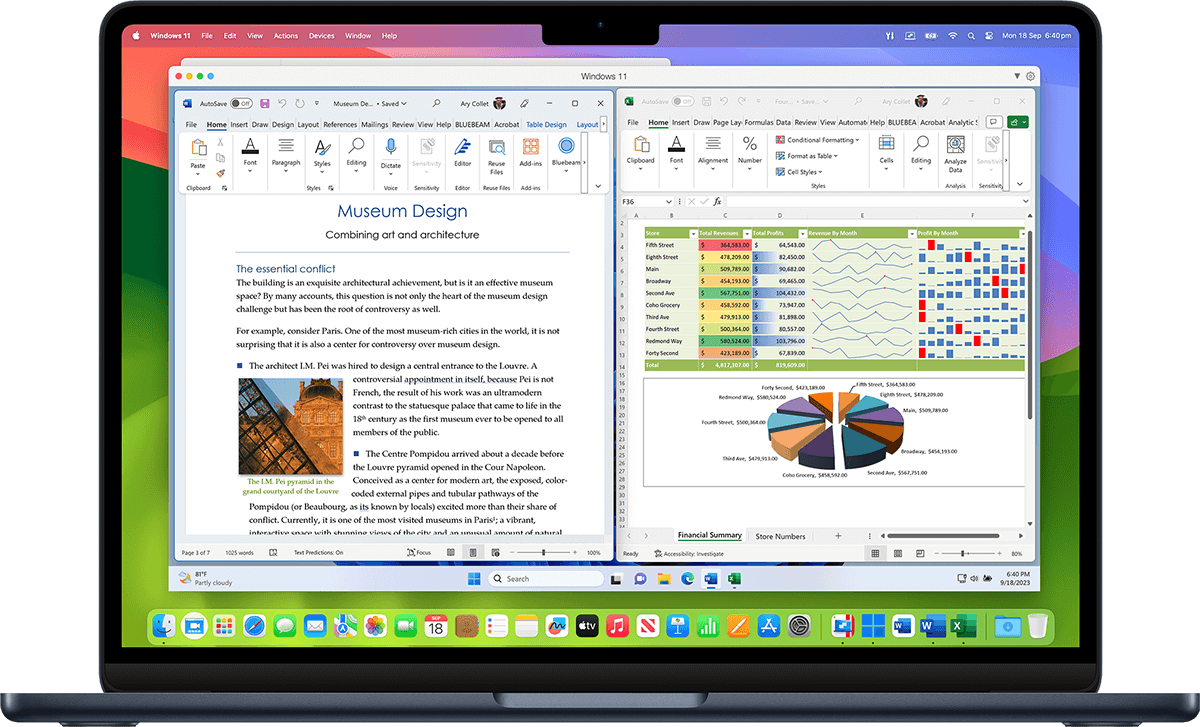
Continue using your trusted Windows applications, such as perpetual versions of existing software, or hobby-related ones.
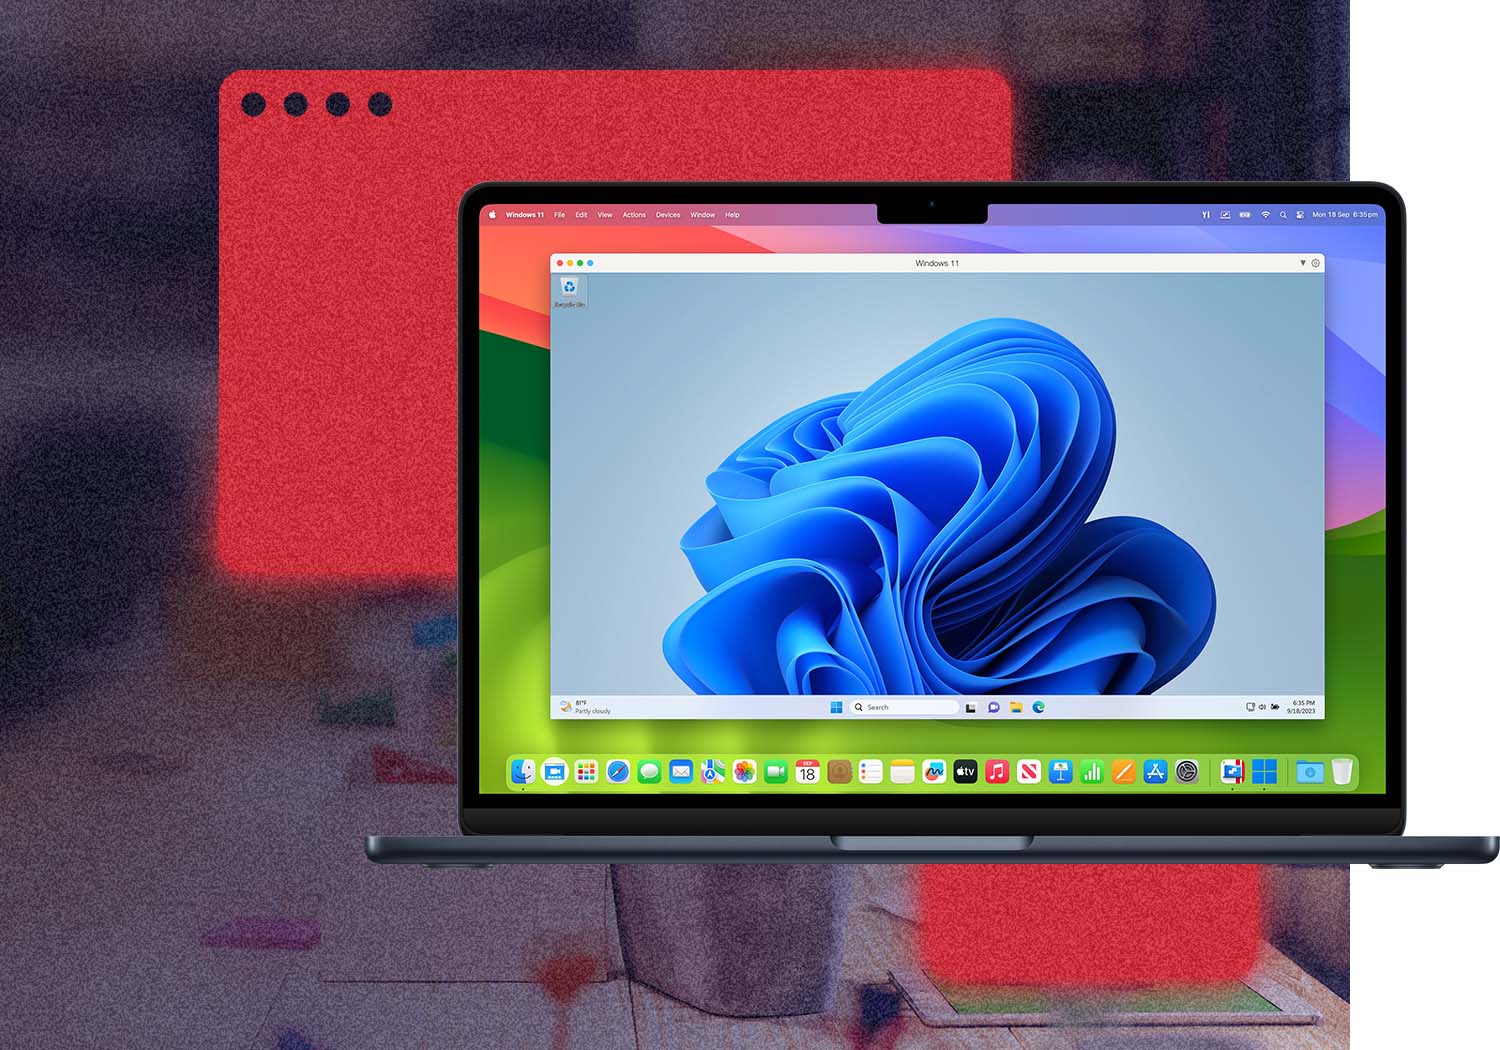
Comfortable using Windows? We've got you covered. Enjoy the best Windows has to offer fully integrated into your Mac environment.
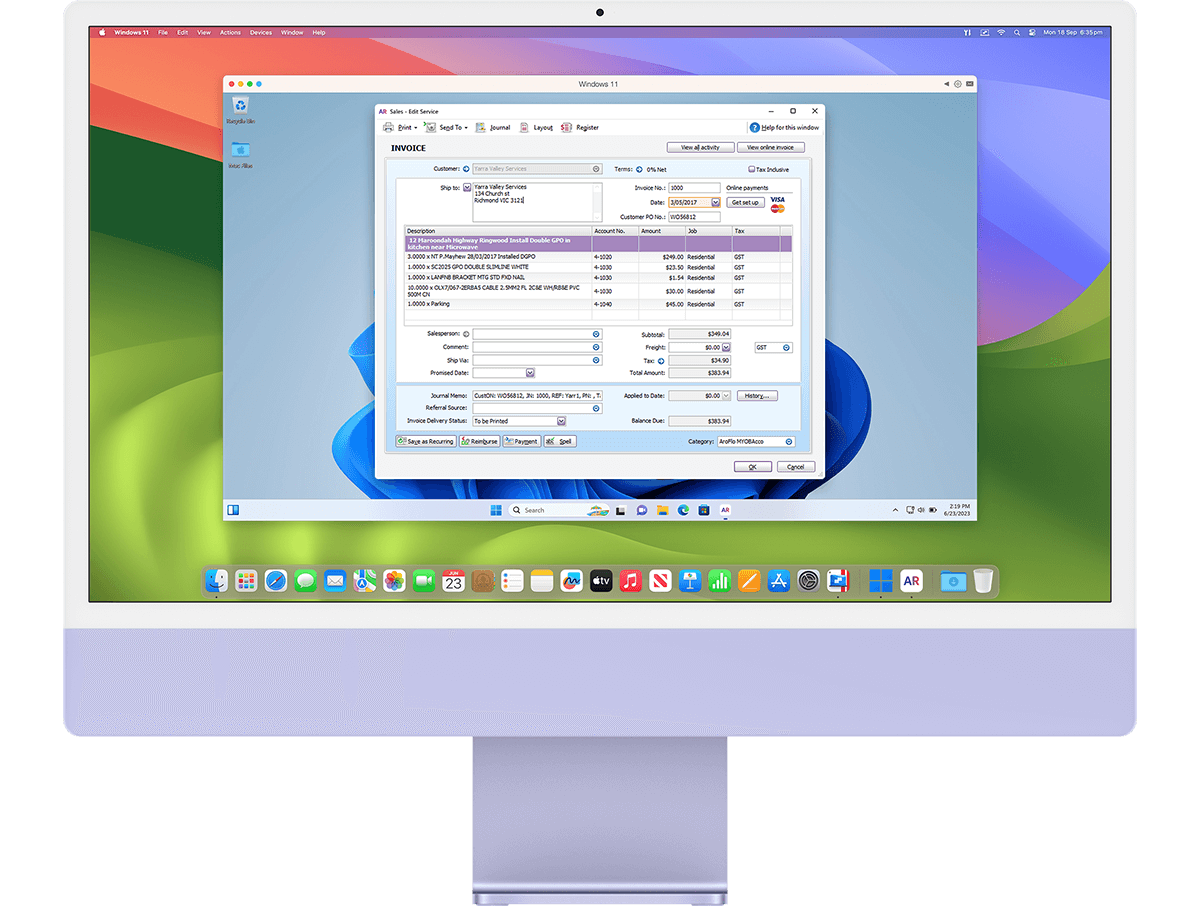
Streamline your financial tasks with easy access to the most popular accounting software like Quicken, MYOB, and many more.

Enable creativity without the constraints of operating systems running specialized programs such as DesignaKnit, Janome MBX Digitizer, and Monogram Wizard.