
Installing El Capitan in Parallels Desktop 11
A virtual machine (VM) is the ideal way to check out an OS that has been released as a beta, like Mac OS X 10.11, also known as El Capitan. A VM is a sandboxed environment, so any issues seen in the beta OS won’t affect any of your files on the Mac, destabilize your host OS, or even require that you back up your Mac before installing the beta. If you want to install macOS High Sierra please check out this blog post.
Some Parallels Desktop users have asked me how to do the installation of El Capitan in Parallels Desktop 11, and I’m happy to tell you in this blog post.
At a high level, here are the steps, which I will explain in detail and with lots of screenshots in the rest of the post:
1. Download the El Capitan installer app. (About 6 GB)
2. Create a new, empty VM, and install the El Capitan beta in this VM.
3. Download and install all the El Capitan updates in this VM. (About another 6 GB)
4. Install Parallels Tools in this VM.
All in all, this took me about three hours, but most of that time was downloading. (I really have to get better Internet access at home.)
Now for the details:
1. Download the El Capitan installer app. (About 6 GB)
To get the El Capitan installer, you have to either join the free Apple Beta Software Program or be a registered Apple Developer. Once you’re a member of one of these programs, you can download the El Capitan installer app for free. It takes a little while to download 6 GB, but once done, you will have one of these in your Applications folder.
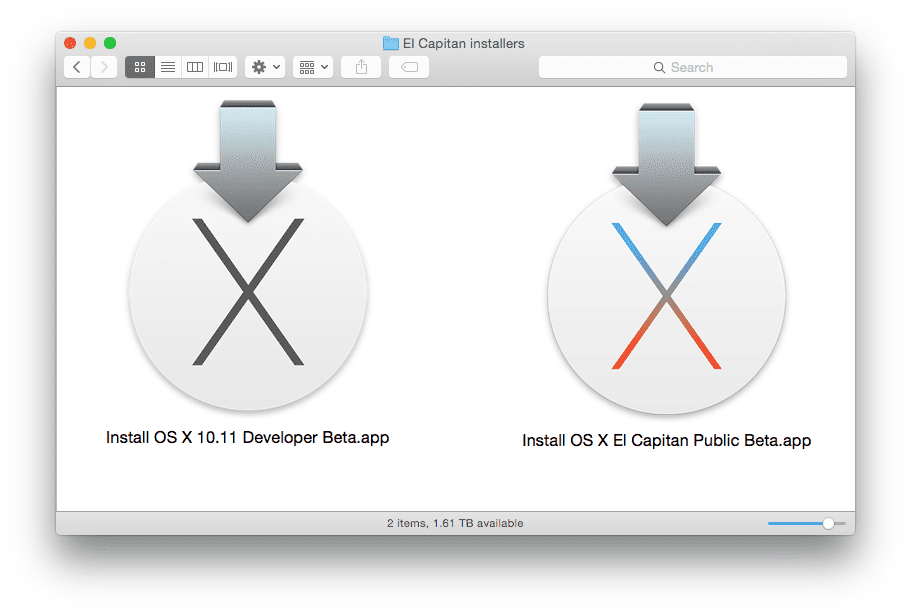
Figure 1
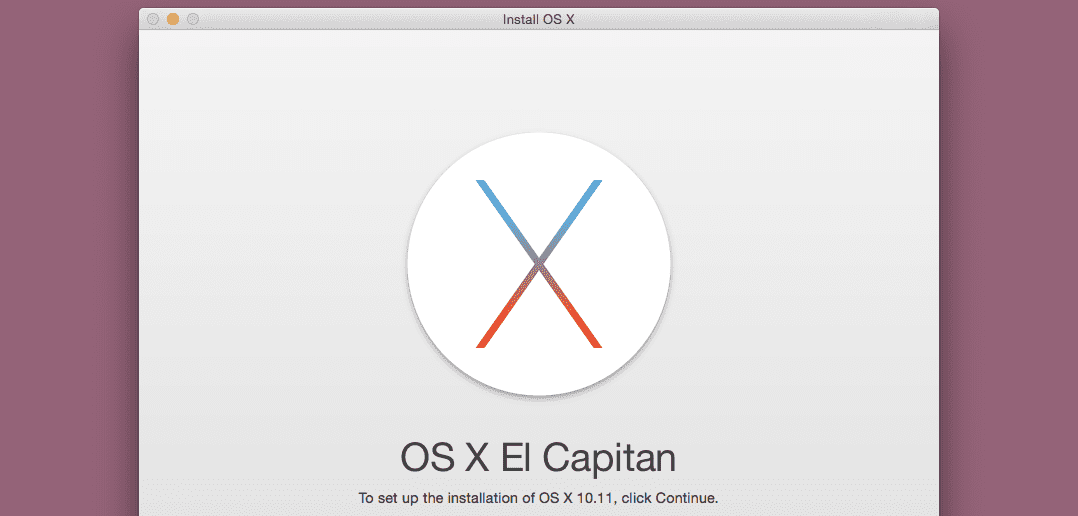
The app will launch once it finishes downloading. (See Figure 2.) You should just quit the app, since you will be installing in a VM in Parallels Desktop.

Figure 2
2. Create a new, empty VM, and install the El Capitan beta in this VM.
To create a new VM, either click on the “+” in the Parallels Desktop Control Center (Figure 3), or choose the “New…” menu item in the File menu of Parallels Desktop.

Figure 3
In the New Virtual Machine Wizard window that opens (Figure 4), the installation option “Install Windows or another OS from a DVD or image file” will already be chosen, so just click the Continue button.
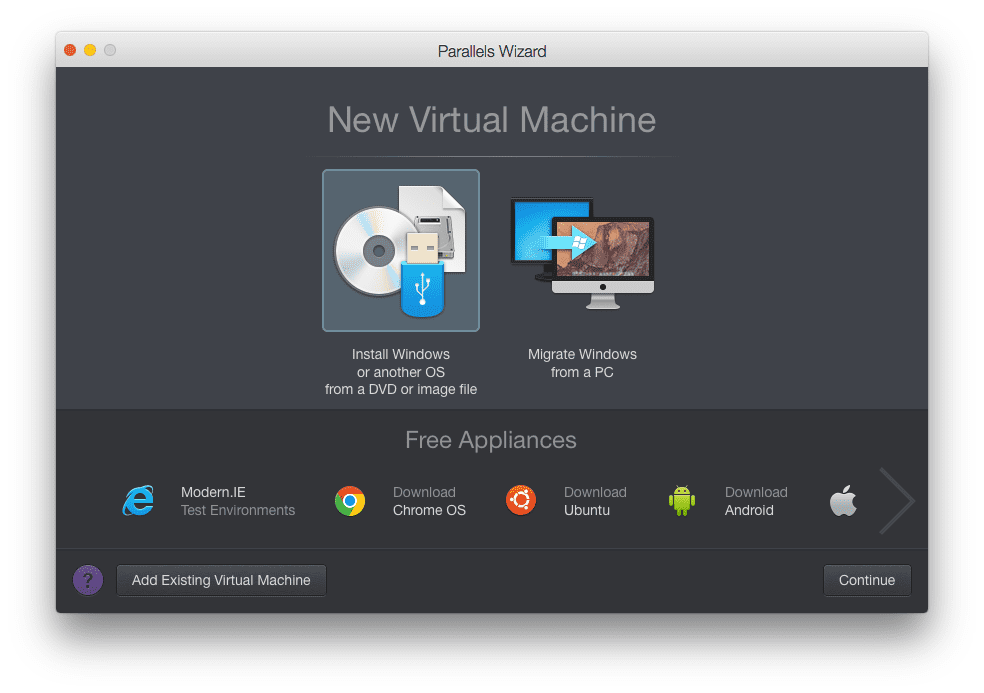
Figure 4
The Wizard will then find the El Capitan installer app, so click on it to select it, and then hit Continue. (Figure 5)
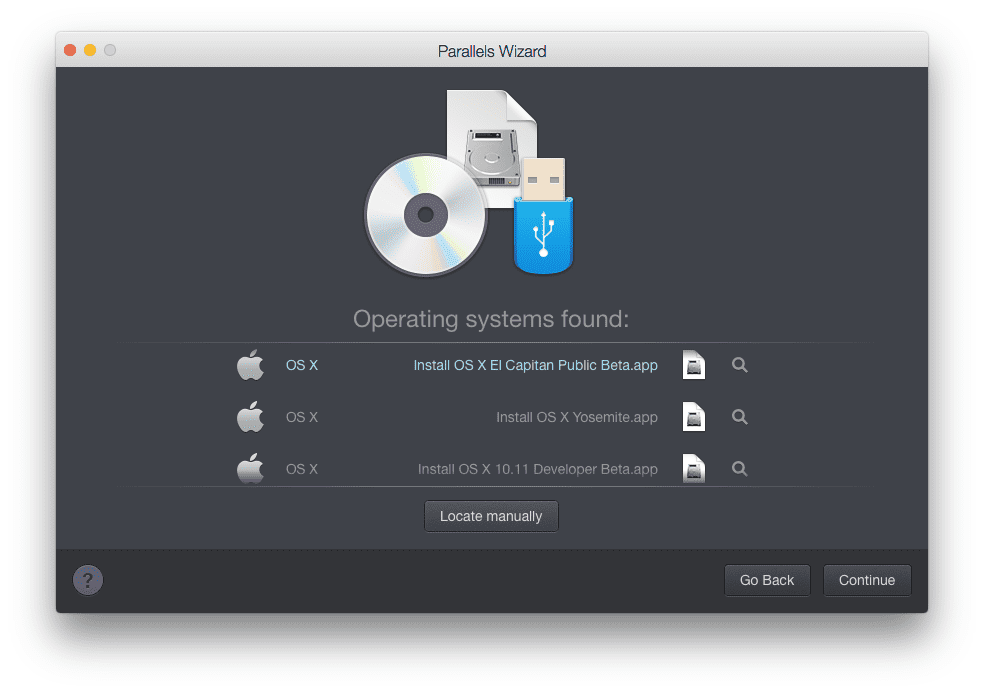
Figure 5
The Wizard will then create a temporary installer disk image file. (Figure 6) This file will be over 8 GB in size but can be deleted after the El Capitan VM is fully installed.
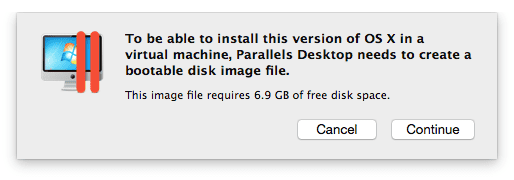
Figure 6
The Wizard will then display a dialog enabling you to name the new VM and decide where to store it on your Mac. (Figure 7)
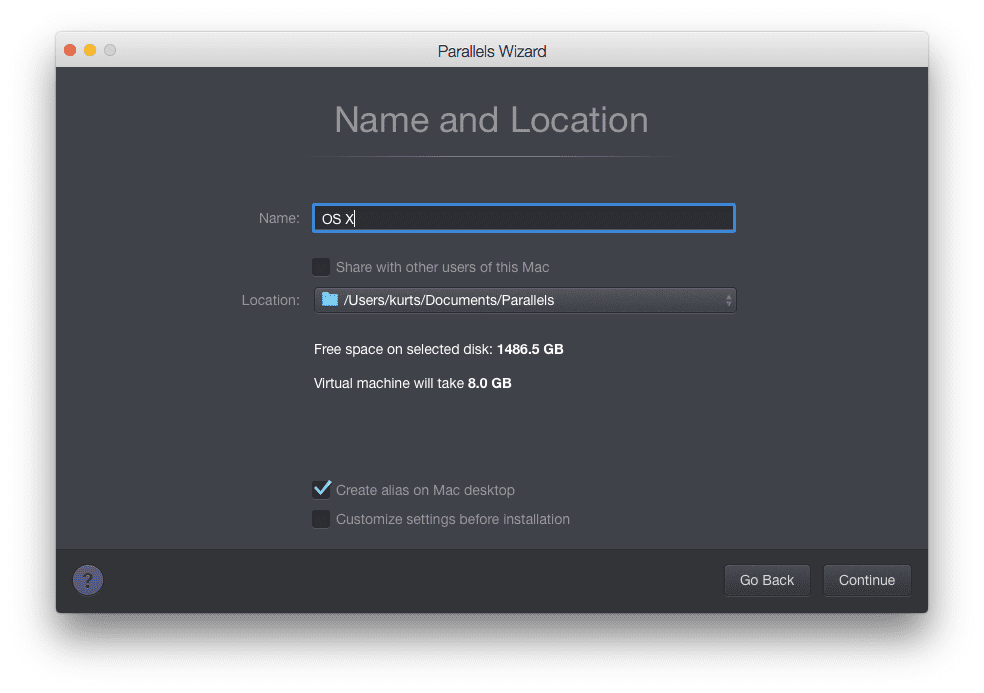
Figure 7
After that you will see the standard Mac OS X installation screens and dialogs. The only one you might have a doubt about is where to install (Figure 8). Choose the Macintosh HD. Soon, you will have El Capitan running in a VM.
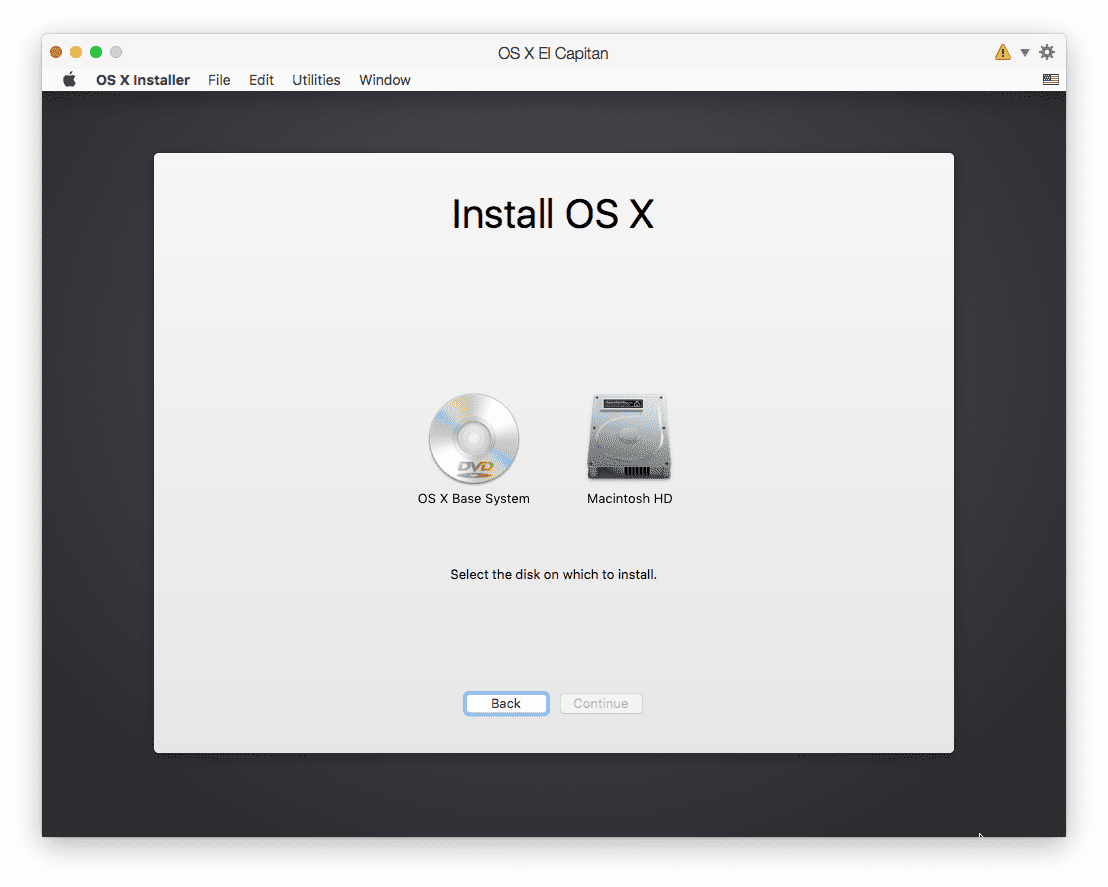
Figure 8
3. Download and install all the El Capitan updates in this VM. (About another 6 GB)
Normally, I would install Parallels Tools at this point. However, this won’t work for El Capitan. First, you have to install all the updates to El Capitan. Launch the App Store app inside El Capitan, not the App Store app on your host.
Get all the updates to El Capitan—there will be several, each of which must be installed in sequence. Just keep installing updates, rebooting El Capitan, and then checking for more updates. Do this until the App Store app says that there are no more updates. This will take a while, since several updates are more than 2 GB in size.
4. Install Parallels Tools in this VM.
Now install Parallels Tools by choosing the “Install Parallels Tools” menu item in the Actions menu of Parallels Desktop. You will need to open the CD icon that appears on the El Capitan desktop and manually launch the Install Parallels Tools app.
That’s it! You can now use the El Capitan VM and see for yourself what’s coming later this year for the Mac. (Figures 9 and 10)
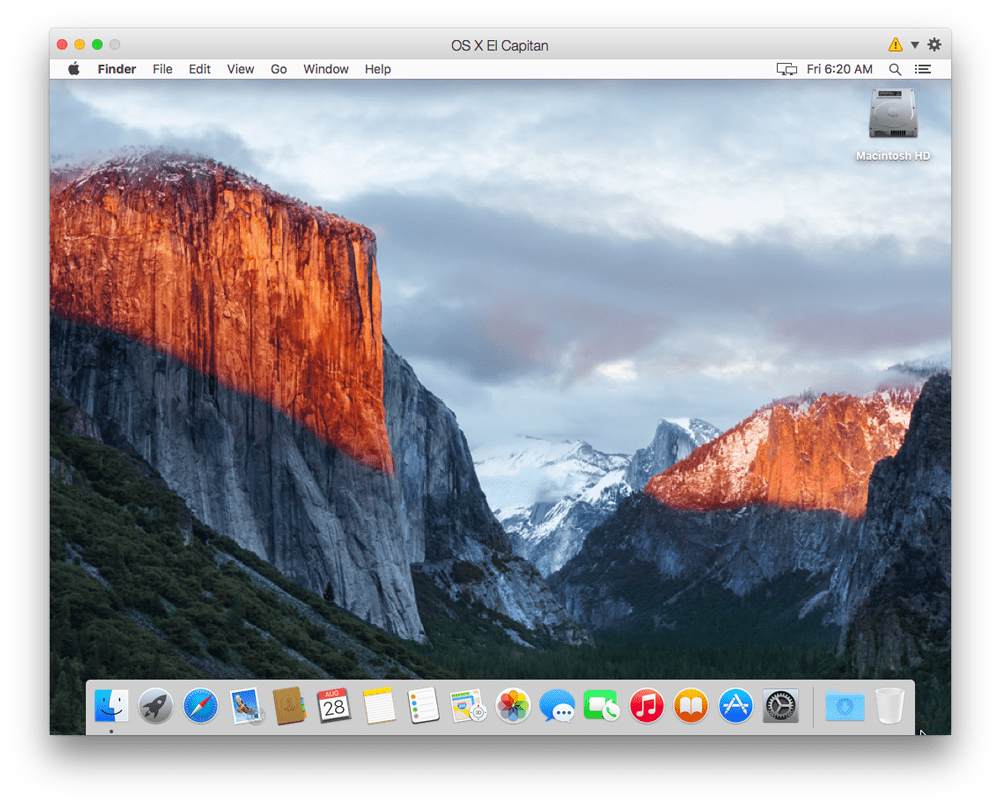
Figure 9

Figure 10
Enjoy!
Will you be trying out the latest macOS in a Parallels Desktop VM? Share your thoughts with us in a comment below, or reach out to us on Facebook or Twitter.
Try Parallels Desktop for free for 14 days!