How to Configure a Smart Card Authentication
What is Smart Card Authentication?
Smart cards are small plastic cards, similar to credit cards with an embedded microchip that can be set up to store user authentication information. Organizations worldwide are adopting strong authentication solutions to validate an individual’s identity before providing access to computer networks, systems and applications. The smart card chip can store authentication information for a specific user such as PIN. This makes the smart card a perfect solution to security conscious businesses.
When users insert their smart cards through the smart card reader, the card implements multiple factors of authentication which secures the threat of hackers gaining access to sensitive applications, desktops and data stored in a datacenter.
In this guide we will walk through a 4 stage setup procedure to use smart card authentication with a Parallels Remote Application Server environment.
Stage 1: Smart Card Setup Prerequisites
Before Parallels Remote Application Server is able to authenticate users with smart cards, the system must be configured correctly according to the prerequisites listed below.
- Active Directory configured for authenticating domain users with smart card.
- Enterprise PKI and issued user certificates.
- A RDP server (2008, 2008R2, 2012, 2012 R2) joined to the same domain and it should allow the domain users to log in via smart card.
- Drivers for the smart card AND the smart card reader installed on the RDP server as well as on the client machines that will connect to the RDP server.
Note: The configuration of these prerequisites may vary depending on the smart card vendor.
Stage 2: Test the Setup
After the prerequisites are configured, a test is required to verify that smart card authentication configured in Stage 1 has been set up correctly. This test will attempt to authenticate with the RDP server from a Windows machine using smart card.
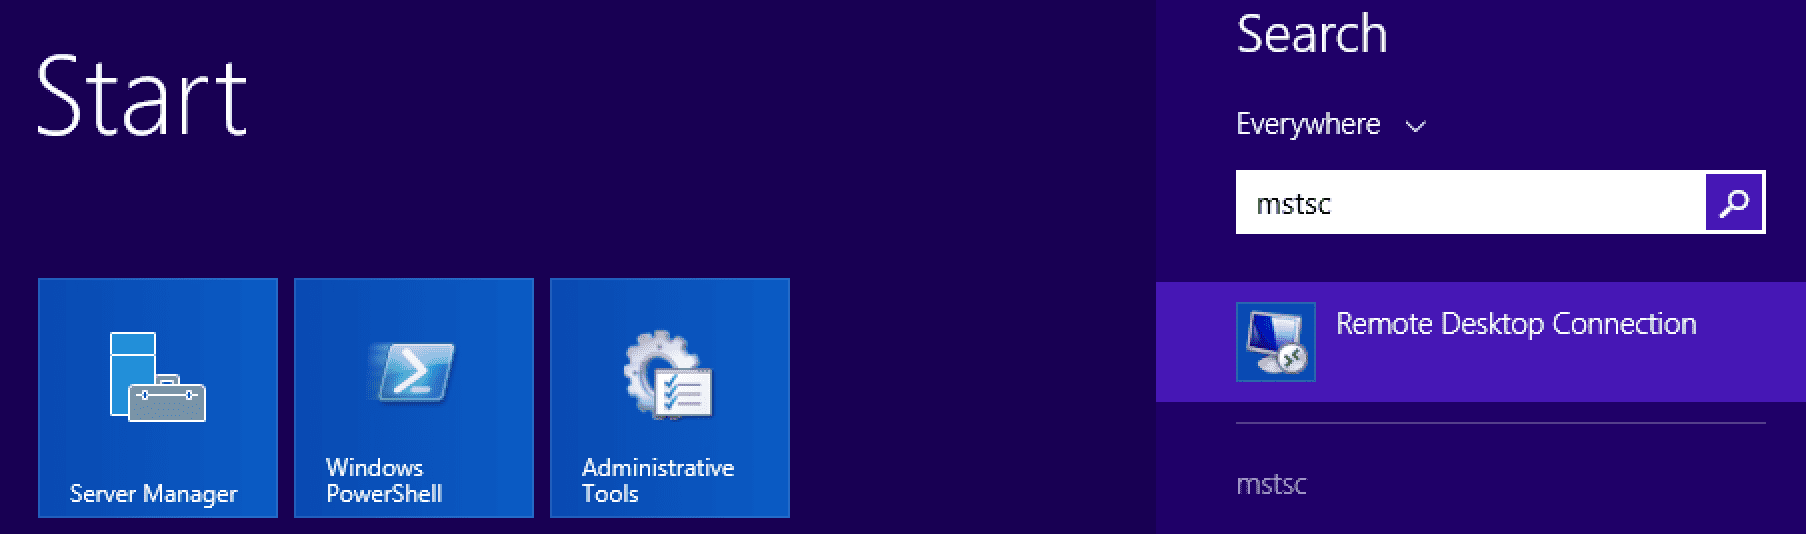
- Click the Windows “Start” menu and search for mstsc. Subsequently click to run the program.
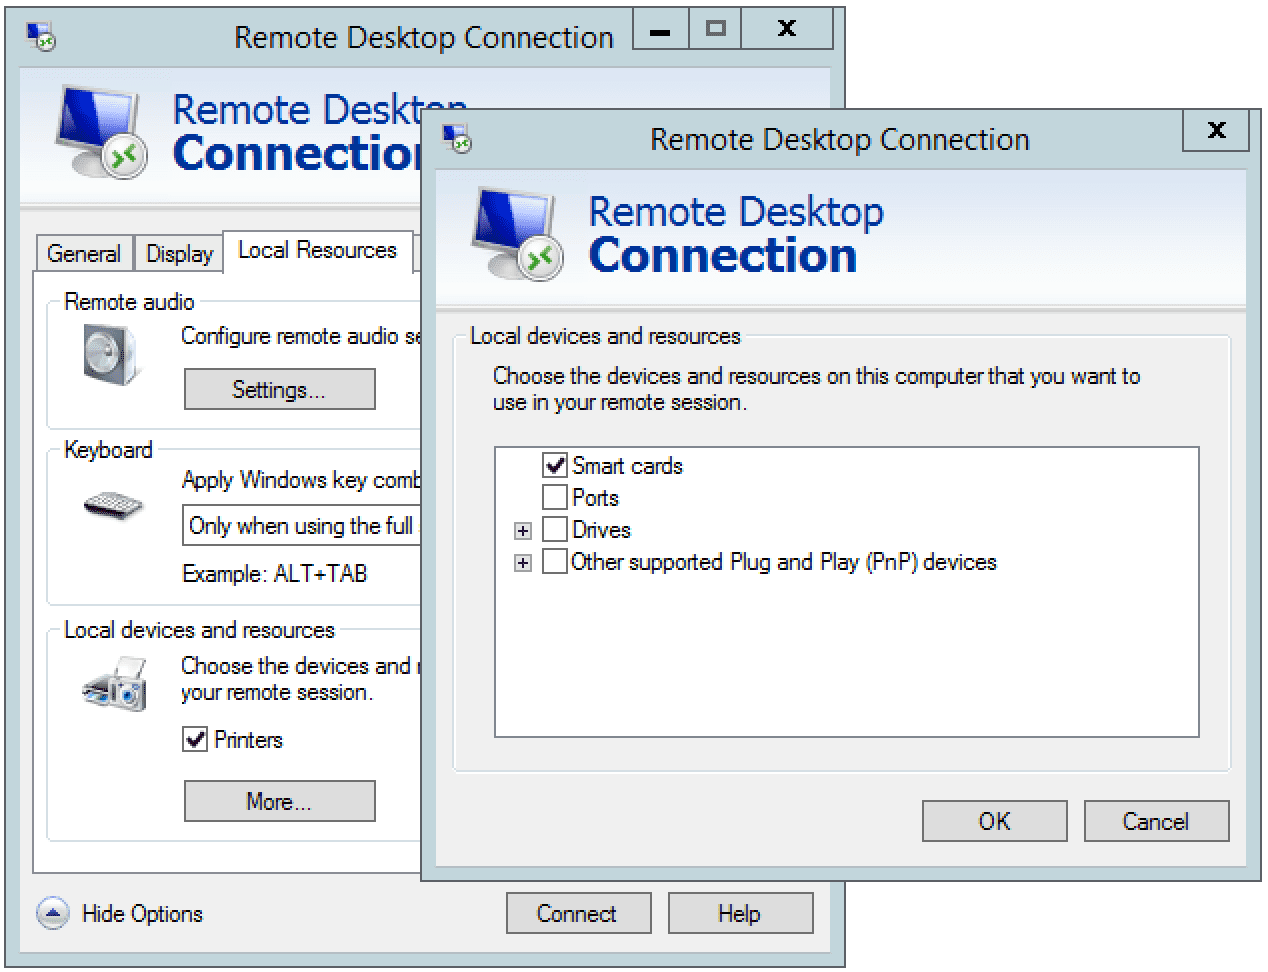
- From the mstsc dialogue, click “Options” → “Local Resources” → “More” and enable the “Smart Cards” option and click “OK” to apply the changes.
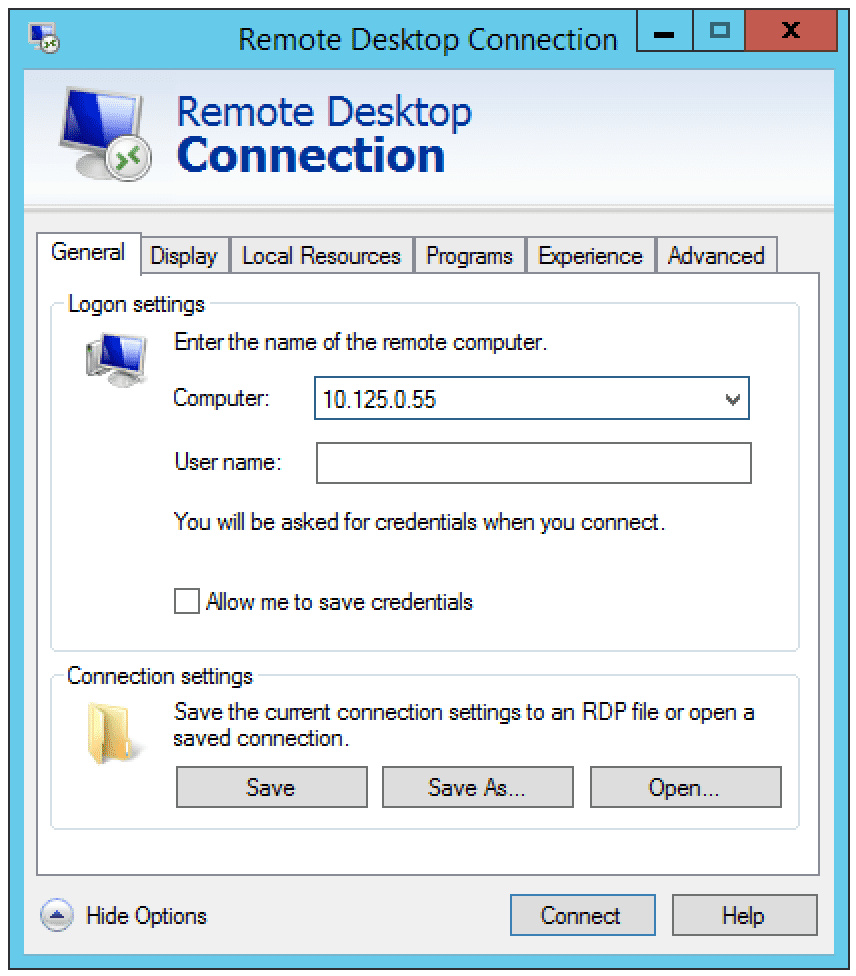
- Next switch back to “General” tab and enter the RDP server hostname or IP address. Click “Connect” to proceed.
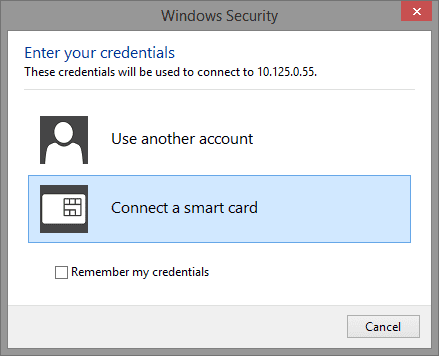
- The “Windows Security” window allows you to connect via domain credentials or smart card. For the purpose of this test ensure that the smart card reader is connected to the client machine and smart card in inserted.

- You will then see the Windows domain user configured in stage 1, point 1. Enter the PIN assigned to the smart card. Click “OK” to connect to the server.
If configured correctly the remote desktop session should be established without prompting for authentication. If the test is successful, move to Stage 3, otherwise revisit the configuration prerequisites outlined in Stage 1.
Stage 3: Configure Parallels Remote Application Server for Smart Card Authentication
Install the Parallels Remote Application Server Publishing Agent on a Windows server joined to the smart card domain configured in Stage 1, point 1. The Terminal Server Agent should be pushed to the RDP server referenced in Stage 1, point 3. At this stage Parallels Remote Application Server will be set up to authenticate users via smart cards.
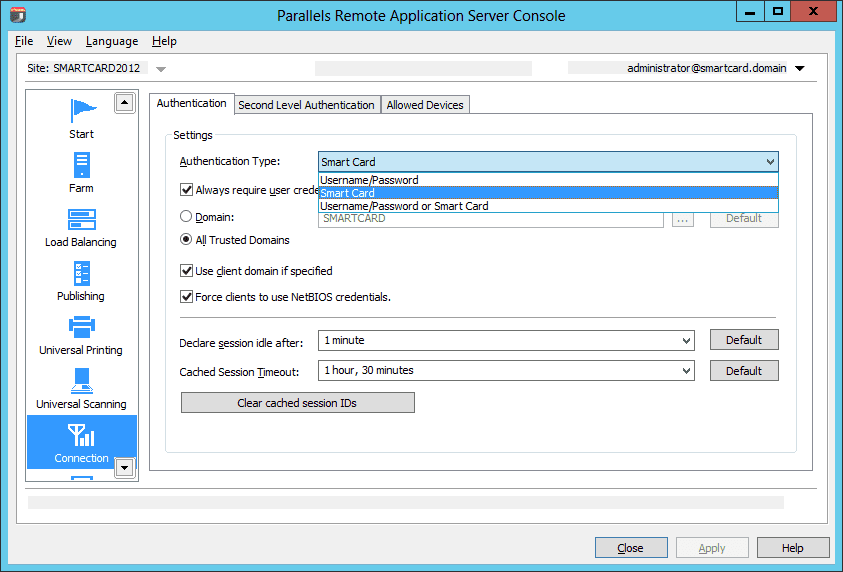
- From the Parallels Remote Application Server console, select the “Connection” category → “Authentication” and from the “Authentication type” drop down, select “Smart Card.“
- Click “Apply” to finalize the configuration.
Stage 4: Configure Parallels Client
Smart card authentication is supported on the Parallels Clients for Windows and Linux. In this example the Parallels Client for Windows will be configured to authenticate with Parallels Remote Application Server via smart card.
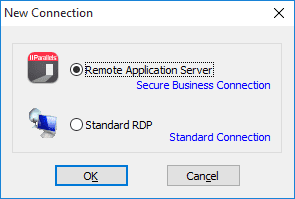
- Run the Parallels Client and click “File” → “Add New Connection” → “Remote Application Server.”
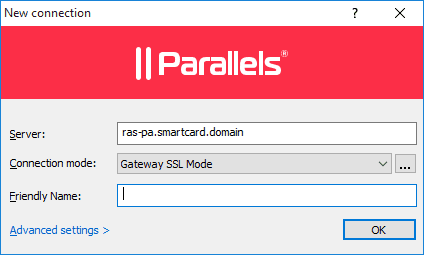
- In the “Server” text box enter the server IP address or hostname of the server where the Publishing Agent is installed.
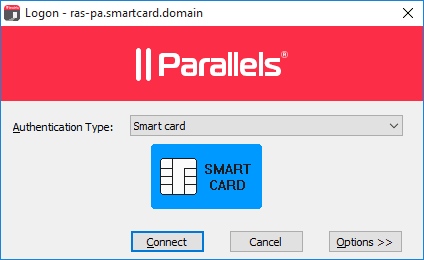
- Next from the “Logon” dialogue → “Authentication Type” dropdown select smart card and click “Connect.”
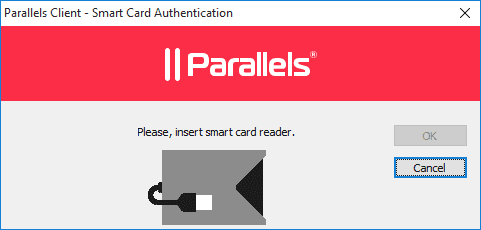
- Ensure the smart card reader is connected and insert the smart card.
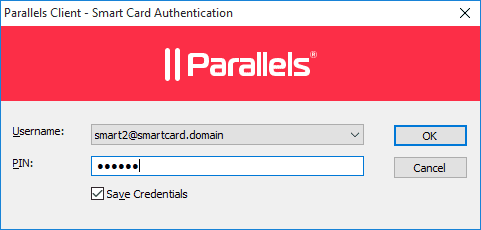
- Next the user should match to that configured in Stage 1, step 1. Enter the PIN associated to that user and click “OK” to log in.
Applications and desktops published from Parallels Remote Application Server are now listed. Click to access any of these resources without being prompted for credentials.
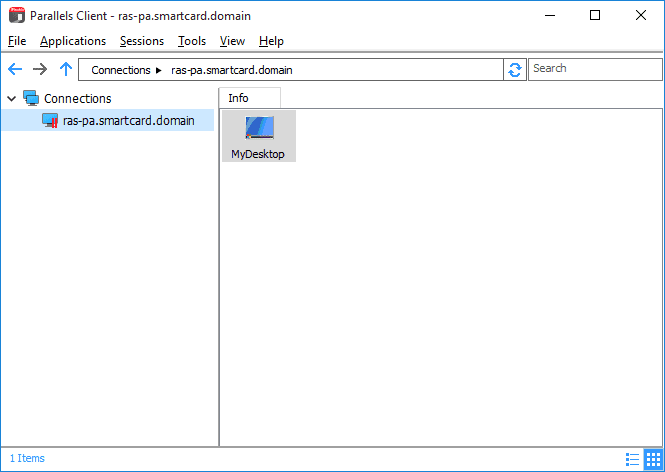
Congratulations! You have successfully logged in using smart card authentication.
click here to get started with a Parallels RAS free trial today.
References:
Smart Card Authentication: http://searchsecurity.techtarget.com/tip/Security-token-and-smart-card-authentication
Smart Card Authentication: Authenticate Clients Using Smart Cards | technet.microsoft.com
Smart Card Authentication: https://msdn.microsoft.com/en-us/library/windows/desktop/aa380142(v=vs.85).aspx
Smart Card Authentication: tech-faq
Smart Cards: https://en.wikipedia.org/wiki/Smart_card