If you’re a Mac user in architecture, engineering, or construction, you know how valuable Bluebeam Revu is for project collaboration and markup workflows.
While there was once a native Mac...
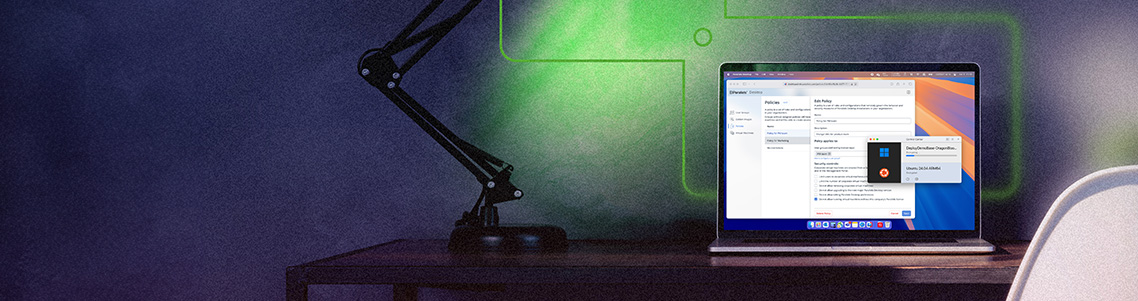
In today’s hybrid and bring-your-own-device (BYOD) environment, it’s a challenge to keep virtual machines (VMs) secure. Employees, contractors, and temporary users...
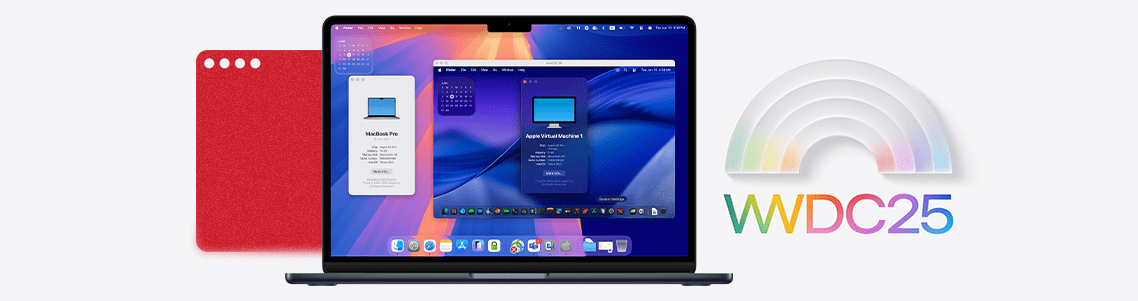
Apple’s WWDC 2025 just wrapped up—and for IT admins, Mac fans, and power users running Windows on Mac with Parallels Desktop, this isn’t just another keynote or product...
When’s the last time someone handed you a flyer, a business card, or a printed coupon—and you actually kept it?
Didn’t think so.
Odds are, it ended up crumpled in your bag, lost in your car, or straight in the trash.
If you’re still...
Few things stir such loyalty in us these days as our tech choices. If you’re a Windows person, you’re a Windows user. If you’re a Mac user,...
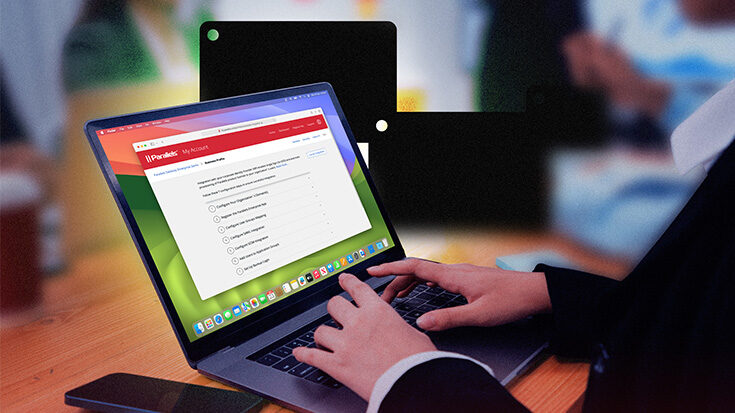
As organizations grow and evolve, IT admins are making it a priority to manage secure and efficient access to applications and data.
Single sign-on (SSO) capabilities make it simple for users to access their...
As part of the Parallels team, I’m always listening to our users and working to make your experience better.
With the latest update (20.3.0),...
The saying “a picture is worth a thousand words,” may need to be updated to say that a screen capture or screen shot says a thousand words, because so many professionals rely on their Macs to capture an image...
Airplane Mode disables all wireless connections or radio signals on your Mac, which is why it is primarily suggested when you’re using a Mac while flying.
Beyond its primary use, there are other reasons to turn on Airplane Mode, including saving...
If you own a Mac, you have probably used it for work or play outside your home at least once.
You might have left your laptop on a desk or table unattended while taking a break, thinking, “What’s the worst that can happen? No one knows...