How to Configure a Terminal Server, Publish Applications and Enroll New Users
We’ve just launched the new version of Parallels Remote Application Server v15, with amazing new features. To ensure a smooth transition when upgrading to this version, please review the upgrade procedure (based on best practices) here.
This article describes one of the new and cool features of Parallels Remote Application Server: Quick Start Configuration Wizards.
How to Configure a Terminal Server, Publish Applications and Enroll New Users
With the fast pace of technological advancements, many companies find themselves struggling to keep up with the latest features and technological processes. By its very nature, technology evolves quickly, racing to address the new situations and problems created with new solutions. In recent years even experienced IT administrators find themselves quickly falling behind the technological curve.
Parallels Remote Application Server v15 addresses these challenges by providing administrators with a set of configuration wizards. These wizards guide administrators through the steps necessary to setup a working environment, without the need to refer to a manual. This guide will walk you through the process of configuring a terminal server, publishing applications and providing end users with access to these applications.
Stage 1: Adding a Terminal Servers
Terminal Services, or RDS beginning in Windows 2008 R2 is a server role in Windows Server that provides technologies to enable users to connect to virtual desktops and session-based desktops. Parallels Remote Application Server is able to leverage Terminal Servers to provide many users simultaneous session based access to applications installed on the server. This is normally quite complex and requires dozens of configurations to get set up. This configuration wizard makes adding a Terminal Server an effortless task.
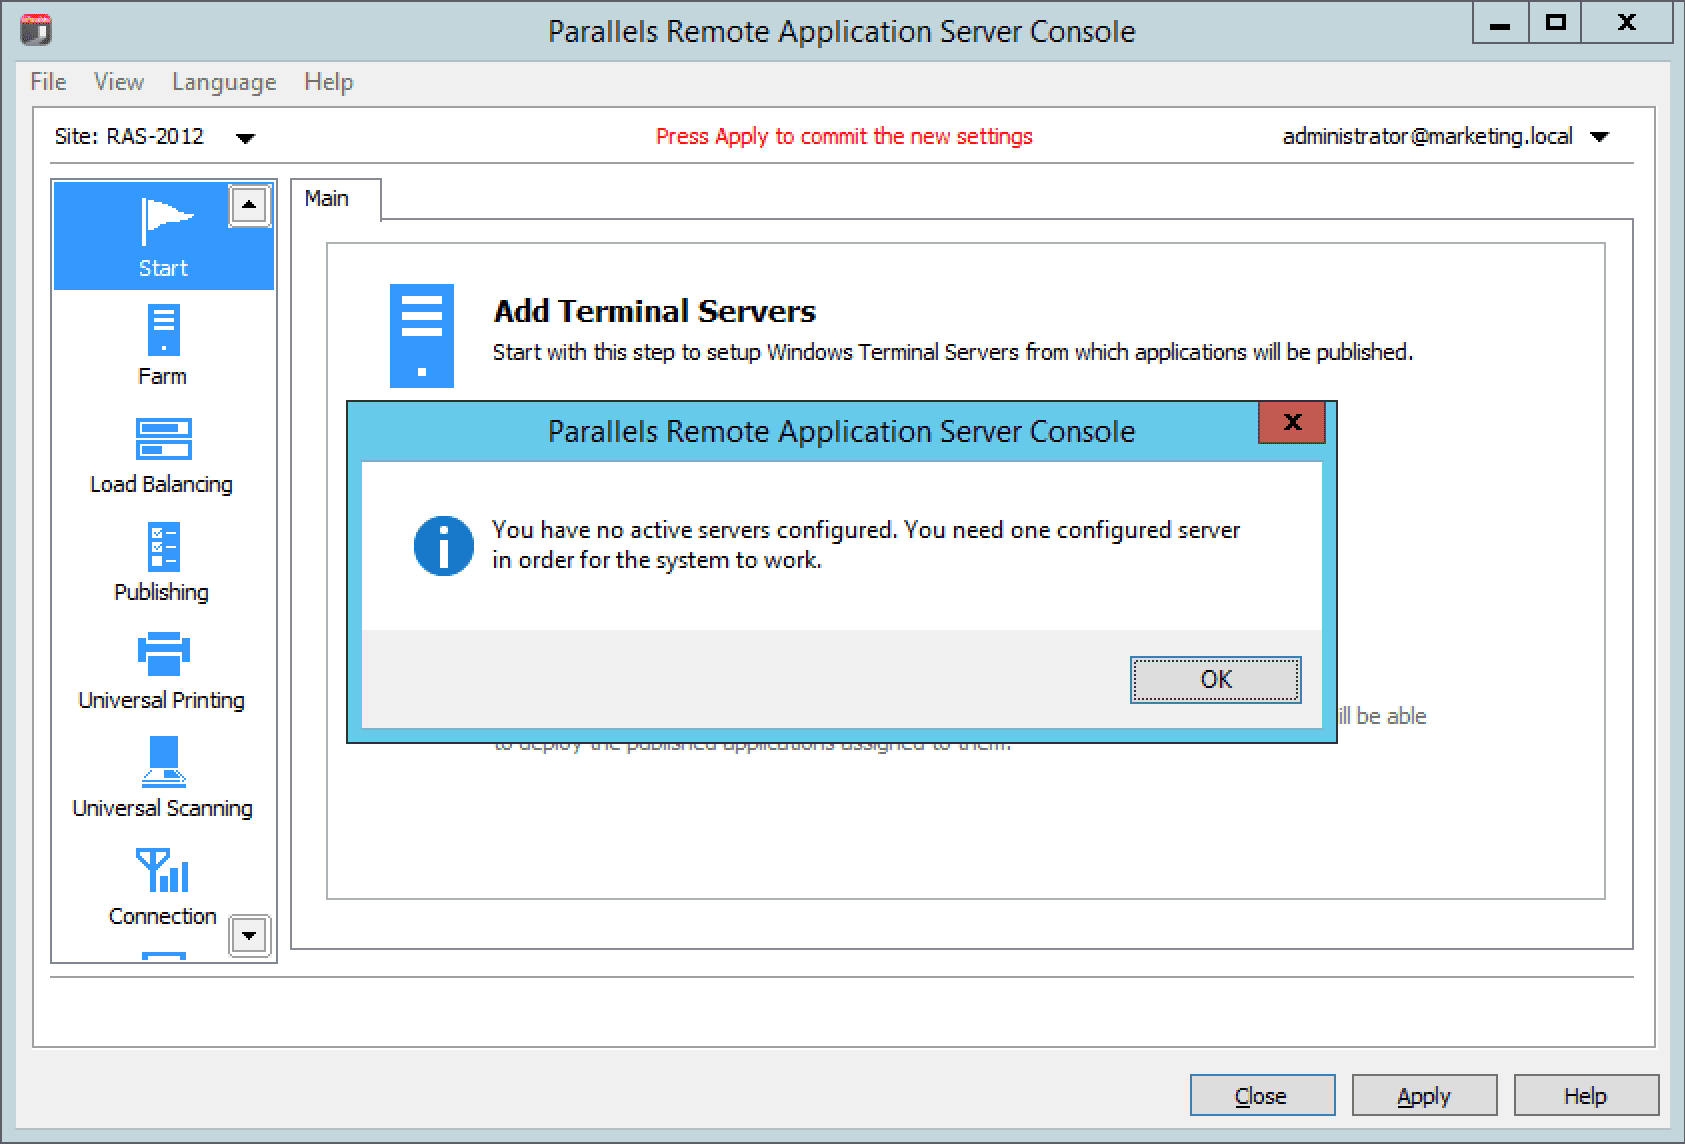
1. The first time the Parallels Remote Application Server console is launched or when a server is not configured, you are presented with a prompt to configure a server. Click “OK”.
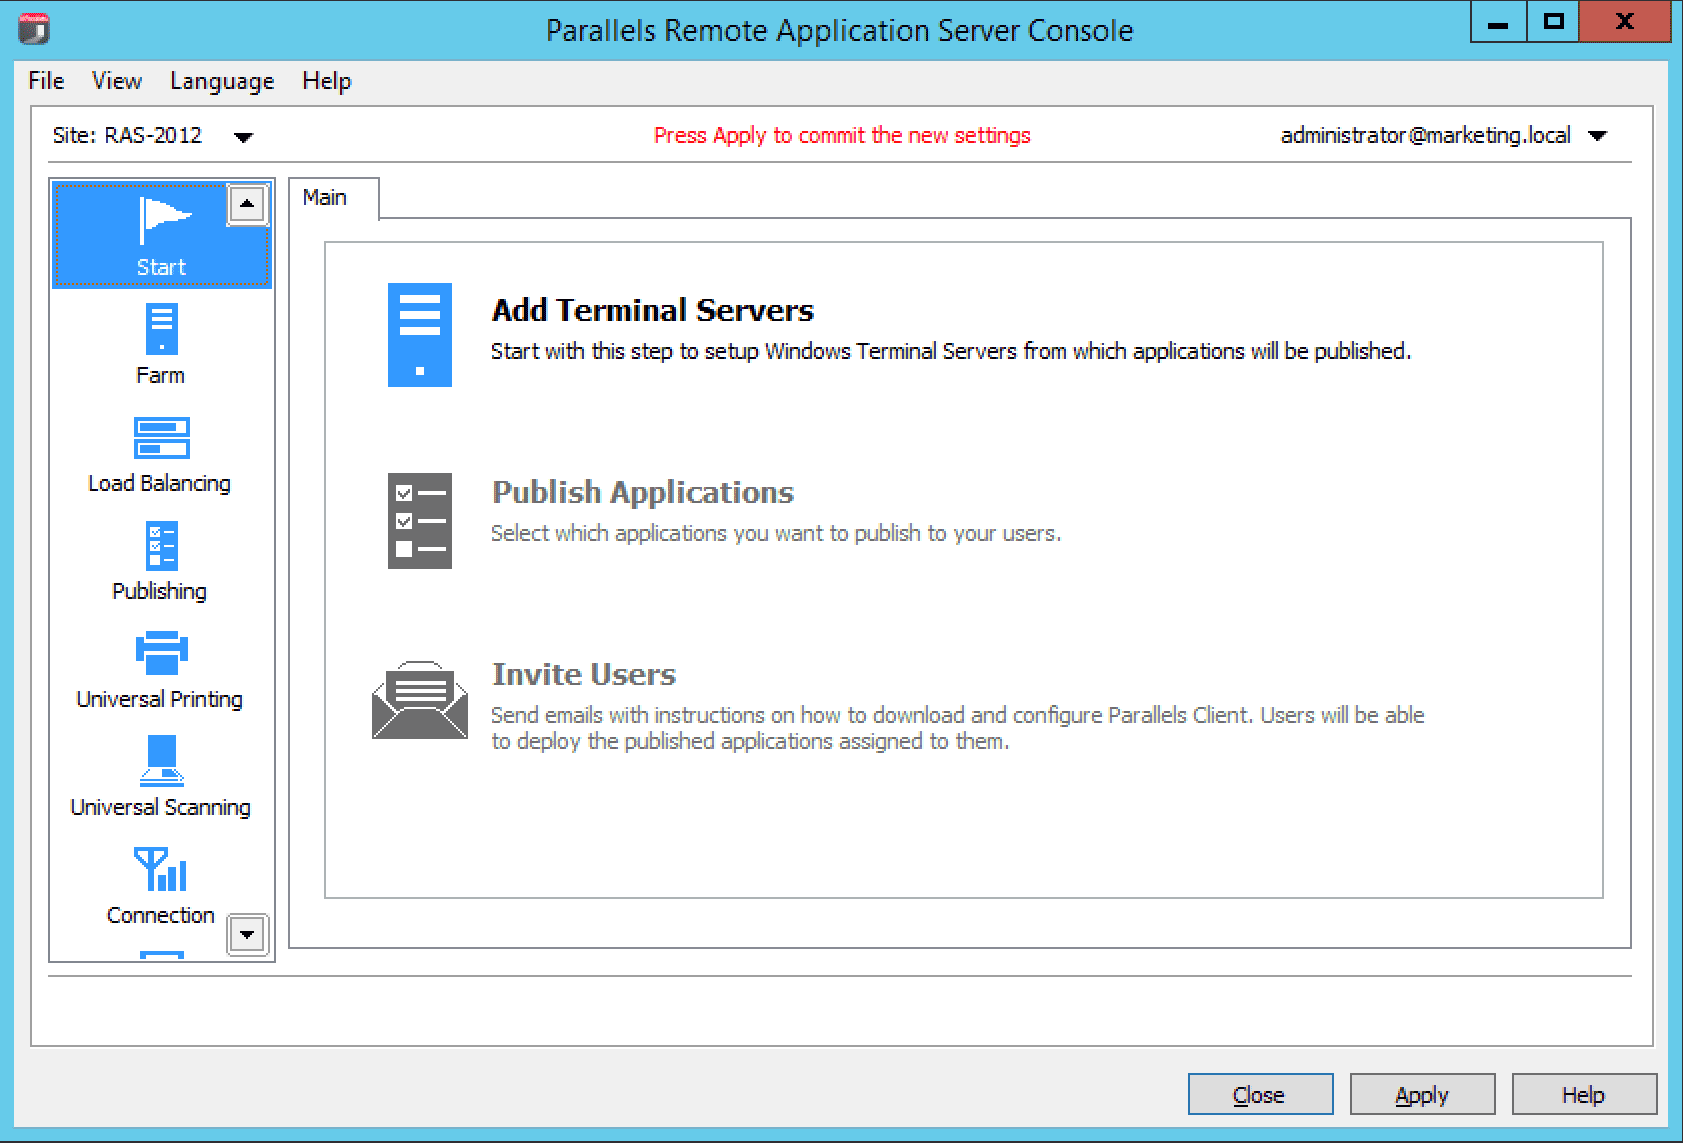
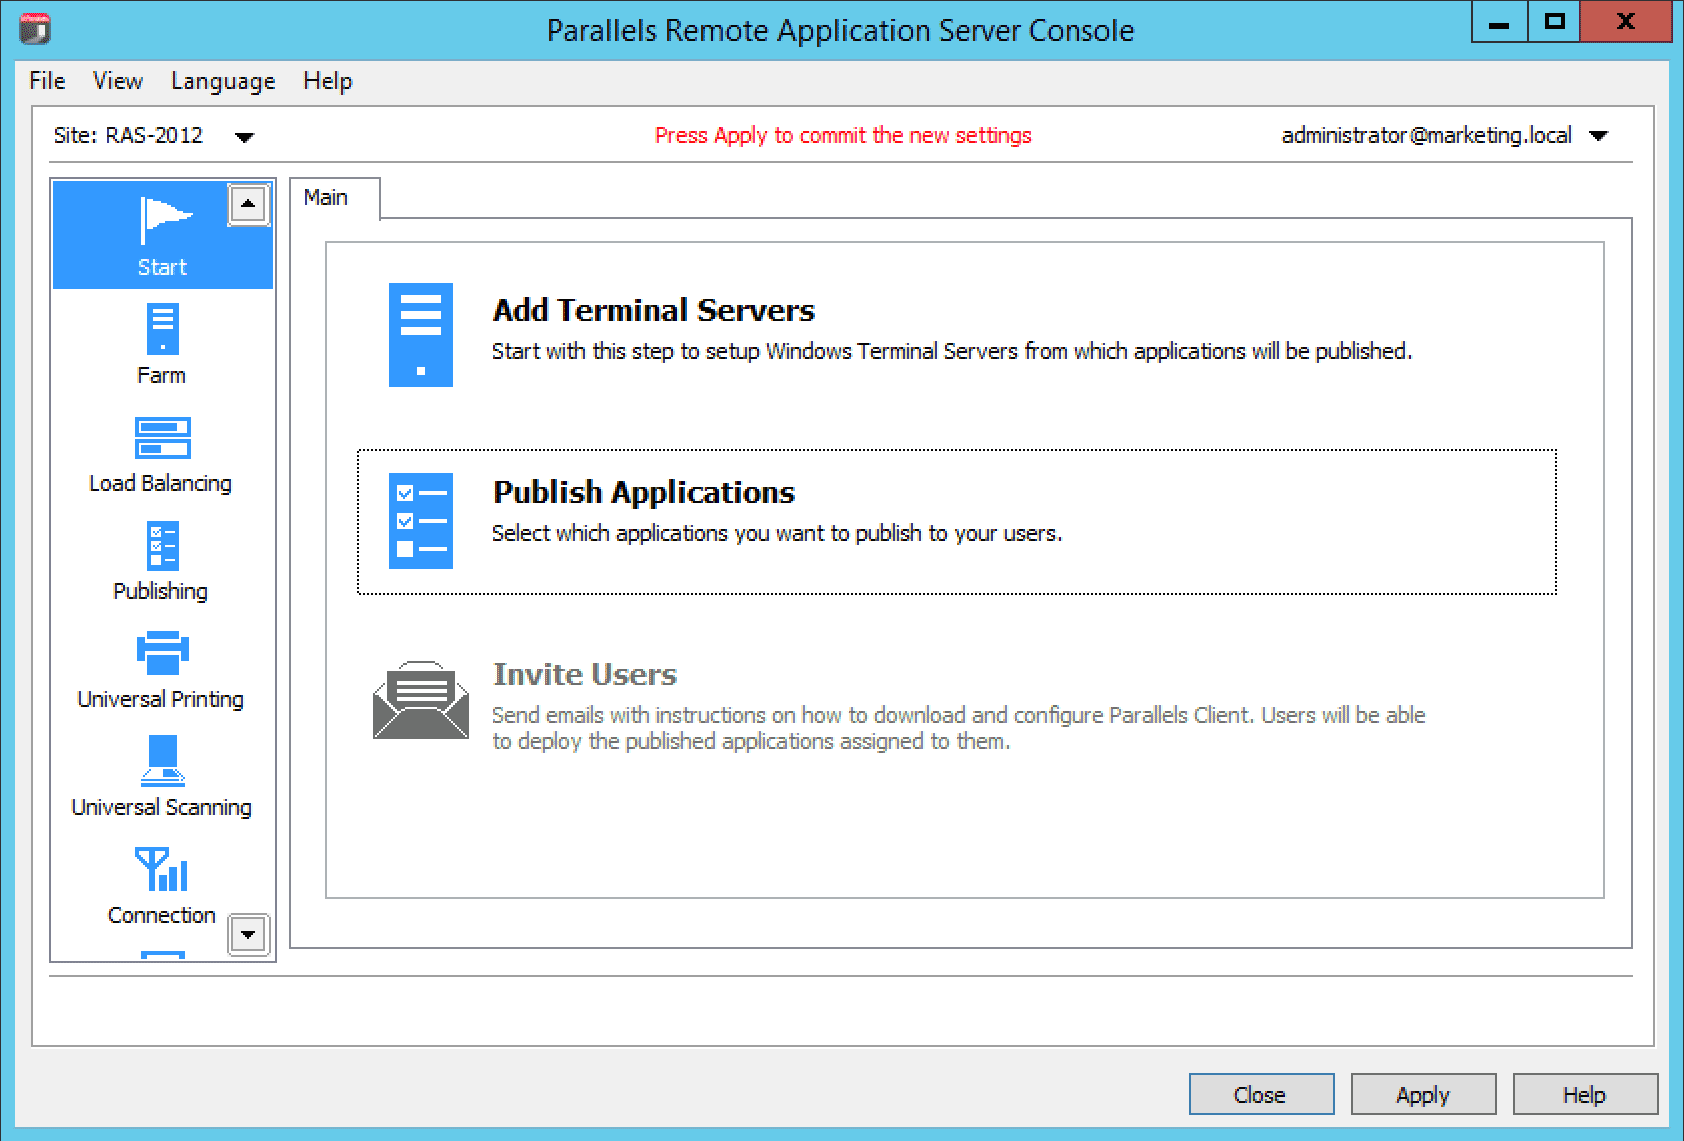
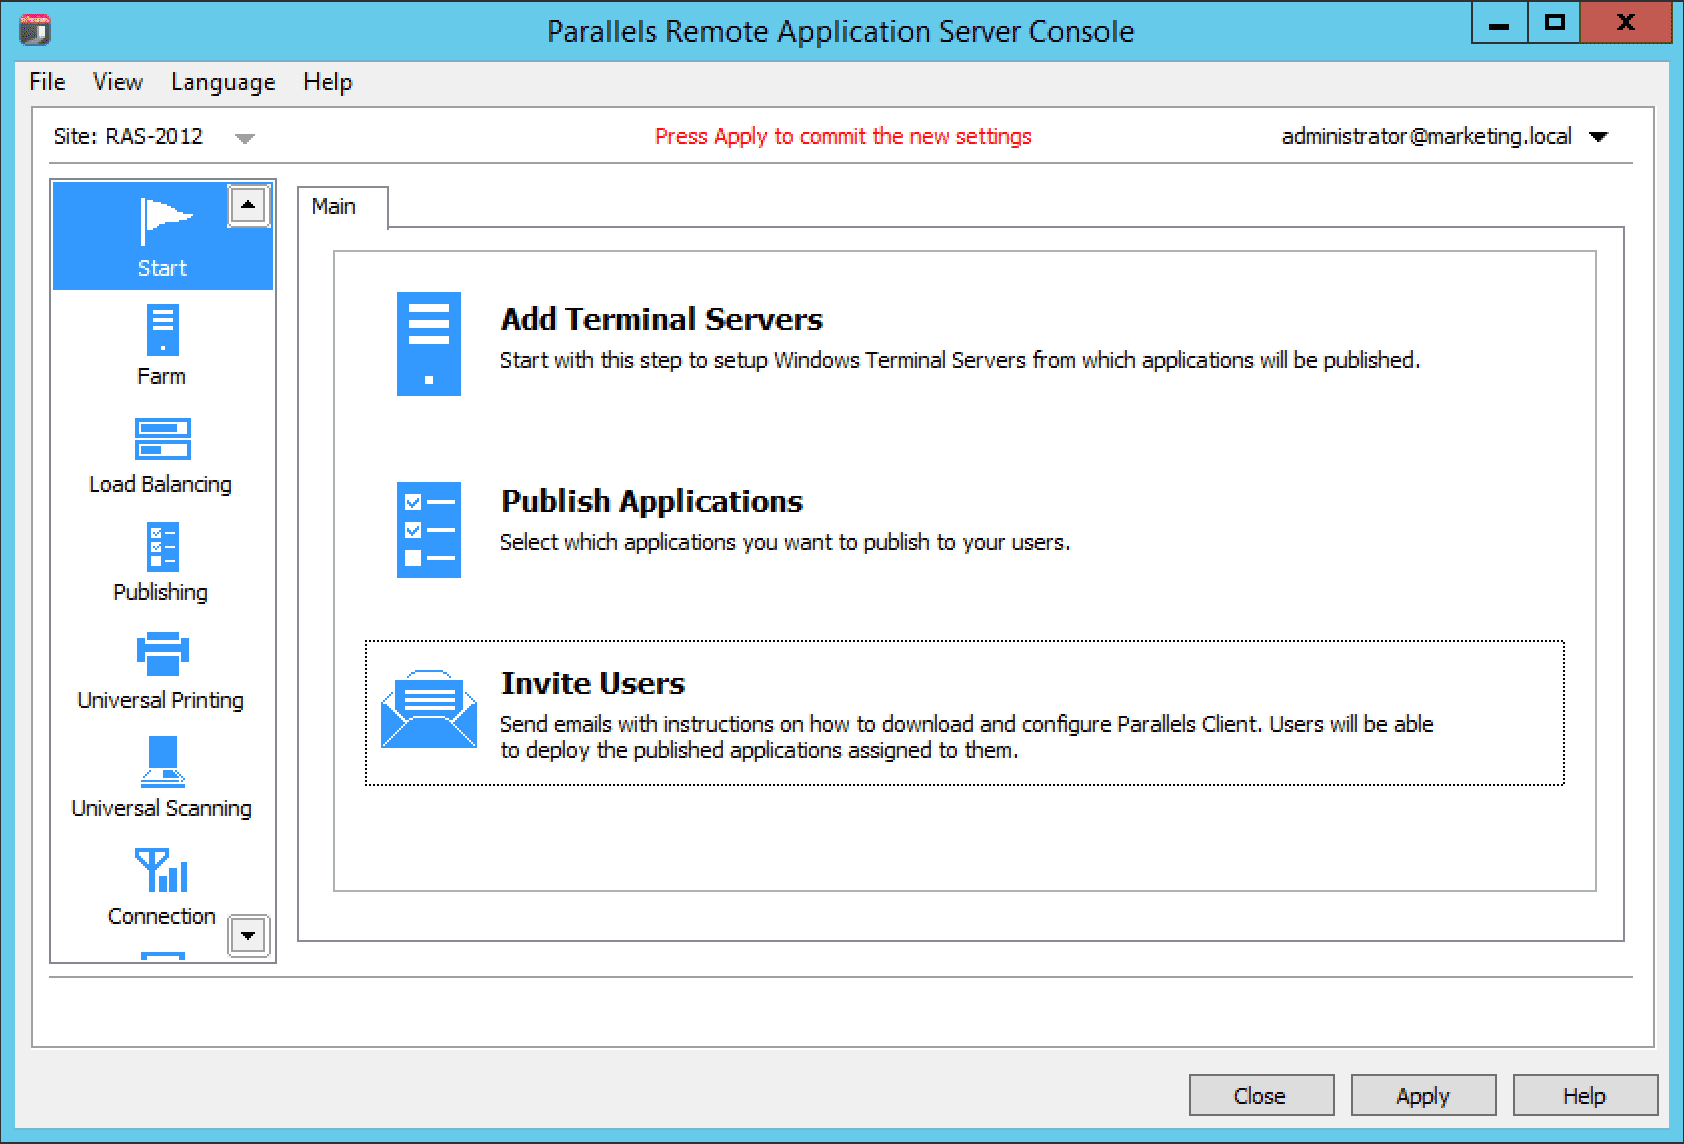
2. You are automatically taken to the Start category. Before publishing applications and inviting users to access these applications, first add a Terminal Server. Click “Add Terminal Servers” to add a Terminal Server.
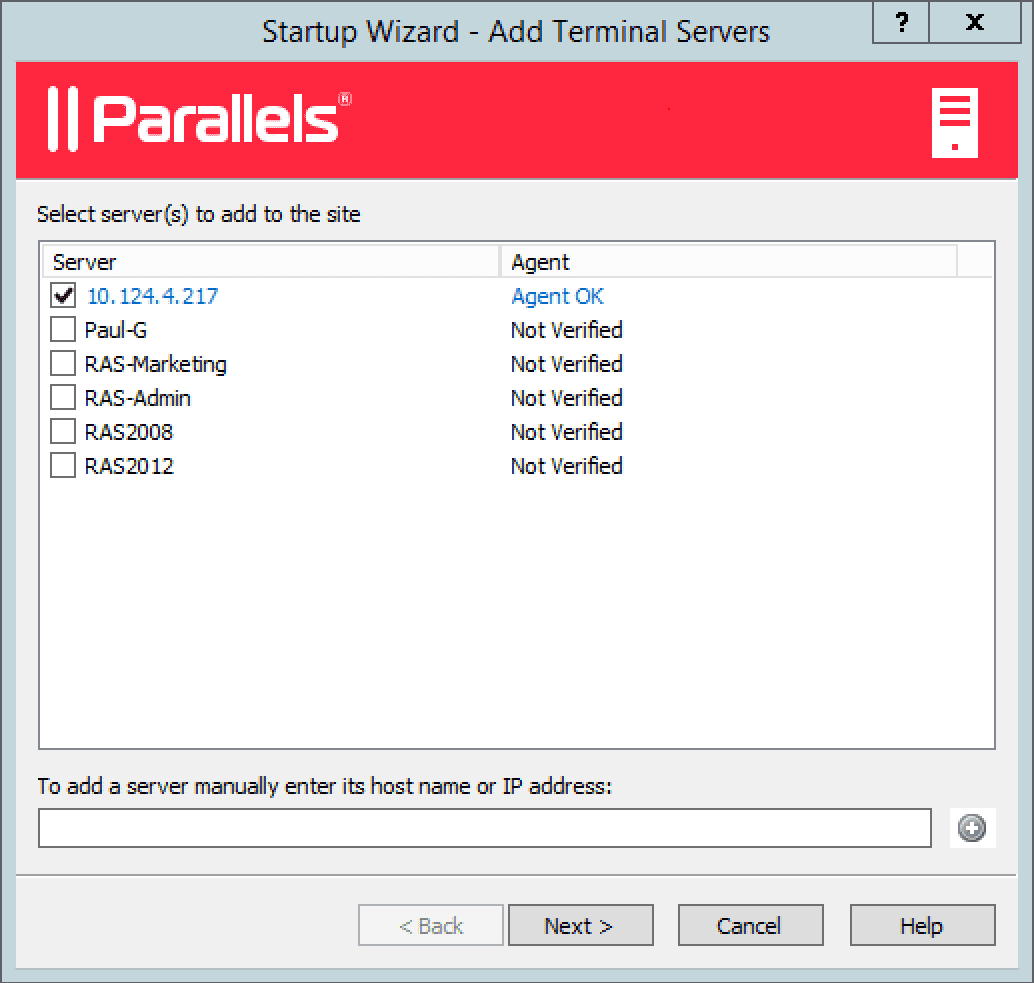
3. The first dialogue shows a list of current servers from the AD. Select one or multiple Terminal Servers that the Terminal Server agent will be installed on by enabling the checkbox next to the name. Alternatively if the server does not show up in the list, add an IP/ hostname manually in the text box below and click the “+” symbol. Click “Next” to continue.
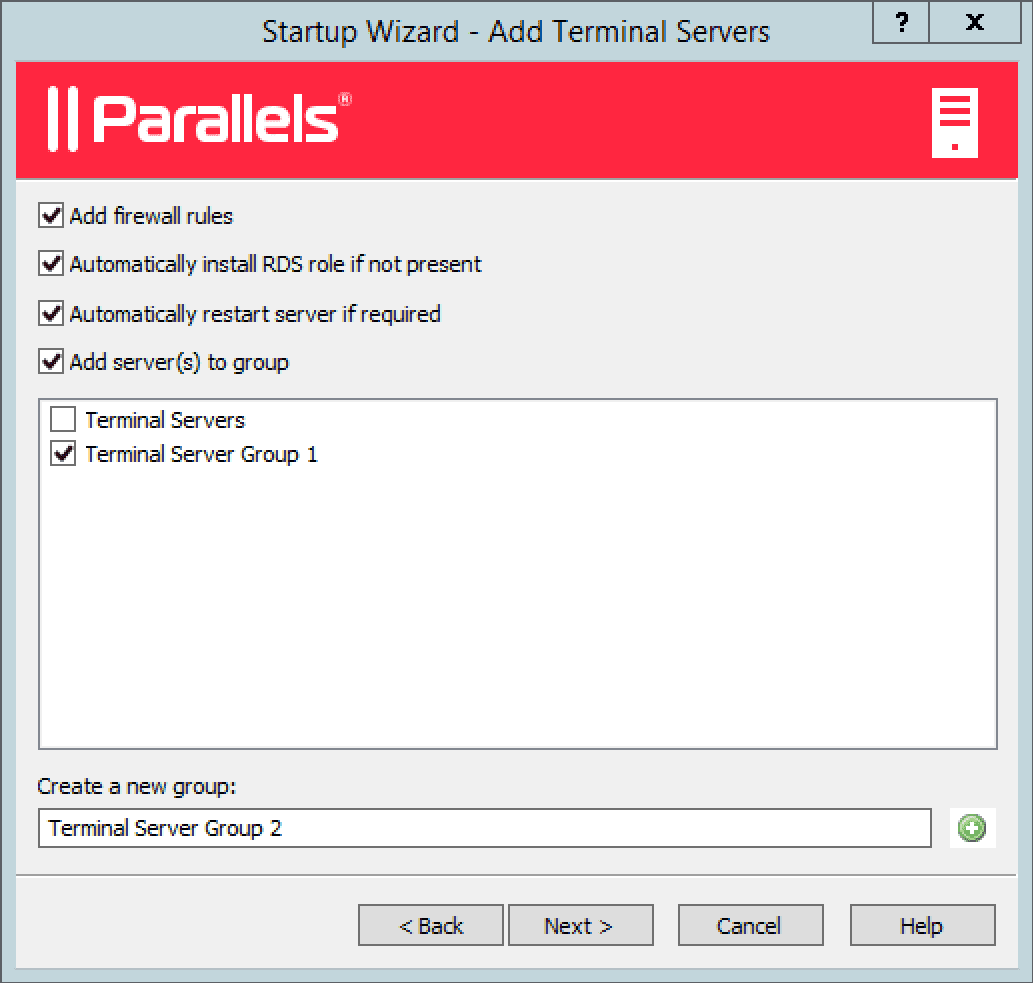
4. Subsequently choose to enable a set of options that will be applied during the installation of the Terminal Server Agent. Options include automatic firewall configuration, installation of the RDS role, restarting the servers and adding servers to already existing or new groups. Once satisfied click “Next” to continue.
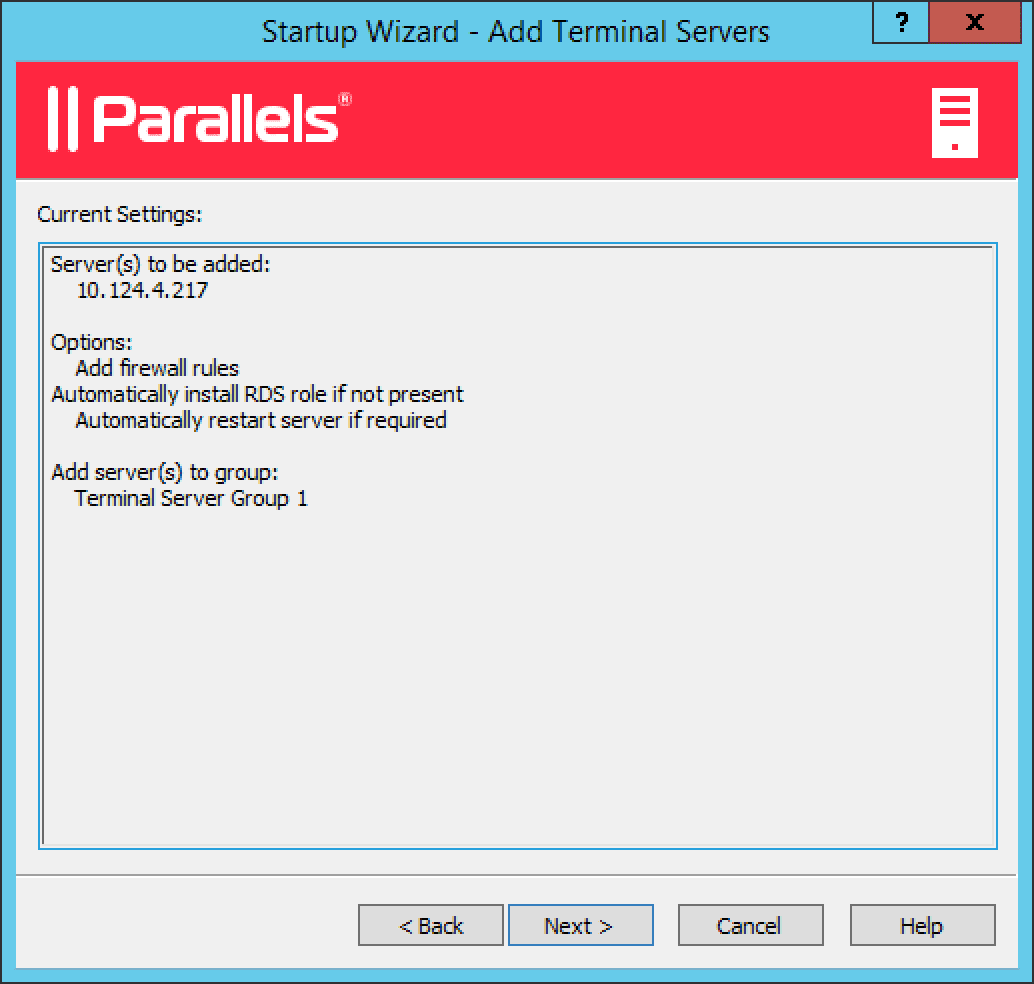
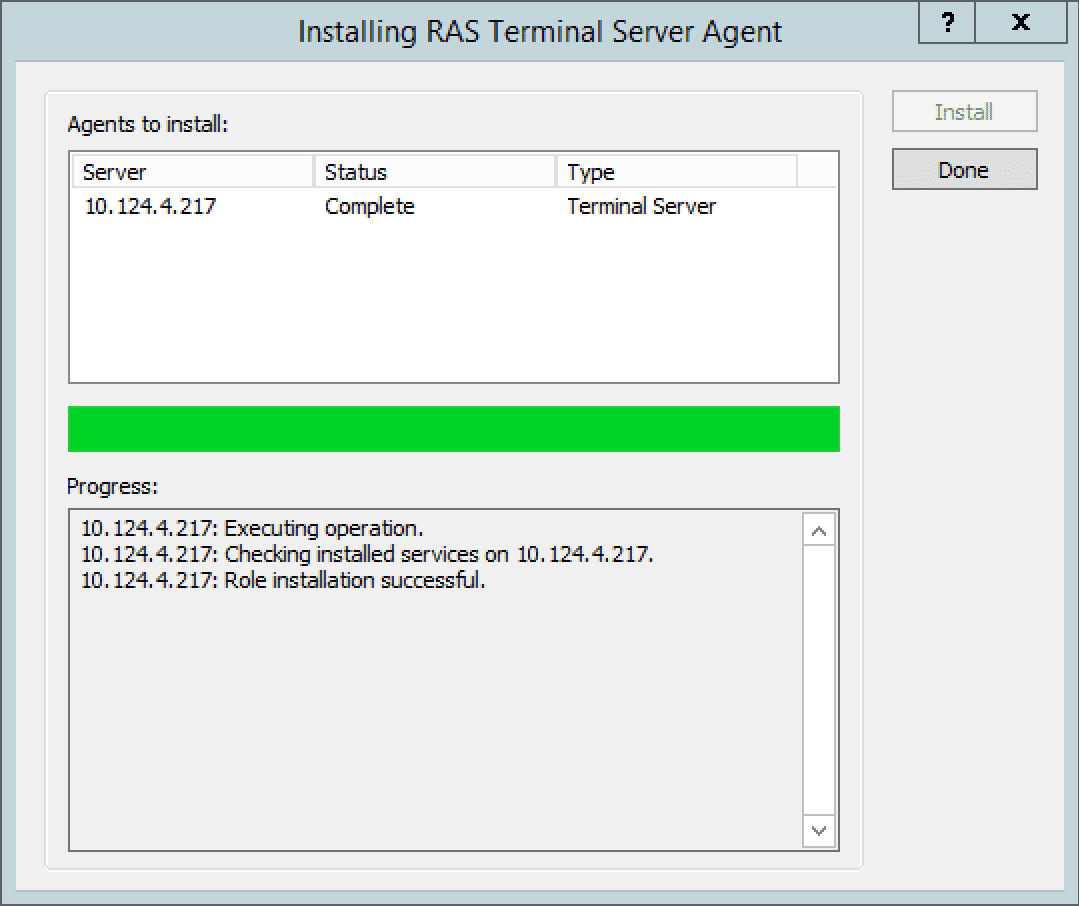
5. Before proceeding, the dialogue above summarizes the settings which will be executed. Click “Next” to confirm the previous configurations and start the installation of the Terminal Server Agent followed by “Finish” to conclude this wizard.
Stage 2: Publishing Applications
Now that a Terminal Server has been added, applications installed on the server can be published. These applications will later become available to users authenticated with Parallels Remote Application Server.
6. The “Publish Applications” option is now enabled. Click on this option to publish start publishing applications.
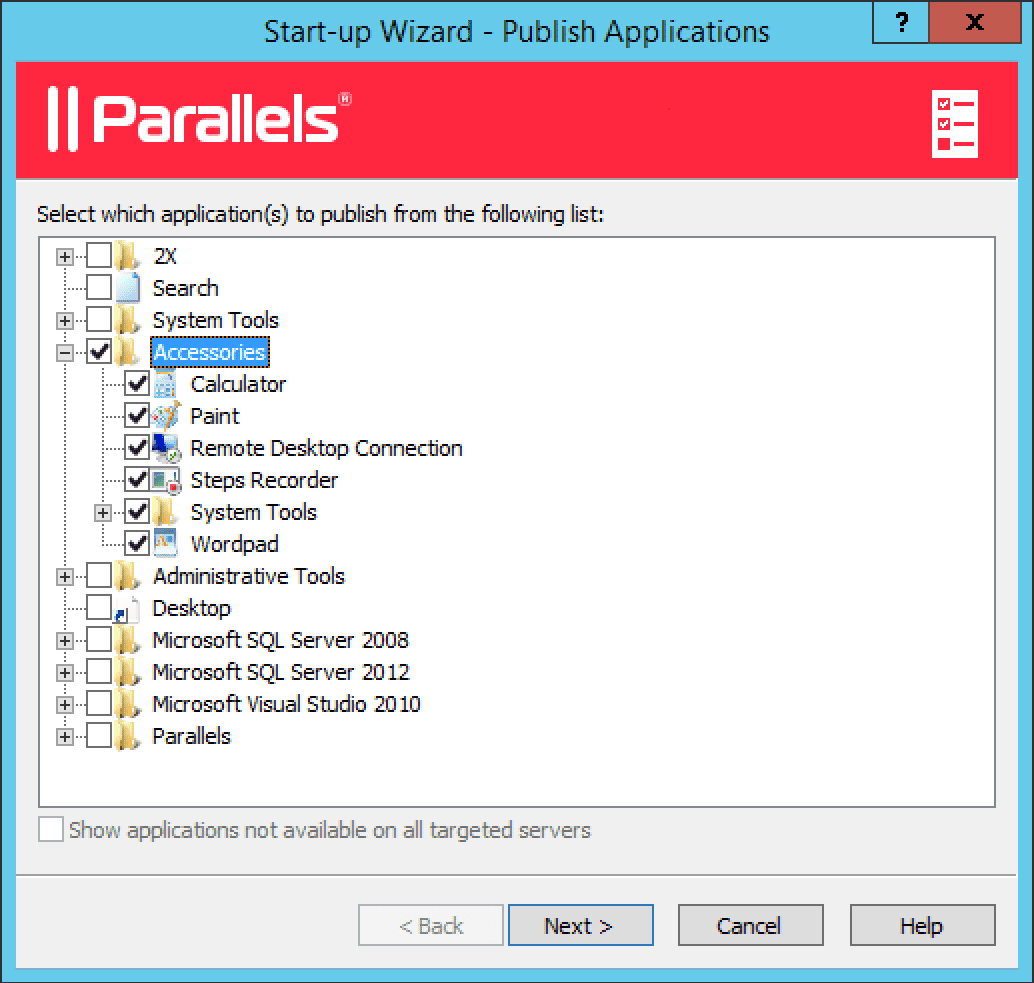
7. Since we only one Terminal Server has been added, an inventory from that server is instantly shown. Simply enable the checkbox related to the applications you would like to add and click “Next”. It’s that easy.
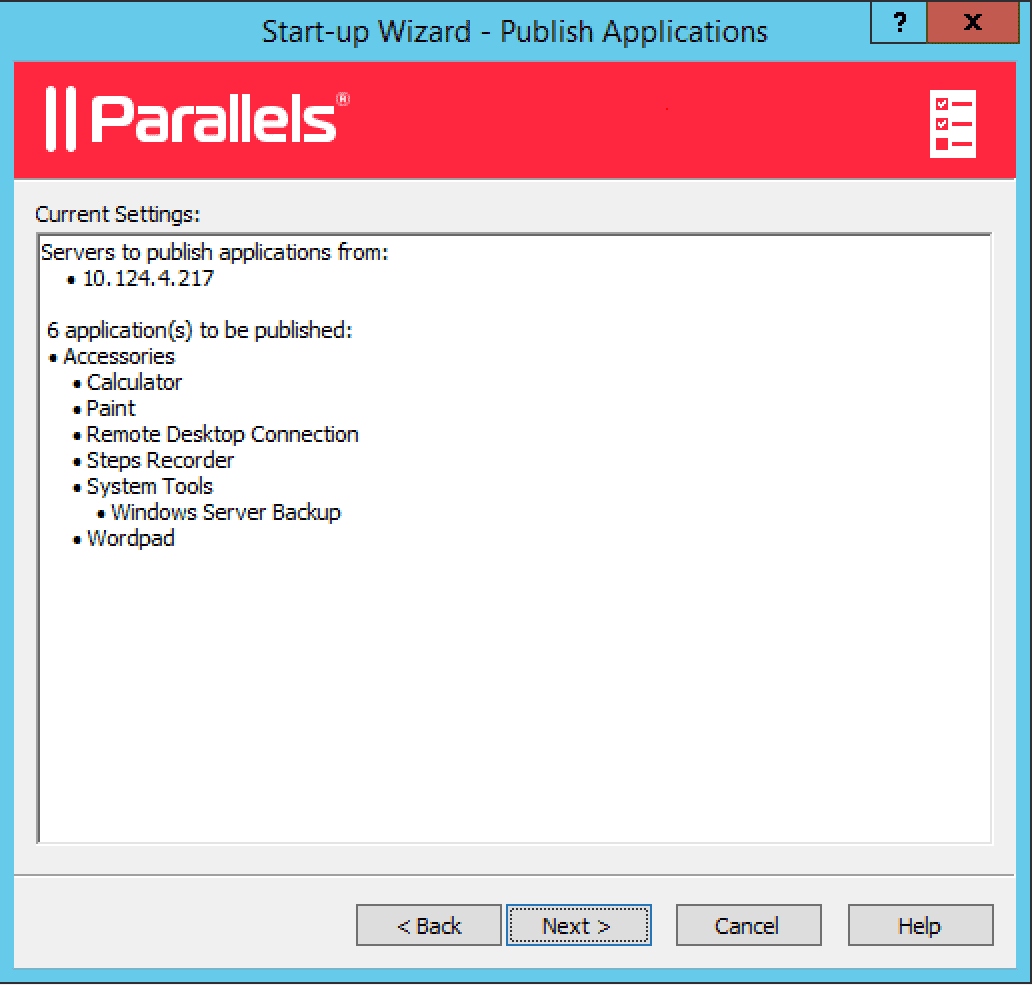
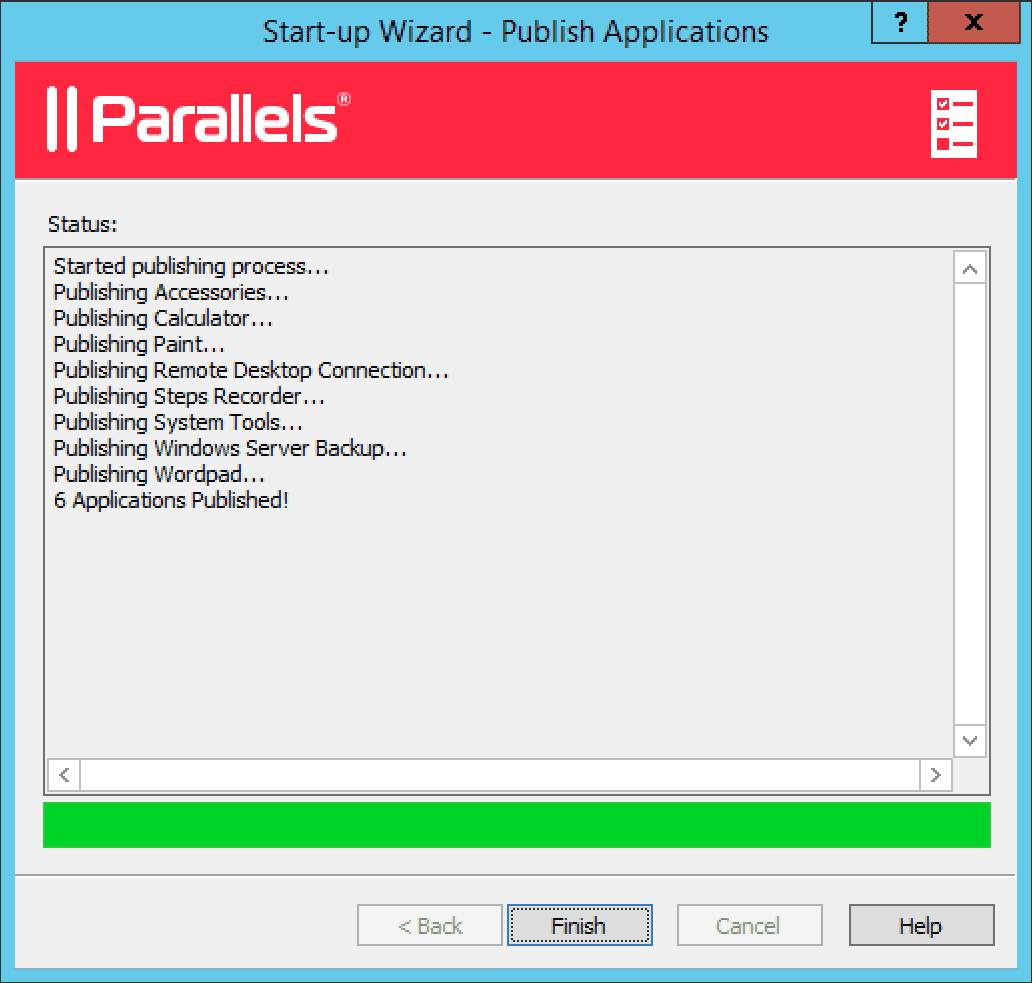
8. The dialogues above summarize the applications selected and subsequently publishes the applications. Click “Next” to publish applications followed by “Finish” to apply the changes.
Stage 3: Inviting Users to Access Published Applications
The final stage is for users to install and configure the Parallels Client in order to access these applications seamlessly from any device they may be using. The Invitation email wizard allows the administrator to send the Parallels Client installation and auto-configuration instructions to end users.
9. The “Invite Users” option is now enabled. Click on this option to configure an invitation email.
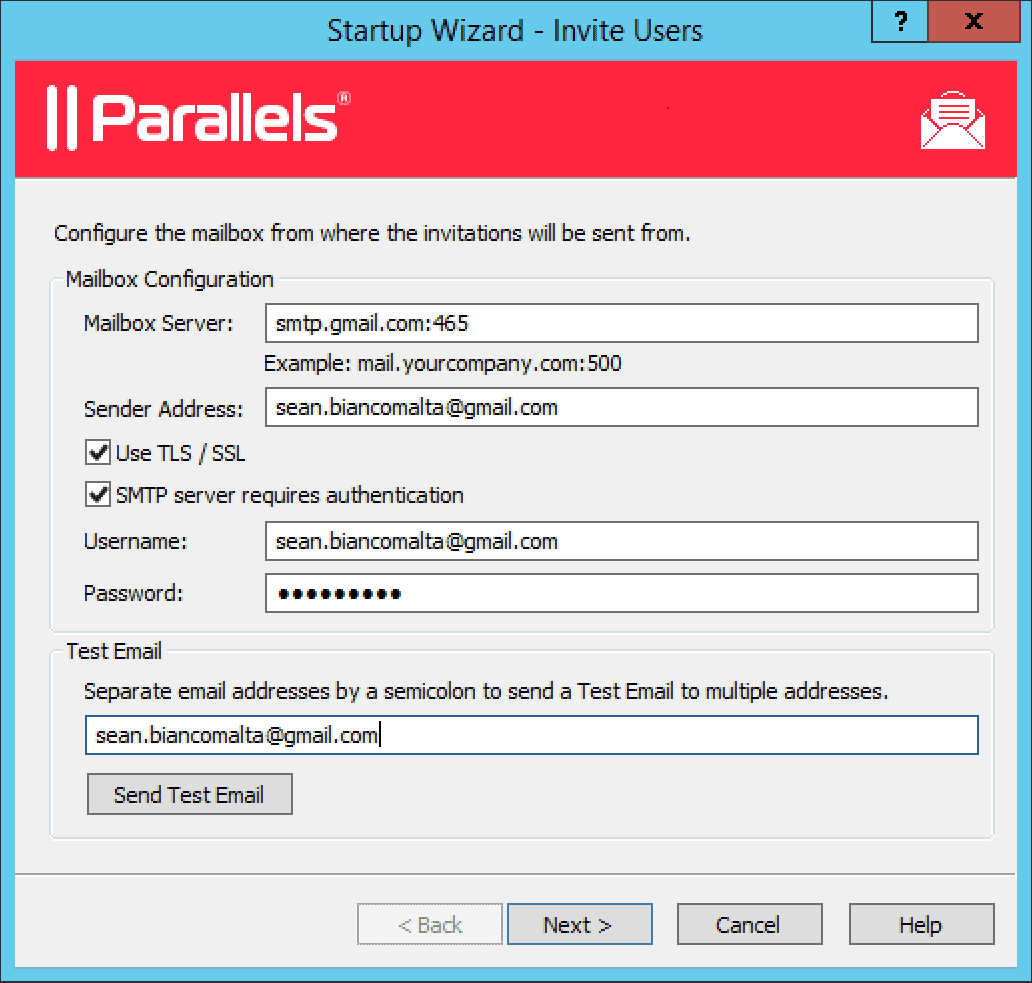
10. First a SMTP server connection should be configured so the system can send the invitation email to users. Fill in the details listed below and click “Next” to continue:
- Sender Email Address
- SMTP Server IP or FQDN
- Disable or enable TLS / SSL encrypted communication
- SMTP Server Credentials in case the SMTP server requires authentication
Note: In the example shown above, a Gmail account has been configured.
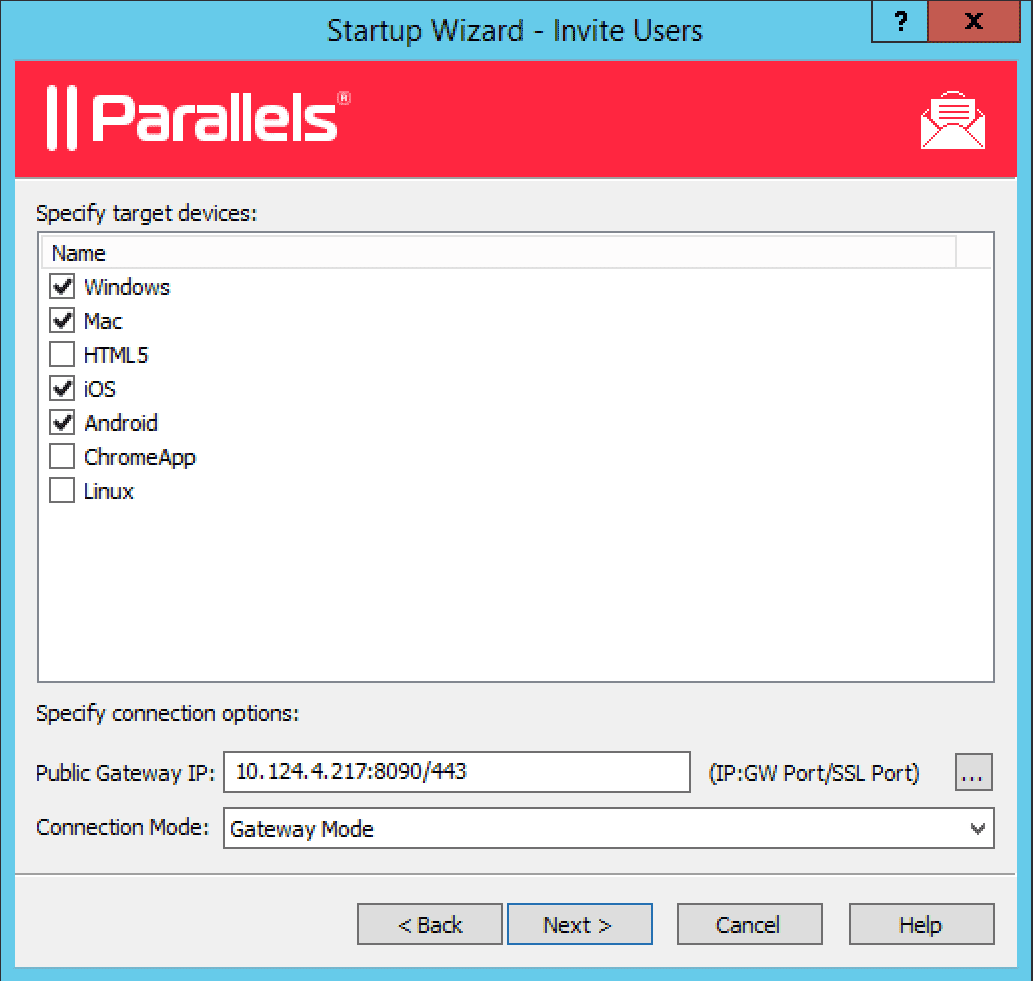
11. In this dialogue enable the device type checkboxes relative to the devices will connect from. Choose the gateway (GW) domain name or IP and the connection mode. Please note that this can be the public IP, in order to reach the system from a remote user. Also note that SSL modes require the GW to have SSL configured. Click “Next” to continue.
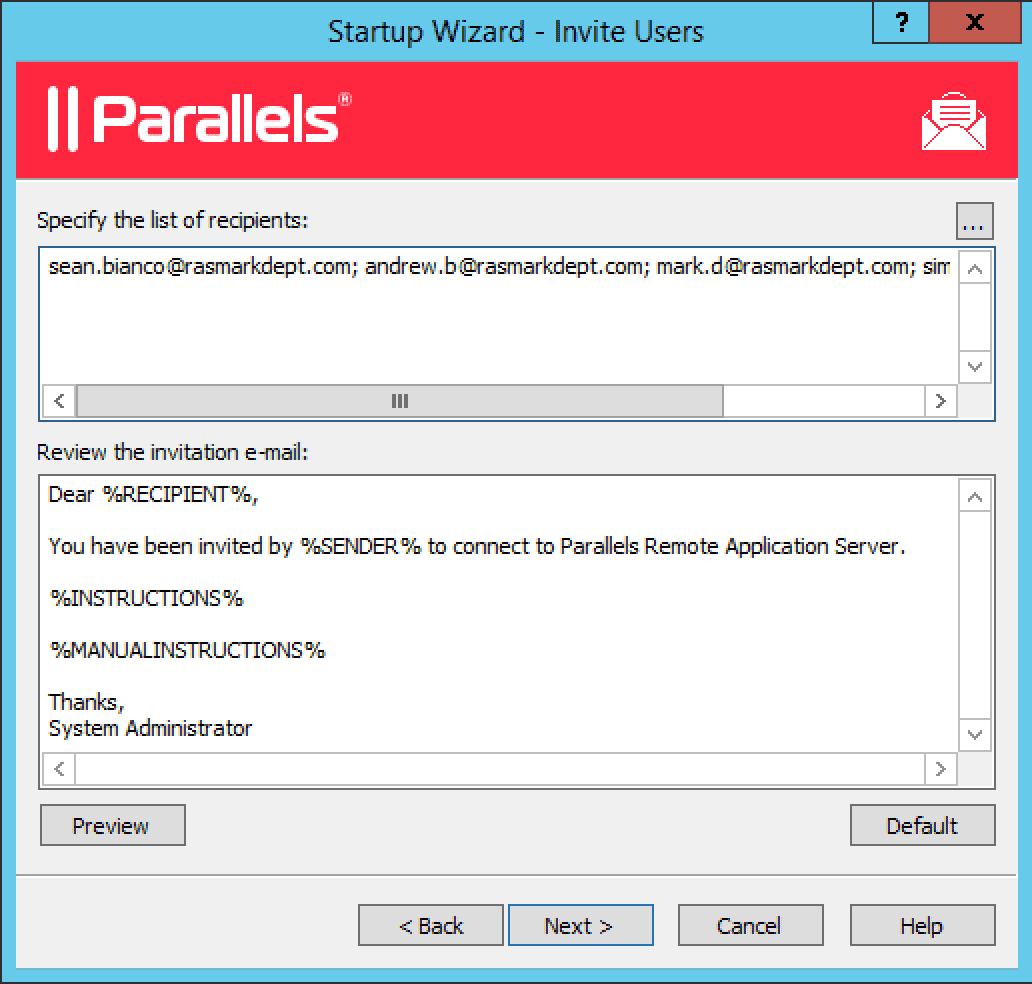
12. Next select your recipients: you can browse your Active Directory and simply select a user or a group. You can also modify the contents of the email as you wish, and check how the email will look by using the “Preview” button. When satisfied with your email draft, press the “Next” button.
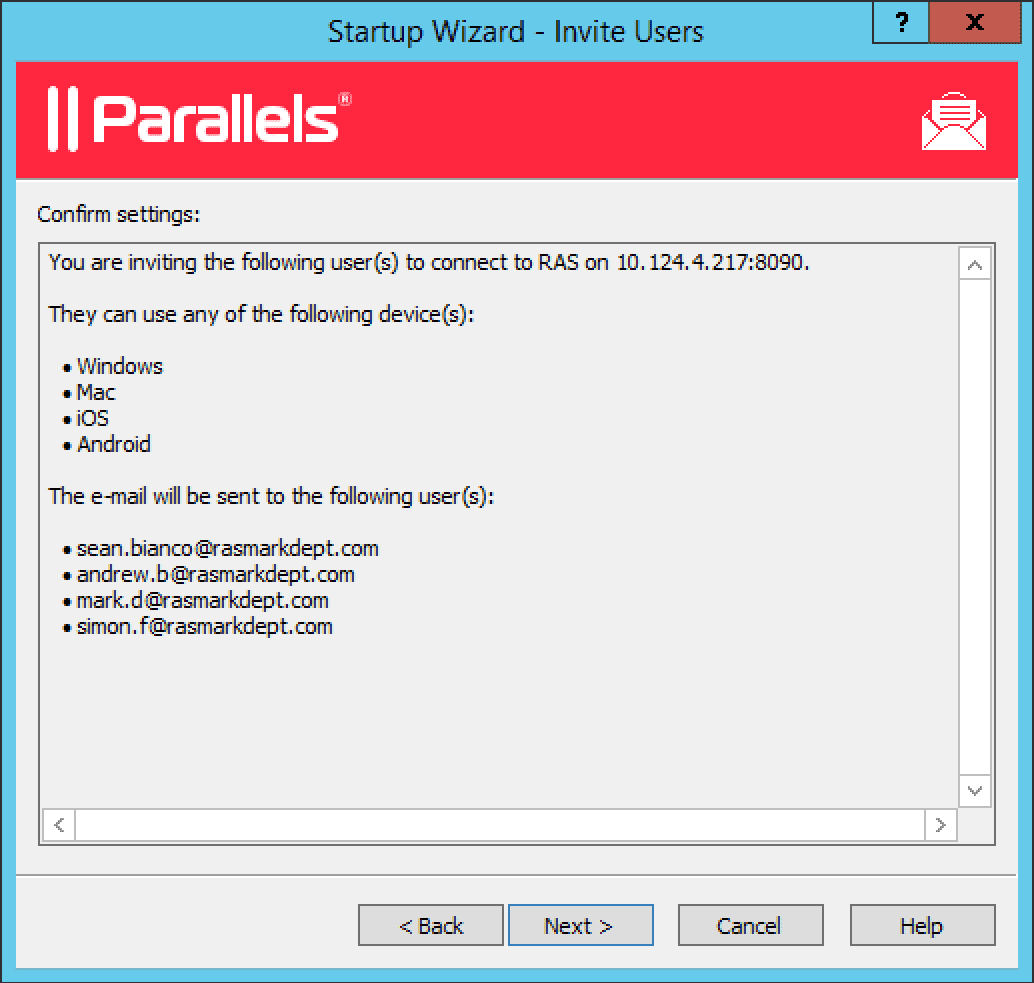
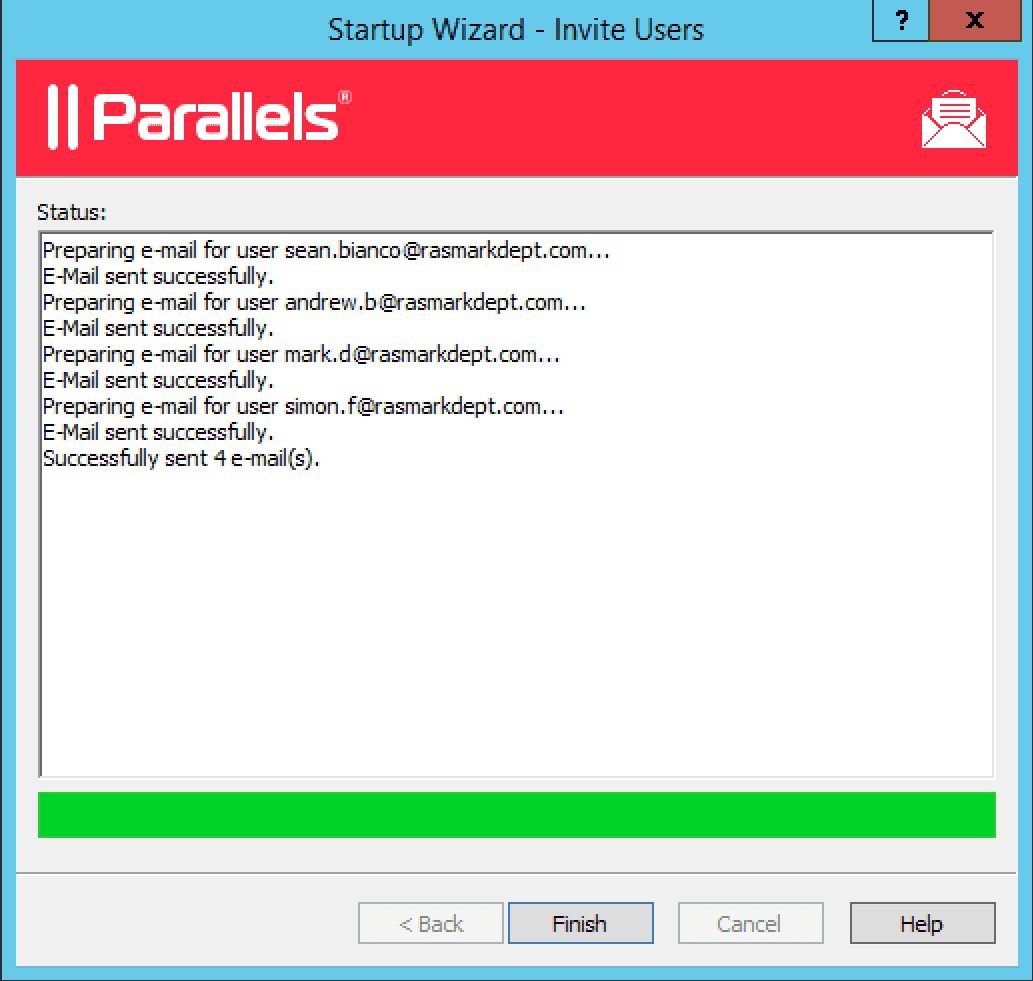
13. Lastly, confirm the previous configuration and click “Next”. Once the email has sent, click “Finish” to end the process.
Congratulations! You have successfully set up your system for users to access published applications.
