Run Chrome OS Flex in Parallels Desktop 17 for Mac
Guest blog post by Dmitry Geynisman, Product Manager at Parallels
You might have heard the BIG news from Google about the early access release of Chrome OS Flex – a “standalone” version of Google’s OS that can be installed on both Windows and Mac computers, aka “the cloud-first operating system for PCs and Macs”.
If you haven’t yet, check out Google’s blog post about it or this article in Macworld or go through this excellent review by Ars Technica.
I don’t have a spare Mac or PC that I can erase to try out this new OS – and I’m guessing you probably don’t either. No problem: you can install this OS in a new virtual machine (VM) in Parallels® Desktop for Mac. Read on to learn step-by-step how to do this. Actually, using Parallels Desktop to install an OS for testing is my preferred approach.
Chrome OS Flex is a lightweight, secure Linux-based OS that is easy for businesses to manage thanks to Google’s cloud-based management. We’re very excited about this release and, of course, want to make sure that Parallels Desktop users can get a sneak peek at it today. And yes, you can! All you need is:
- Mac computer with Intel processor.
- Google Chrome browser.
- 8GB + USB flash drive.
- Pre-configured Parallels Desktop VM template for this OS. (Download here, or use manual instructions below)
1. Create a Bootable Media With Chrome OS Flex Installer
- Install the Chromebook Recovery Utility extension to your Chrome browser on macOS.
- Open the utility (the easiest way is via Spotlight or Launchpad) > click “Get Started” > click “Select a model from a list” > locate and select “Google Chrome OS Flex” in the manufacturer dropdown > select the product.
- Select the USB device and click “Continue” (the data will be erased!).
- Click “Create Now”.
2. Create a VM
- Open Parallels Desktop Installation Assistant: File > New…
- Select “Install Windows on another OS…” and click “Continue”.
- Click “Choose Manually” > check the option “Continue without a source” and click “Continue”.
- In the dropdown, select Other > Chromium OS > click “OK”.
- Check the option “Customize settings before installation” and click “Create”.
- Navigate to Hardware tab > set 4096 MB of memory.
- Select Graphics settings on the sidebar > set “Auto” in the dropdown.
- Select Mouse & Keyboard on the sidebar > set the mouse option to “Optimize for games”.
- Scroll down the sidebar with options and select Boot Order > check “External device” and move it to the top.
- In the dropdown “External boot device” select the USB device that you have prepared.
- Close the configuration window and click “Continue”.
- Always allow Parallels Desktop to access the USB device.
Note: After you’ve downloaded the pre-configured VM, simply open it in Parallels Desktop and repeat steps 9-12.
3. Install Chrome OS Flex to the Virtual Machine
- Once you’ve booted the VM, click “Get Started” > select “Install CloudReady 2.0” and proceed.
- Wait for the installation process to be completed.
- Once completed, shut down the VM > open its configuration > Hardware > Boot Order > uncheck “External device” and deselect the flash drive from the dropdown.
- Now you have a standalone Chrome OS Flex VM. Enjoy! 😊
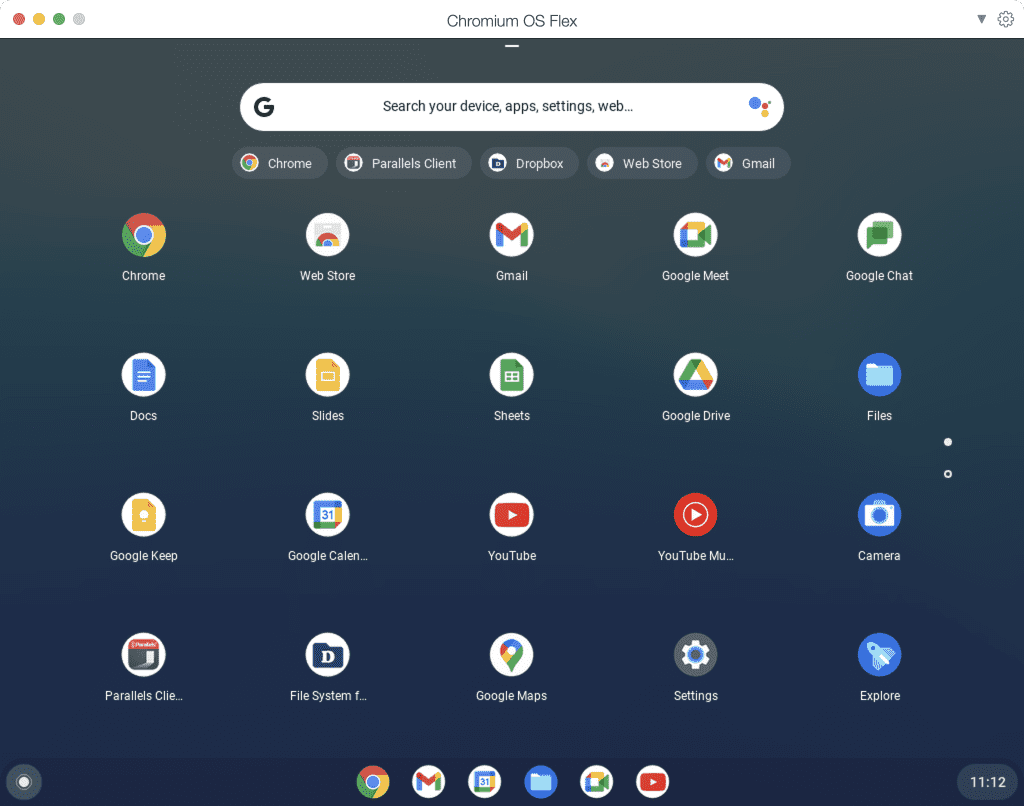
Figure 1 shows Chrome OS Flex running in Parallels Desktop on my Intel iMac.

Don’t forget, since there are no Parallels Tools for Chrome OS Flex your mouse will be “captured” when you click in the Chrome OS Flex window on your Mac. To get the cursor back on the Mac, simultaneously hold down the control and option keys.
That’s all, folks! Let me know your experience with the Chrome OS Flex VM here on Parallels Forums.

