Download your 14-day free trial of Parallels Desktop Pro
Run Windows, Linux, or additional macOS environments effortlessly—without rebooting.
Enter your email address to download your trial and get started.
Ready to buy Parallels Desktop? Buy now
How to download your Parallels Desktop Pro free trial
 01
01
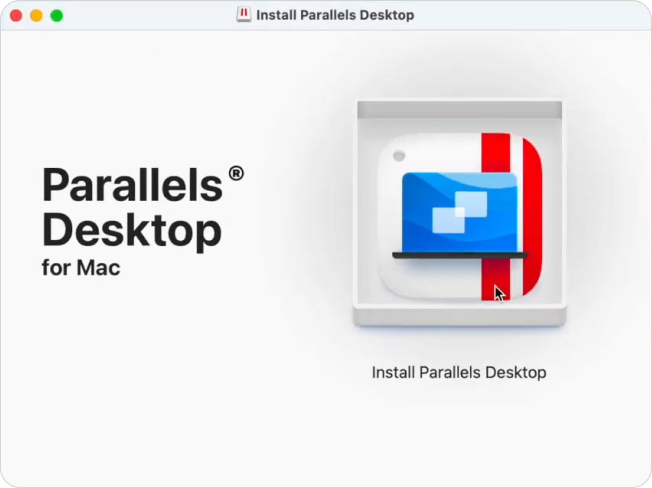
Download and Install
Get the Parallels Desktop Pro Trial and install it on your Mac in minutes.
 02
02
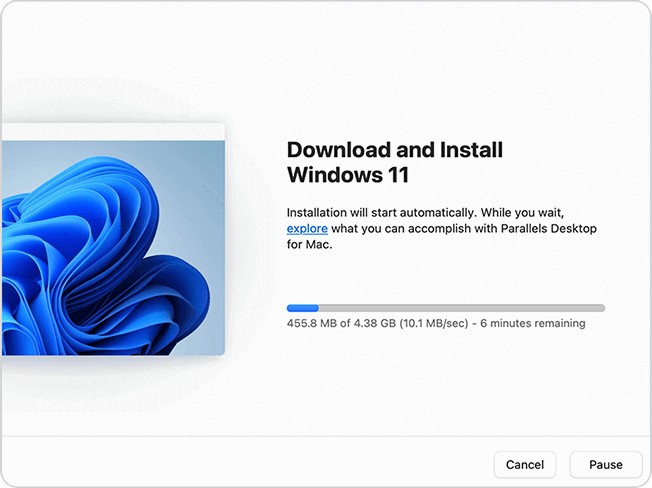
Set up your virtual environment
Easily create and run Windows, Linux, or an additional macOS instance—no rebooting required.
 03
03
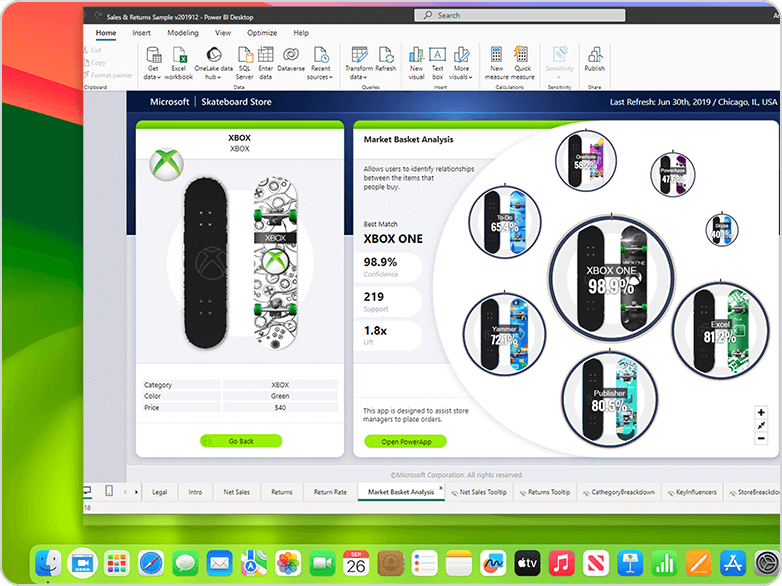
Start exploring Pro features
Access Windows applications, advanced development tools, and high-performance virtual machines.
Experience the power of virtualization made simple—all free for 14 days!
What can Parallels Desktop do for you?
Run multiple operating systems
Seamlessly run Windows, Linux, or additional macOS environments on your Mac—no rebooting required.
Work with any application
From Microsoft Office to industry-specific software like CAD, 3D modeling, or development tools, run the apps you need without limitations.
Optimize your workflow
Develop, test, and debug across platforms, or streamline your creative and professional tasks with high-performance virtual machines.
Stay connected
Easily share files, access cloud-based workflows, and integrate with remote desktops—all from one device.
Why buy from Parallels
Experience the full power of Parallels Desktop Pro—free for 14 days!
Run Windows, Linux, or macOS seamlessly on your Mac with a high-performance virtual machine. Whether you're a developer, designer, or power user, Parallels Desktop Pro gives you the flexibility, speed, and tools you need—without compromise.
Full Pro features | No commitment | Seamless app integration
Start your free trial today!


