Welcome to Parallels Desktop

Getting Started
1. Download Parallels Desktop® 15 for Mac
- If you haven’t already downloaded Parallels Desktop, you can download here
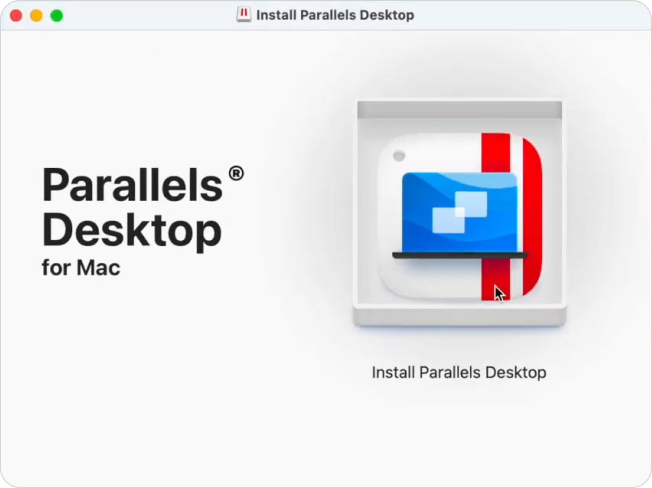
- Locate the “ParallelsDesktop####.dmg” file in your Download folder and double-click the disk image file
- Double-click the Install icon and follow the on-screen instructions
2. Install
There are several ways to install Windows, Linux, or any other supported operating system in a virtual machine. Take a look at our most popular options:

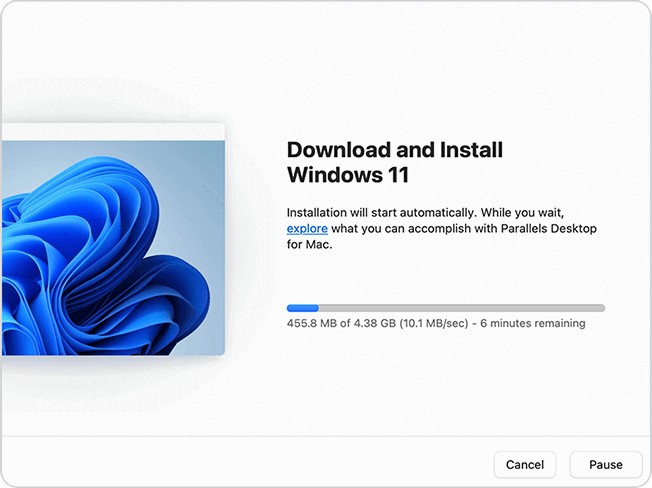
Click the Parallels icon in the macOS® menu bar, or right-click the Parallels Desktop icon in the Dock and choose New. If you need to download Windows 10, select "Get Windows 10 from Microsoft" and click Continue. Then select Download Windows 10, click Continue, and follow the on-screen instructions.
If you have a Windows installation source (a DVD disc, an image file, or a USB storage) and a valid Windows product key, you can install Windows on your Mac and use it with Parallels Desktop.
To install Windows:
- Open Parallels Desktop (in the Applications folder) and choose File > New.
- If you have a Windows installation disc, insert it into the DVD drive. If you have a USB storage with Windows, connect the storage to the Mac.
- Click “Install Windows or another OS from a DVD or image file.”
- Parallels Desktop scans for and lists installable operating systems. If you see the version of Windows you want to install, select it, click Continue, and go to step 6.
- If the Windows installation source didn't show up automatically in Step 4, click Choose Manually to browse for it manually. You can browse from the following sources:
- DVD: If you have a Windows DVD, insert it into the DVD drive. Once Windows is detected, click Continue. If your Mac doesn't have a DVD drive, you can use an Apple SuperDrive, another Mac's DVD drive via Remote Disc, or make an image from the disc.
- Image File: If you have a Windows image file, click Image File and drag the image to the Installation Assistant window. Once Windows is detected, click Continue.
- USB Drive: If you have a bootable USB installer with Windows, click USB Drive and connect the drive to the Mac. Once Windows is detected, click Continue.
- Note: Parallels Desktop may fail to detect some operating systems (ex. older Linux distributions). If this happens but you're sure that the operating system can be installed, click Continue, specify the OS type manually and follow the on-screen instructions. If your OS type is not listed, choose Other.
- Choose how you will primarily use Windows and the Parallels Desktop settings will be automatically tuned to best fit your needs.
- Choose where you want to store Windows from the Location menu. By default, Parallels Desktop stores Windows in the /Users/<username>/Parallels folder.
- For experienced users: if you want to pre-set things like how much memory Windows uses or whether it starts automatically when you open Parallels Desktop, select Customize Settings before installation. You can also adjust these settings after the operating system is installed.
- Click Create and the Parallels Installation Assistant will proceed to install Windows. Once Windows is installed, you can start it up by opening a Windows application or by clicking the power button in Control Center.
If you’re needing to import Windows to Parallels Desktop via a Windows PC, we’ve made it possible. Follow the steps below and continue to work with all of your Windows applications, files, and data side-by-side with macOS.
You can also import Windows and data over a network or using an external storage device.
To import Windows and data from a Windows PC:
- Download the Parallels Transporter Agent for Windows from https://www.parallels.com/pc/
- Follow the on-screen instructions to download and install Parallels Transporter Agent.
- Open Parallels Desktop (in the Applications folder) on your Mac, choose File > New, and click Transfer Windows from a PC.
- Choose how you want to transfer your data and follow the on-screen instructions.
With Parallels Desktop 15 for Mac you can use Windows that you set up using earlier versions of Parallels Desktop, as well as VMware Fusion and VirtualBox:
- Open Parallels Desktop (in the Applications folder) and choose File > Open.
- Select the Windows data file you want to import, then click Open and follow the on-screen instructions.
- Parallels Desktop data files end with .pvm
- VMware files end with .vmx
- VirtualBox files end with .vbox
- Once this has been done, continue to start Windows.
Simply drag these files to the Control Center to add them to Parallels Desktop.
Boot Camp® is a feature of macOS that lets you start up your Mac in Windows. If you have already installed Windows 10 (or any other version of Windows supported by Boot Camp), you can set Parallels Desktop to work with Boot Camp using either of these two options:
- Set Parallels Desktop to run Windows from the Boot Camp partition: Changes you make in Windows applications either while working in macOS or when you start up your Mac in Windows using Boot Camp will be reflected in both places.
Windows running from Boot Camp has the following limitations:
- It can't be saved as a snapshot
- It can't run in Rollback Mode
- It can't be compressed
- The virtual machine hard disk can't be resized
- Import Windows and your data from Boot Camp into Parallels Desktop: Windows running from Parallels Desktop doesn't have the above listed limitations. Boot Camp and Parallels Desktop are separate. Changes you make in Windows applications while working in macOS are not reflected when you start up your Mac in Windows using Boot Camp.
Set Parallels Desktop to run Windows from the Boot Camp Partition
- Open Parallels Desktop (in the Applications folder) and choose File > New.
- Click Boot Camp, and then follow the on-screen instructions.
Import Windows and your data from Boot Camp into Parallels Desktop
- Set Parallels Desktop to use Boot Camp, as described in the steps above.
- Right-click (Control-click) the Boot Camp version of Windows in Control Center and choose Import Boot Camp.
- Click Click.
- Locate where you want to store Windows and your data, and then click Choose
- Windows and all your data are imported from Boot Camp. You can still use the original Boot Camp Windows installation, separately from Parallels Desktop.
If you don't have time or don't want to install an operating system, you can download and use already pre-installed virtual machines. These are virtual machines with Ubuntu, Fedora, CentOS, Android, Linux Mint and other systems.
To download such a virtual machine, do the following:
- Click the Parallels icon
in the macOS menu bar or right-click the Parallels Desktop icon in the Dock and choose New.
- Select the virtual machine you want from the Free Systems section, click Continue and follow the on-screen instructions.
Once the virtual machine is downloaded, you can start working with it.
- Note: After you have created a virtual machine, you will be asked to sign in to Parallels.
Tips for Using Parallels Desktop
Find Parallels Desktop in your Menu Bar. Click the Parallels icon in the macOS menu bar. From here you can: Choose your View, Manage Devices, Enter Travel Mode, and more.

Customize your level of integration between macOS and Windows. Simply click the Parallels icon in the macOS menu bar and drop down to View > where you can choose from:
- Coherence: Make Windows invisible while still using its applications. Windows programs appear on the Mac desktop next to your Mac applications, and documents from Windows programs and Mac applications are stored in the same folders.

- Full: Most popular view for new Mac users. You can set Windows to occupy your entire screen, so it looks just like it would if you were using a Windows PC. In Full Screen mode, macOS and all of the Parallels Desktop controls are hidden.

- Picture-in-Picture: Monitor your virtual machine with ease using this new view mode.

Opening a Windows application is as easy as opening a Mac application. Here are several ways to open Windows applications:
- From the Windows Applications folder in the Dock
- From the Windows Start menu
- From the Dock
- Using Spotlight searching
- Using Launchpad
- Note: All Windows application icons can be easily identified by the Parallels Desktop symbol in the lower-right corner of the icon.
You install Windows applications on your Mac just as you would on a Windows PC. The most common ways of installing applications are:
- Downloading and installing an application from the Windows Store
- Downloading the application or installation file from the Internet or a network
- Using a software installation CD or DVD
Install an Application from the Windows Store
- Start Windows and open Windows Store (listed as Store).
- Browse or search for the application you want, and click to download it.
- The Windows Store features both free and paid applications.
- Install an Application from the Internet or a Network.
- Download the application or installation file, and follow the instructions from the application's source.
In most cases, you can either run the installation file and follow the on-screen instructions, or simply open the downloaded application.
Install an Application from a CD or DVD Installation Disc
- Start Windows.
- Insert the installation disc.
- If your Mac doesn't have a DVD drive, you can use an external Apple SuperDrive or a DVD drive from another Mac via Remote Disc.
- In most cases, an AutoPlay dialog opens. Click the option to run a setup or install file, then follow the on-screen instructions.
Frequently Asked Questions
To add Windows, Linux, or another operating system to your Mac, Parallels Desktop creates a virtual machine (VM) or a virtual copy of your current Windows PC inside your Mac. You can then install Windows in the virtual machine, just as you would install any operating system on a regular computer. Run multiple OSes at the same time, all on your Mac. It’s like two computers in one!
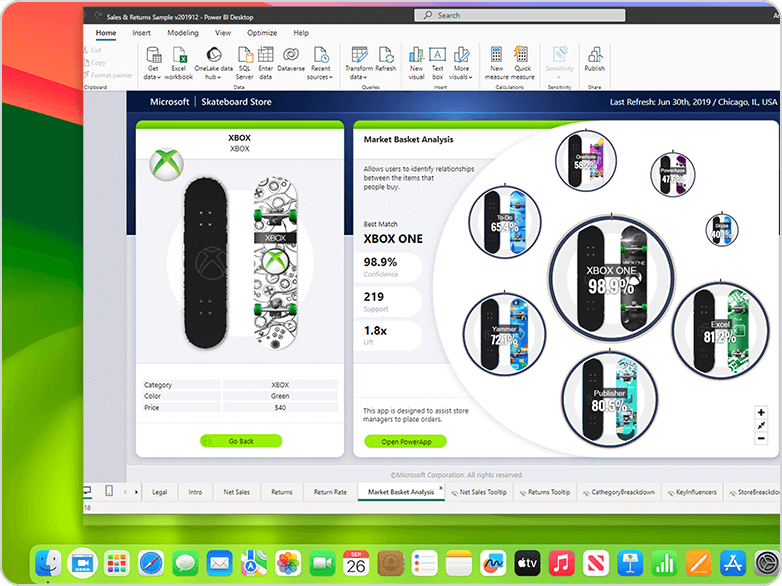
- Open Windows applications side by side with your macOS applications, without having to restart your Mac
- Copy and paste text or drag and drop objects between Mac and Windows.
- Run Windows games and other 3D applications.
- Transfer all your data from a PC and use it on your Mac.
- Easily share files, devices, and other resources between Windows and Mac.
- Install other operating systems, such as trial versions of Windows, Linux, another copy of macOS, and free virtual appliances—and use them together.
- And much more…
There are several ways to install Windows (or any other operating system) in a virtual machine, and Parallels Desktop makes it easy to get started within minutes.
If you need Windows on your Mac, Parallels Desktop can help you download and install Windows 10. All you need to do is follow our Installation Assistant and click “Install Windows.”
Or you can provide your own Microsoft Windows license key, purchase Windows directly from within Parallels Desktop, or transfer an existing Boot Camp partition with Windows already installed.


With Parallels Desktop, you can switch between Mac and Windows without ever needing to reboot your computer.
If you have already installed Windows 10, Windows 8.1, Windows 8, or Windows 7 on your Mac using Boot Camp, you can set Parallels Desktop to run Windows from the Boot Camp Partition or import Windows and your data from Boot Camp into Parallels Desktop as a new virtual machine.
To use Windows from Boot Camp, install Parallels Desktop and follow the Installation Assistant.

Play your Windows-only game on a Mac using Parallels Desktop. Parallels Desktop even has a virtual machine setting dedicated to gaming to optimize performance. With ongoing support for DirectX and OpenGL, many popular games and game engines are supported within Parallels Desktop. Download a free 14-day trial of Parallels Desktop and see if your desired game is supported.
Hardware
- A Mac computer with an Intel Core 2 Duo, Core i3, Core i5, Core i7, Core i9, Intel Core M or Xeon processor
- Minimum 4 GB of memory, 8 GB is recommended
- 600 MB of disk space on the boot volume (Macintosh HD) for Parallels Desktop application installation
- Additional disk space for virtual machines (varies on operating system and applications installed, e.g. at least 16GB is required for Windows 10)
- SSD drive is recommended for better performance
- Internet connection for product activation and select features
Software
- macOS Mojave 10.14
- macOS High Sierra 10.13.6 or later
- macOS Sierra 10.12.6 or later
- OS X El Capitan 10.11.6 or later
Guest Operating Systems
- Windows 10
- Windows 8.1
- Windows 8
- Windows Server 2012 R2
- Windows 7 (SP0-SP1)
- Windows Server 2008 R2 (SP0-SP2)
- Windows Vista Home, Business, Ultimate, Enterprise (SP0-SP2)
- Windows Server 2003 R2 (SP0-SP2)
- Windows XP (SP0-SP3)
- Windows 2000 Professional SP4
- Windows 2000 Server SP4
- MS-DOS 6.22 **
- Boot2Docker
- Red Hat Enterprise Linux (RHEL) 7, 6, 5
- CentOS Linux 7, 6, 5
- Fedora Linux 29, 28, 27, 26
- Ubuntu 18.04 LTS, 17.10, 16.04 LTS, 14.04 LTS, 12.04 LTS
- Debian GNU/Linux 9.4, 9, 8, 7
- Suse Linux Enterprise 12 SP3, 11 SP3, 11 SP2
- OpenSUSE Linux 15, 42.3, 13.2, 13.1, 12.3
- Linux Mint 19, 18, 17
- Kali 2018.2, 2018.1, 2
- Elementary 5.0, 0.4
- Manjaro 17
- Mageia 6, 5, 4, 3
- Gentoo Linux **
- Solaris 11.3, 11, 10 **
- openBSD 6 **
- FreeBSD 11.1, 10, 10, 9, 8 **
- openVZ 7
- eComStation 2, 1.2 **
- ReactOS 0.4 **
- Android OS*
- macOS Mojave 10.14.x
- macOS High Sierra 10.13.x
- macOS Sierra 10.12.x
- OS X El Capitan 10.11.x
- OS X Yosemite 10.10.x
- OS X Mavericks 10.9.x
- OS X Mountain Lion 10.8.x
- OS X Lion 10.7.x
- OS X Lion Server 10.7.x
- Mac OS X Snow Leopard Server 10.6.x
- Mac OS X Leopard Server 10.5.x
- * — Only the one downloaded with help of Installation Assistant.
** — Parallels tools are not available for this operating system.
Note: Parallels Desktop for Mac emulates PC hardware, so operating systems that are not present in this list can work as well. They are not on the list because we didn't test them in our lab yet or we found some critical issues. You can download Parallels Desktop Trial here and install an operating system of your choice and if it doesn't work and you believe it should be supported, let us know at Parallels Forum.
Need Parallels Desktop for your team? Check out Parallels Desktop Business Edition.
Parallels offers exclusive discounts for educational students currently enrolled in a qualified educational institution or professional educators who are currently employed. Educational discounts can save users up to 50% off by verifying their eligibility.
Parallels Desktop Pro Edition is packed with extra features, including:
- More Power: Parallels Desktop Pro Edition gives your virtual machines more processing power, up to 128 GB vRAM and 32 vCPUs per virtual machine.
- Network Conditioner – Simulate various internet connectivity speeds to test your applications.
- Visual Studio Plug-In – Develop software in one virtual machine and test in others—with just one click.
- Nested Virtualization Support – Support is available for the following:
- VMware ESXi virtual machines
- Xen and kernel-based virtual machines in versions of Linux that support Xen and KV
- Android emulator for Visual Studio in Windows
- iPhone emulator for Visual Studio in Windows
- Xamarin.Android in Windows
- Android Studio in Windows
- Embarcadero RAD Studio in Windows
- Docker for Windows
- (experimental) Microsoft Visual Studio + TwinCat 3
- VMware ESXi virtual machines
- Download Parallels Desktop.
- Open Parallels Desktop.app from the Applications folder and choose File » New.
- Now you can create a new virtual machine for Mac, including a Windows VM on Mac.
- Get Windows from Microsoft or install freely available operating systems such as Ubuntu, Fedora, or other Linux systems supported by Parallels Desktop. See all Guest Operating Systems »
Parallels offers a 30-day money-back guarantee on all purchases made on parallels.com. If you purchased this from another retailer, please check their return policy.
User guides and resources can be found on our Technical Documentation and Resources page. Or go to Support.
Customer Support
Learn all about how to use Parallels Desktop 15 Go to User Guide
Are you using an older version of Parallels Desktop and want to see what’s new in Parallels Desktop 15 for Mac? Go to Upgrade Page