


Compare VMware Fusion and Parallels Desktop
Struggling to choose between Parallels Desktop vs. VMware Fusion? Or trying to find a good VMware Fusion alternative? Discover how Parallels Desktop is a better way to run Windows or Linux on Mac than VMware Fusion, seamlessly creating virtual machines on Apple M series Macs and so much more.
Why choose Parallels Desktop over VMware Fusion
See why teams love Parallels Desktop more than VMware Fusion
Three reasons why users love us
Ease of use
The simple, quick setup and intuitive interface make Parallels Desktop the preferred choice of users of all skill levels. Just run Windows on Mac or use the Pro capabilities for advanced cross platform development, plus IT departments and organizations can leverage the management features for streamlined, centralized admin tasks and deployment.
Versatility
Designed to work seamlessly with the latest Windows and macOS solutions, Parallels Desktop offers a smooth, polished experience whether you are running Windows, macOS, or Linux and their respective native apps.
Innovation
As the first solution authorized by Microsoft to run Windows on Apple M1, M2, M3, and M4 Macs, Parallels Desktop users benefit from the knowledge that they are running a best-in-class solution backed by industry leaders.
Why choose Parallels Desktop as your virtualization solution?
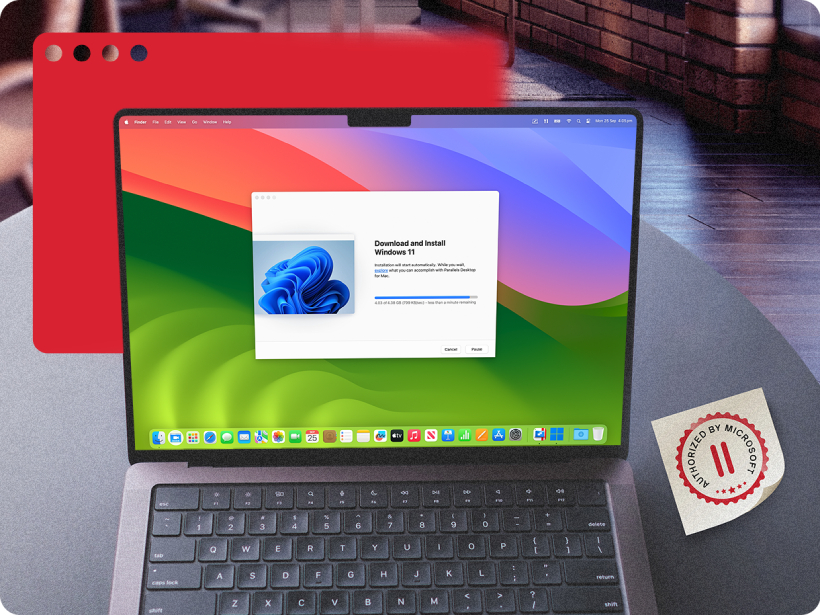
Microsoft-authorized for Windows compatibility
Unlike VMware Fusion, Parallels Desktop is the only virtualization solution authorized by Microsoft to run Windows 11 on Macs, including Apple M-series devices. This ensures complete compatibility, faster updates, and reliable performance for Windows applications.
Broad operating system compatibility
Parallels Desktop isn’t just for Windows—it supports a wide range of operating systems, making it the most versatile virtualization solution for Mac users. Whether you're running the latest Windows apps, testing Linux environments, or using legacy software, Parallels Desktop has you covered.
Enterprise-ready features for IT teams
For businesses and IT administrators, Parallels Desktop delivers powerful tools that go beyond virtualization. The solution simplifies IT operations, optimizes costs, and ensures secure, scalable deployments for organizations of any size.
Get started with Parallels Desktop and start maximizing the potential of your Mac
How to convert VMware Fusion to Parallels Desktop
If you are using a Mac with Apple silicon, follow these steps to switch from VMware Fusion to Parallels Desktop.
Here’s how to migrate from VMware Fusion to Parallels Desktop on an Apple silicon Mac
1. Open Parallels Desktop
Open Parallels Desktop and click "File"> "New" to start the virtual machine creation process.
2. Import
Choose your OS (and select an ISO image—if necessary). Customize your settings here too. Copy the files you need and install any applications you’d like.
3. Start Windows
After you start Windows, select Actions > Install Parallels tools and follow the onscreen instructions.
Users love award-winning Parallels Desktop


Parallels Desktop is the solution of choice for a variety of use cases...

Developers
Your development environment is at your command with Parallels Desktop. Streamline workflows, effortlessly switch between OSs, and maintain exceptional performance and security with Parallels Desktop.

Education
Get on the fast track to academic success with Parallels Desktop. Enjoy seamless software compatibility in the classroom or on the go with a simple, intuitive solution that gives users the edge needed to excel in today’s classrooms.

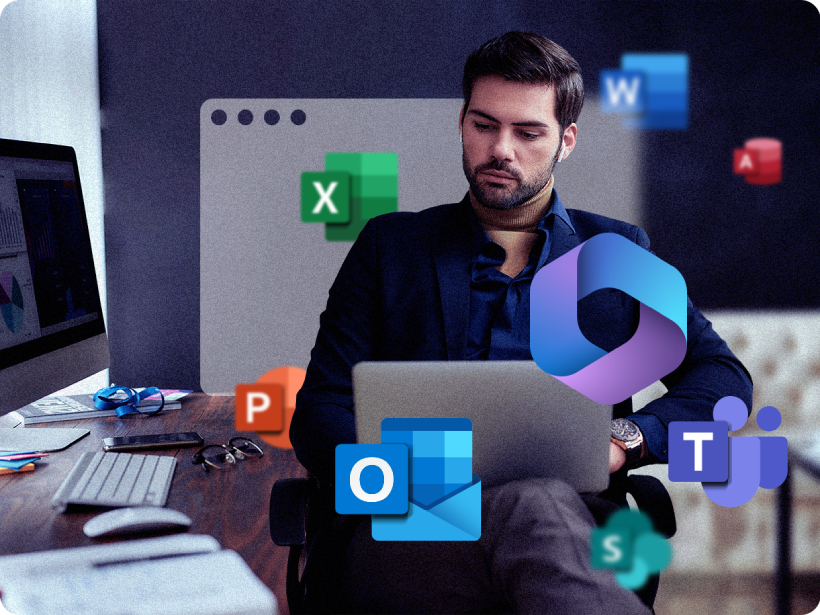
Small and medium-sized businesses
Focus on growth with a solution you can trust. Run business-critical Windows software like QuickBooks and the full-featured versions of Microsoft Office applications like Excel, PowerPoint, Outlook, and over 200,000 more apps on your Mac.
Compare editions
* Maximum Virtual RAM and CPUs per virtual machine
** The functionality will remain in the Business Edition for some time but will be removed in the future. Please consider upgrading to the Enterprise Edition if this functionality is crucial for you. Contact your account manager for more details.
| Standard Edition | |
| Basics: Run thousands of Windows applications such as Microsoft Office 365, accounting software, trading software, SAP, Matlab, and more. | |
| Get major updates to support new versions of macOS, Windows, Linux, and new Mac models | Subscription only |
| Run professional graphics-intensive Windows applications and powerful virtual machines | 8 GB vRAM, 4 vCPUs * |
| 24/7 phone, chat, and email support | Subscription only |
| Try nowBuy now | |
| Pro Edition All the Standard Edition features PLUS: |
|
| Basics: Run thousands of Windows applications such as Microsoft Office 365, accounting software, trading software, SAP, Matlab, and more. | |
| Get major updates to support new versions of macOS, Windows, Linux, and new Mac models | |
| Run professional graphics-intensive Windows applications and powerful virtual machines | 128 GB vRAM, 32 vCPUs |
| Develop, automate, test, and debug software in Windows, Linux and macOS | |
| Parallels AI package for developers and education | (Available for download until 12/31/25) |
| 24/7 phone, chat, and email support | |
| Try nowBuy now | |
| Business Edition All the Standard and Pro Edition features PLUS: |
|
| Parallels AI package for developers and education | |
| Automate CI/CD workflows with Parallels DevOps | |
| Single volume license, access to License Portal, ability to create sublicense keys, multiple administrators | |
| Business-friendly billing. Extra seats are prorated. Option to get PO, quote to Cart | |
| Provisioning with Mac Management tools or Parallels deployment package | |
| IT-configured Windows "smart” declarative Image in Parallels Desktop Interface | ** |
| Try nowBuy nowContact sales | |
| Enterprise All the Standard, Pro and Business Edition features PLUS: |
|
| Premium support, Account manager, Onboarding with System Engineers | |
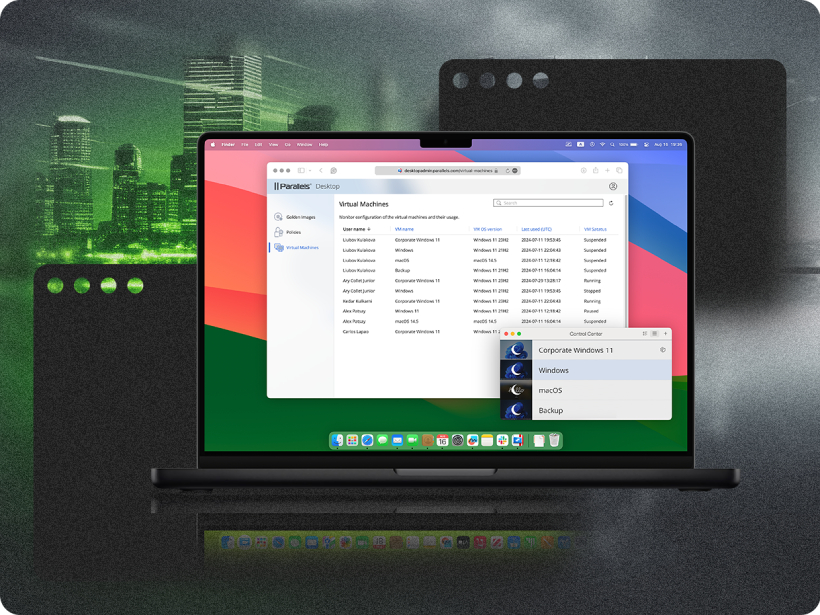
| Management portal for deployment and control, policies, and monitoring and managing of users’ virtual machines | |
| Per-user licensing option with SSO/SAML/SCIM integration | |
| Access to security documentation and questionnaires | |
| Try nowContact sales | |
* Maximum Virtual RAM and CPUs per virtual machine
** The functionality will remain in the Business Edition for some time but will be removed in the future. Please consider upgrading to the Enterprise Edition if this functionality is crucial for you. Contact your account manager for more details.
Parallels Desktop vs. VMware Fusion FAQ
Parallels Desktop offers superior performance and ease of use on both Intel and Apple M-series Macs. It is also the first virtualization software authorized by Microsoft to run Windows 11 on Macs with Apple silicon. VMware Fusion has limited support for M-series Macs and lacks many user-friendly features, such as automatic Windows installation and seamless macOS integration.
Yes! Parallels Desktop is fully optimized to run Windows 11 on both Intel and Apple M-series Macs. Unlike VMware Fusion, Parallels Desktop is authorized by Microsoft, ensuring full compatibility and compliance for running Windows on your Mac.
Yes, Parallels Desktop is designed with simplicity in mind. It features a one-click Windows installation, an intuitive user interface, and seamless macOS integration (drag-and-drop, shared folders, copy-paste, and more). VMware Fusion is more technical and requires additional steps to set up, configure, and customize, making it less beginner-friendly. The interface is also more complex and not as intuitive or integrated with macOS.
Absolutely! Parallels Desktop supports a wide range of operating systems, including Linux distributions (Ubuntu, Fedora, CentOS, Mint, and Debian) and macOS virtual machines. It allows you to experiment with less common OSs or create custom VMs.
Yes, Parallels Desktop is fully optimized for Apple M-series Macs, offering native performance and full compatibility with Windows 11 and other supported OSs. VMware Fusion has limited support for M-series Macs and lacks the same level of optimization.
Parallels Desktop includes enterprise-ready features like centralized license management, Single Sign-On (SSO) integration capabilities, and Golden Image deployment for IT teams. These tools simplify deployment and management, making Parallels Desktop a better fit for businesses of all sizes. VMware Fusion lacks many of these enterprise-grade tools.
7. Which virtualization solution offers better customer support, Parallels Desktop or VMware Fusion?
Parallels Desktop provides 24/7 global support for all users, along with a comprehensive knowledge base, tutorials, and dedicated resources for business customers. VMware Fusion has limited support options, which can be challenging for less technical users or users needing quick assistance.
For Apple silicon Macs, it’s recommended for users to create a new VM in Parallels Desktop (it only takes a single click) and copy the necessary files. Apps can be installed separately.