


For home 
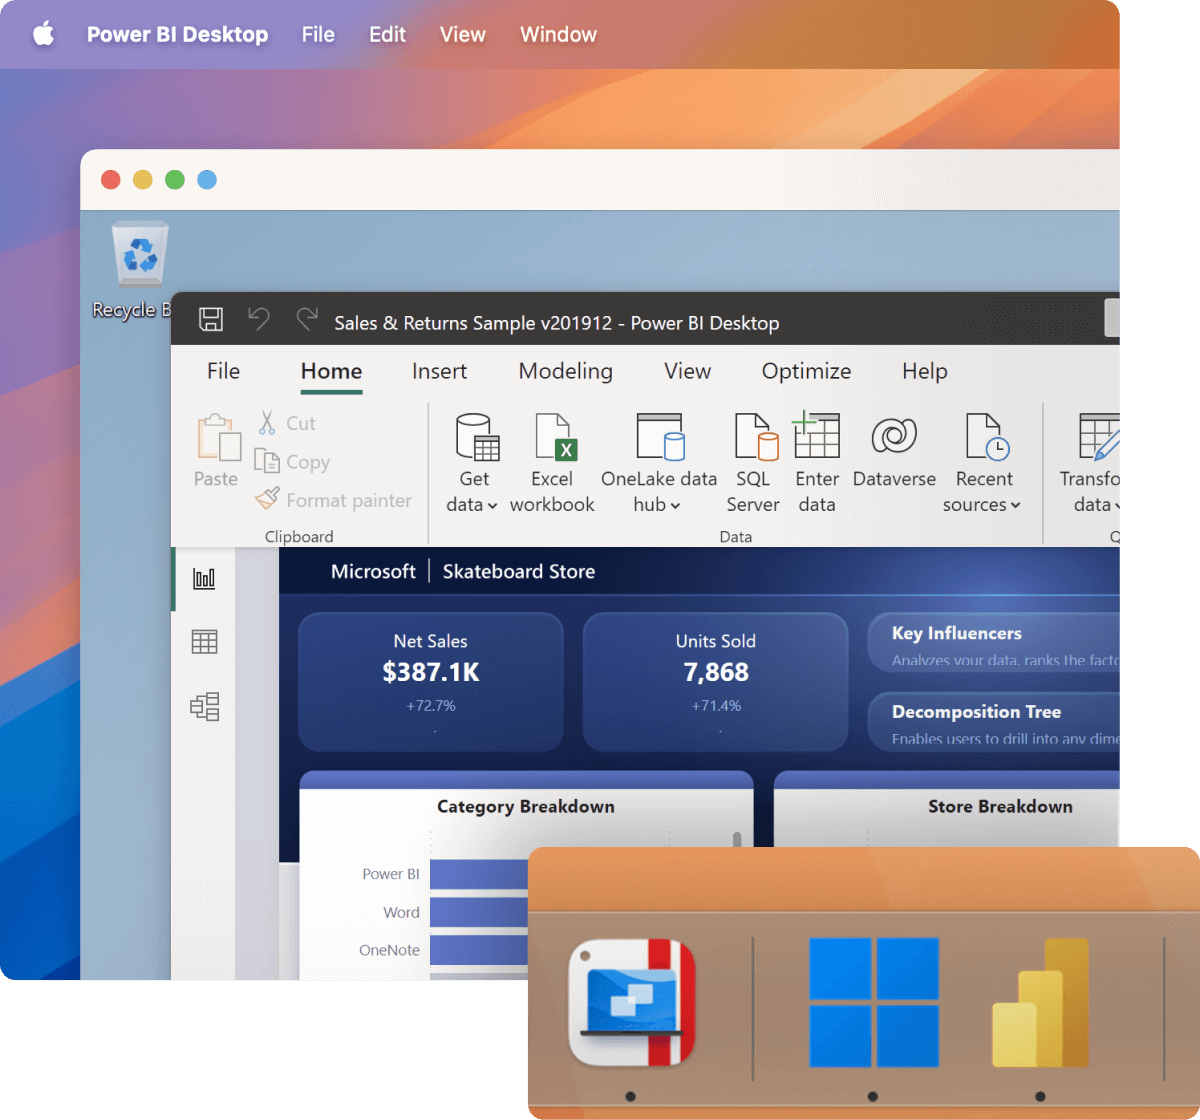
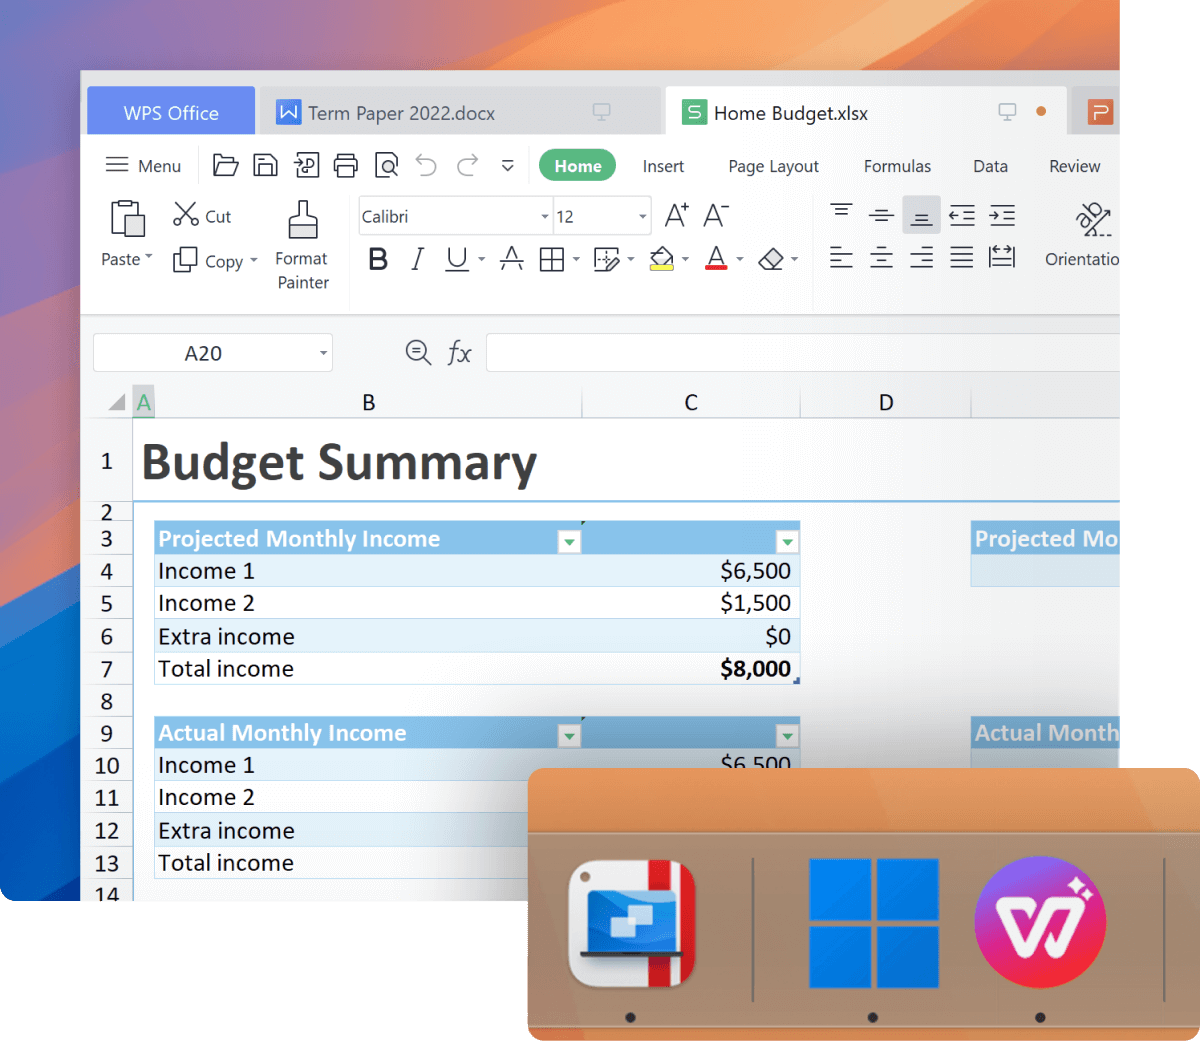
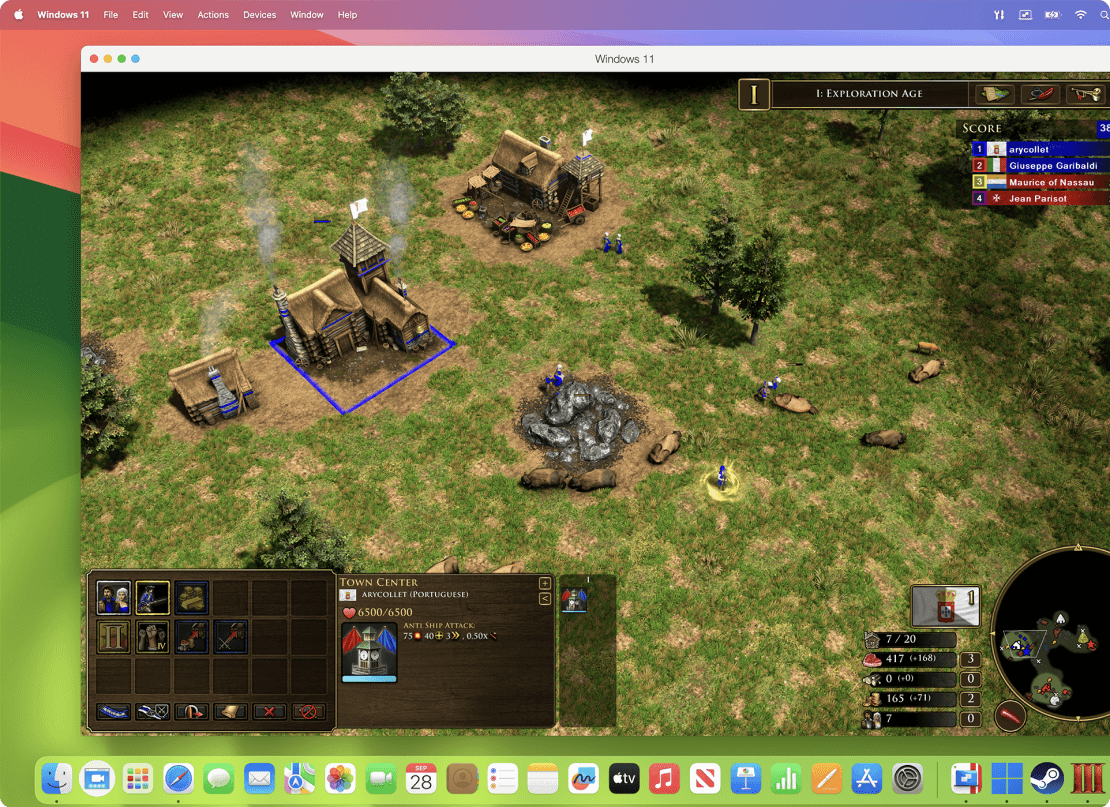
Continue using your trusted Windows applications, including perpetual versions of existing software or entertainment and hobby-related apps.
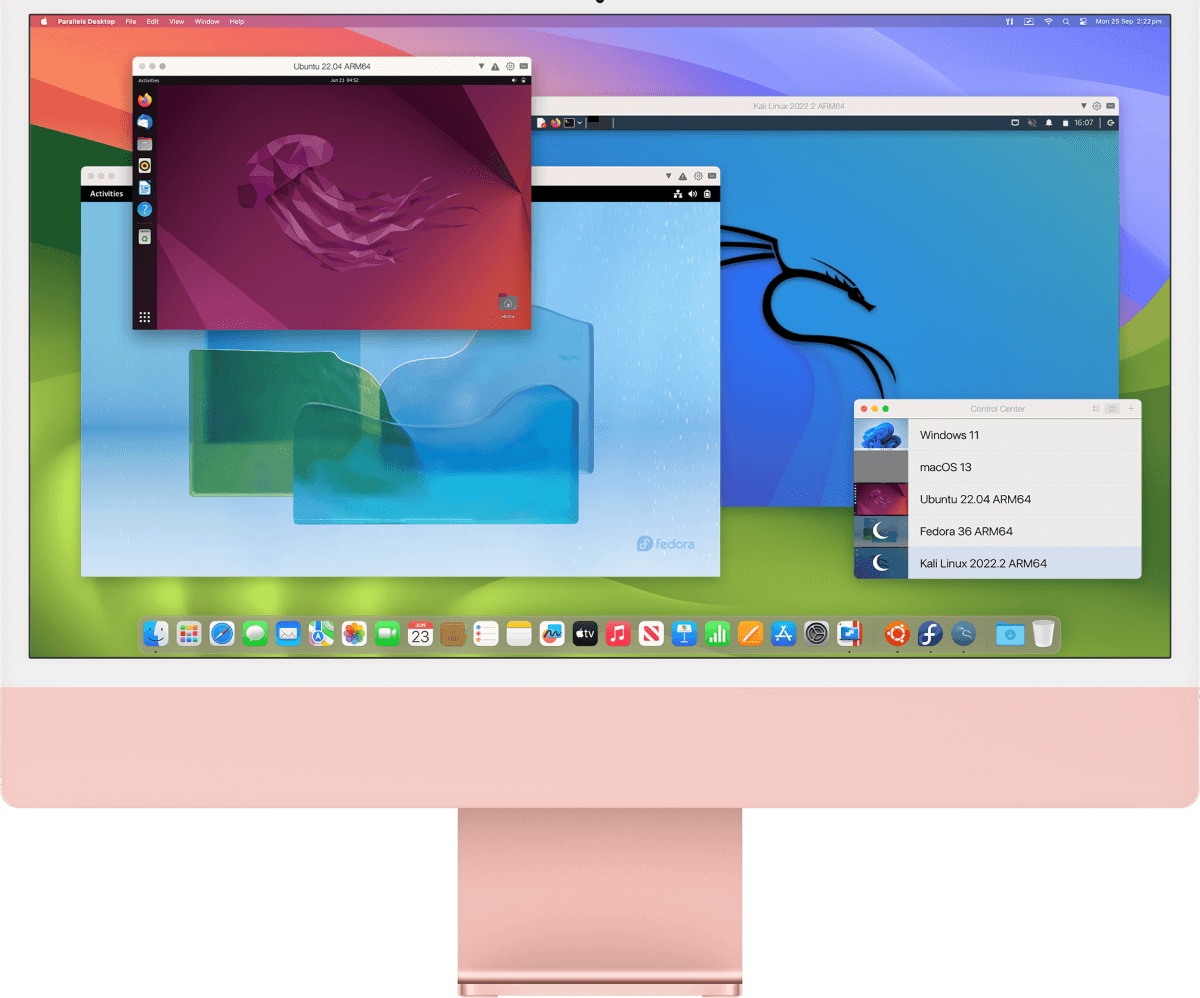
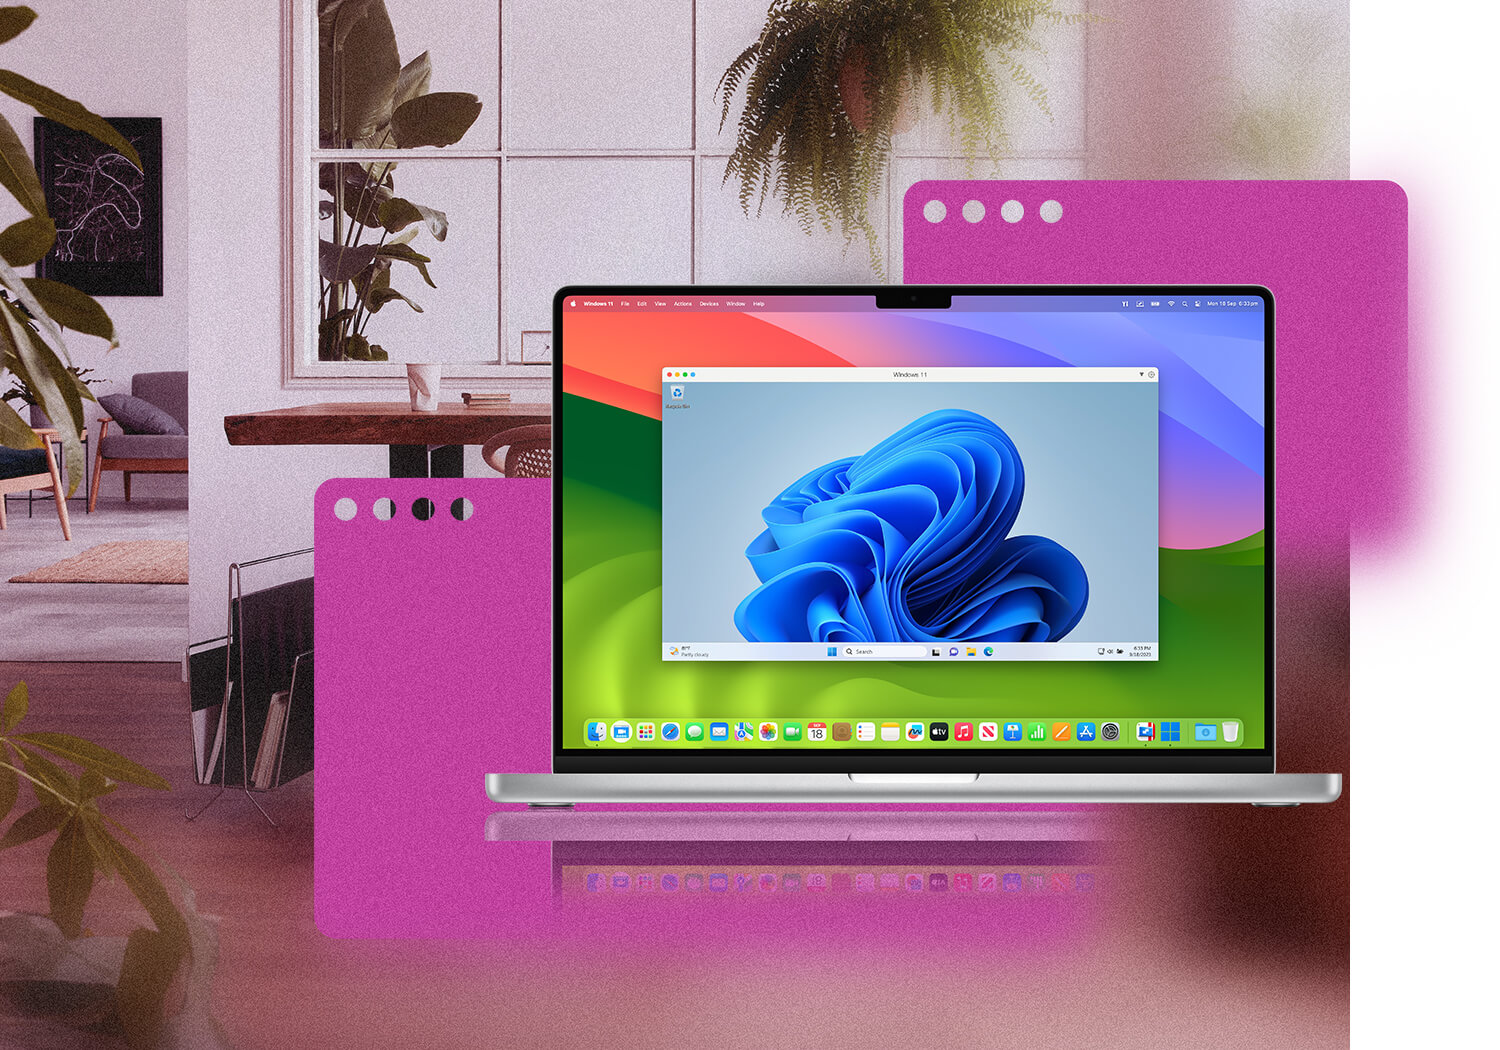
Comfortable using Windows? We've got you covered. Enjoy the best Windows has to offer, fully integrated into your Mac environment.
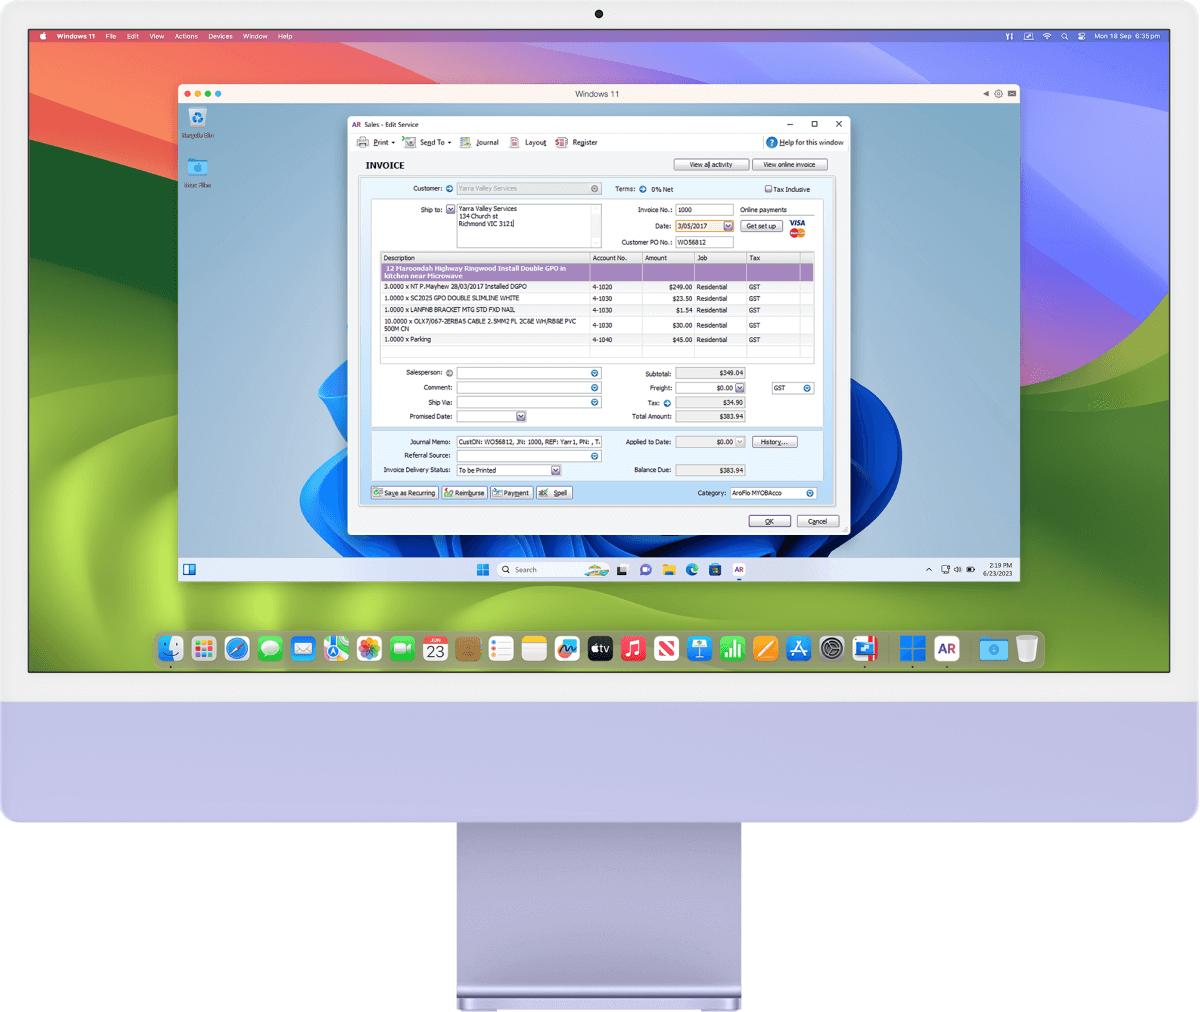
Streamline your financial tasks with easy access to the most popular accounting software like MYOB, QuickBooks and many more.

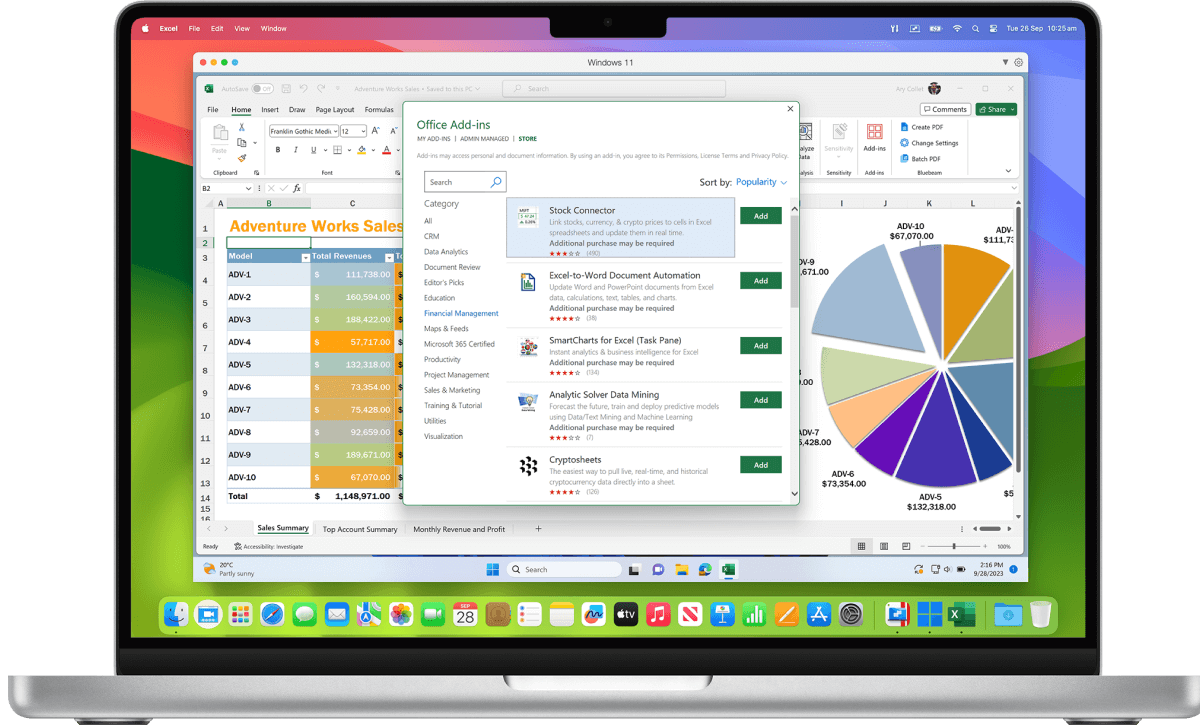
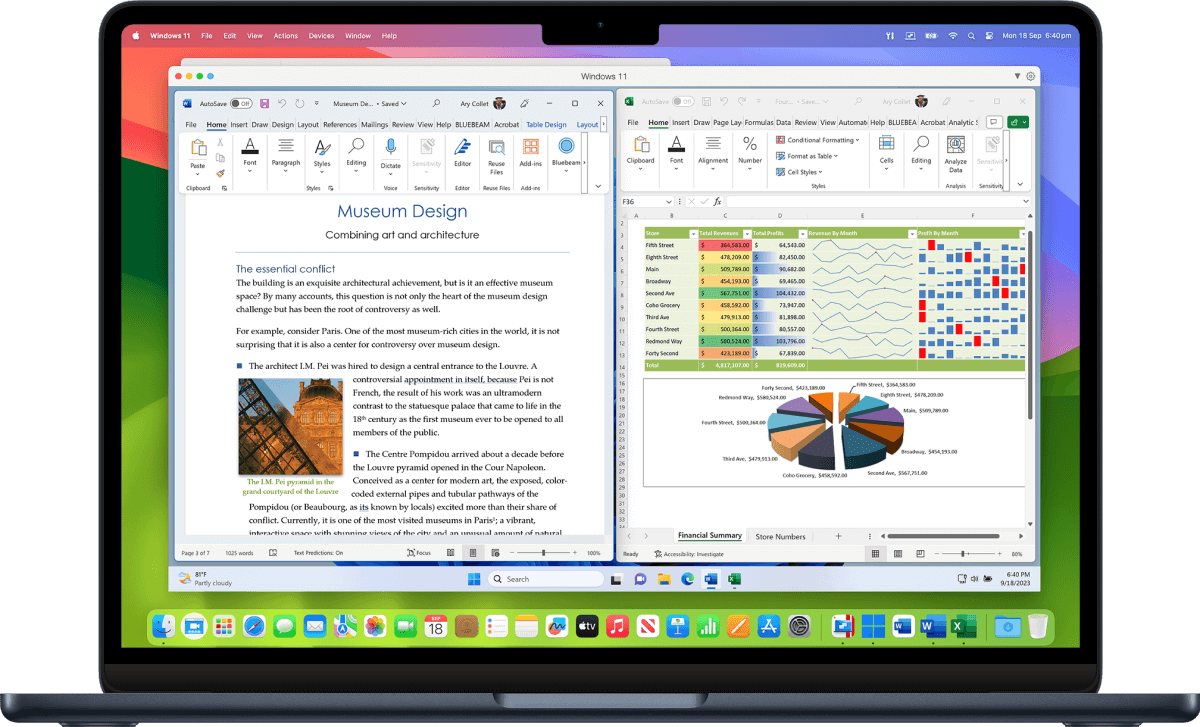
Experience the full power of Microsoft Office on Windows with advanced macros, extensive plugin support, and superior compatibility.